

The single most important photo booth placement tip is to choose a spot with natural guest flow, good lighting, and easy power access. Poor placement is one of the most common reasons guests skip the booth entirely, no matter how stunning it looks. This guide walks you through every placement decision you need to make before the event starts so you get the best results every time.
1. Key Takeaways for Smart Photo Booth Placement
Before getting into the specifics, here is a quick-reference overview of what great photo booth placement actually looks like in practice. These core principles apply whether you are planning a wedding, a corporate event, or a birthday party. Keep them in mind as you read through the rest of this guide.
- Visibility matters. If guests cannot see the booth when they walk in, they will forget it is there. Place it somewhere that catches the eye early in the event.
- Traffic flow is everything. Booths tucked in dead-end corners or behind pillars get used far less than those in natural walking paths.
- Lighting can make or break photos. Even the most high-end equipment struggles under bad lighting conditions.
- Power and cable access are non-negotiable. Plan for this before you commit to a location.
- Match the placement to the type of booth. A photo booth experience like a 360 video booth needs open space. A classic portrait-style booth can tuck neatly into a smaller alcove.
- Communicate the plan. Your venue coordinator, caterer, and DJ all need to know where the booth lives so nobody blocks it accidentally.
Getting your photo booth placement right from the start saves stress on the day of the event and means your guests actually use the booth, which is the whole point.
2. Choose a Location With Natural Guest Flow
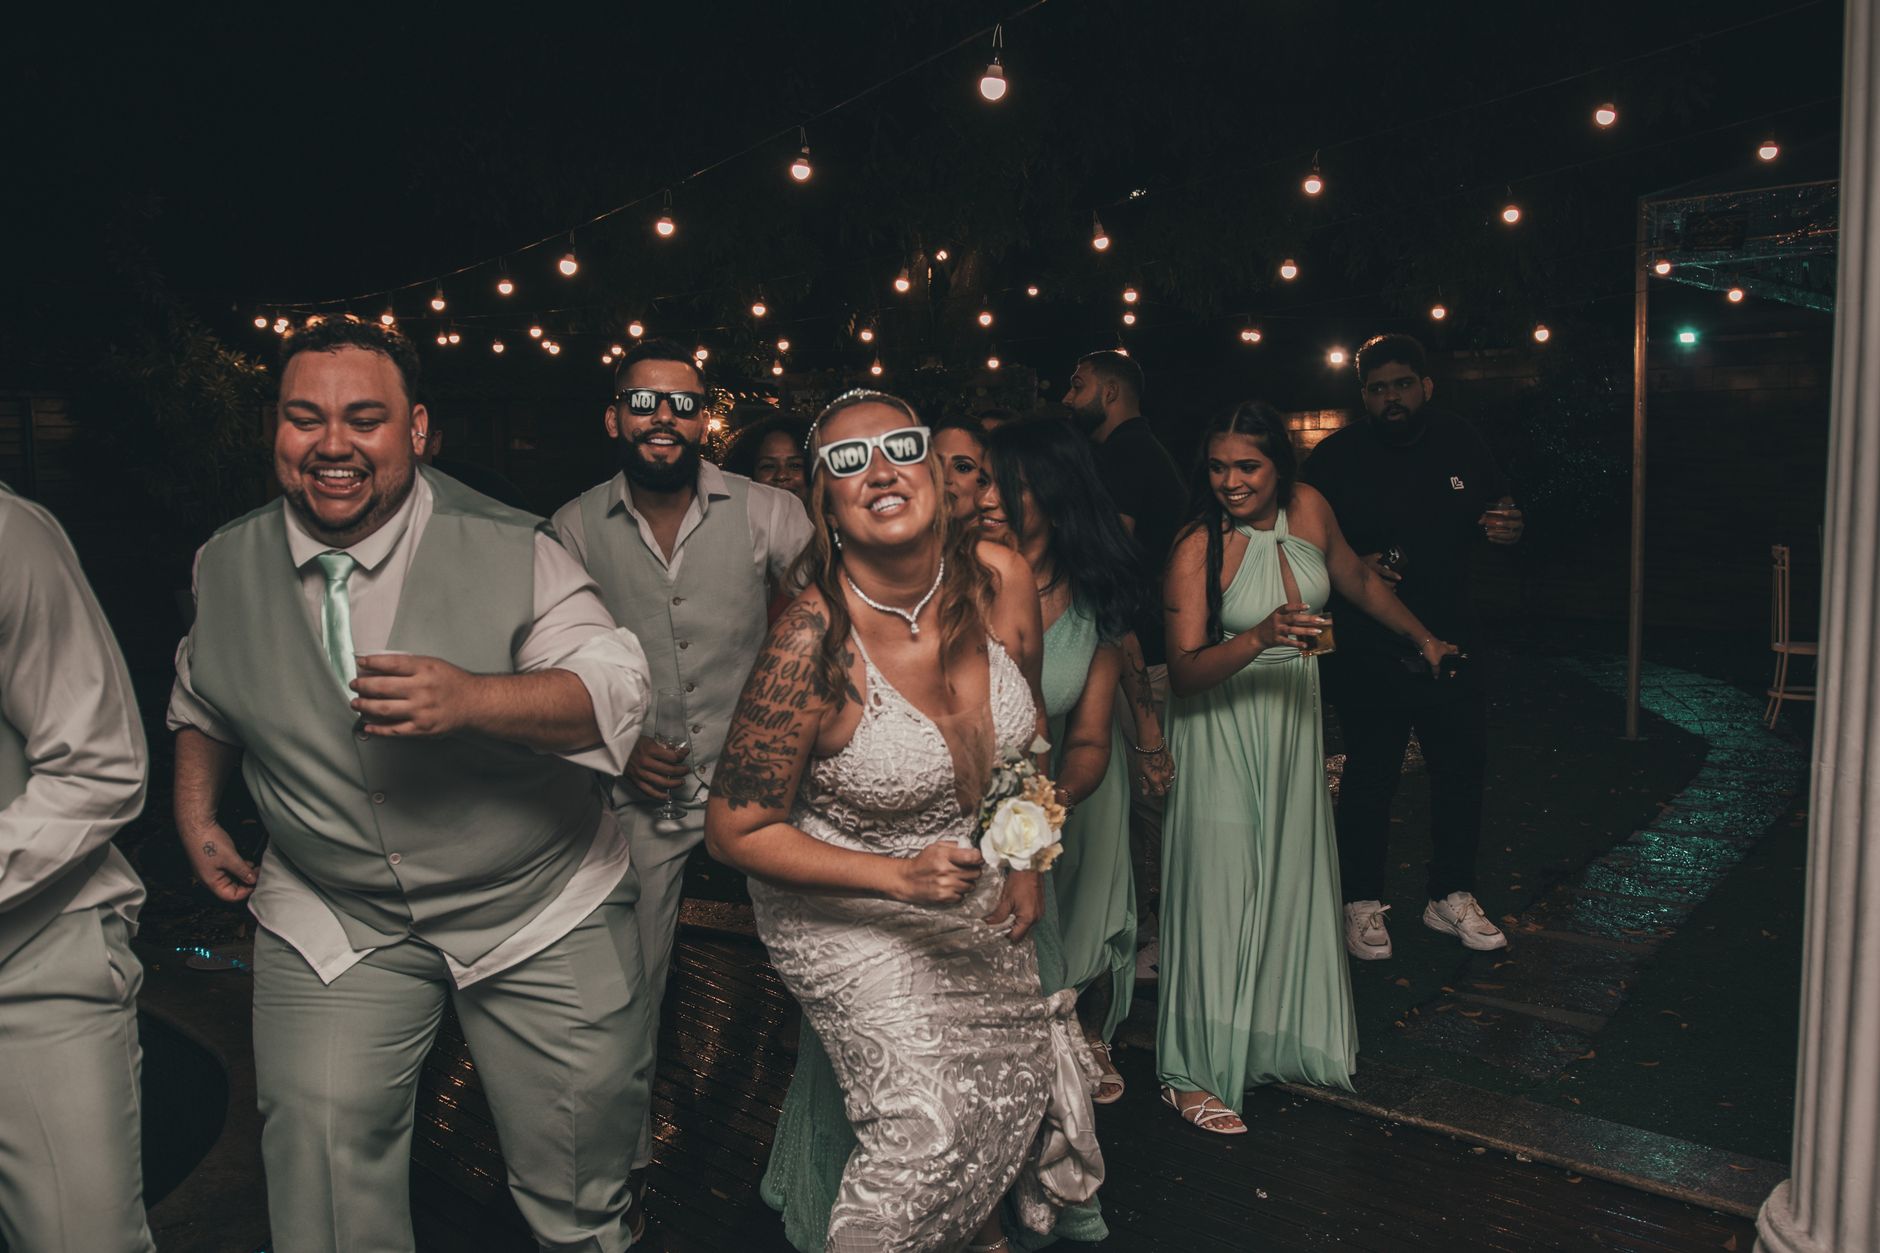
One of the most overlooked photo booth setup tips is paying attention to how guests naturally move through a space. People tend to follow the path of least resistance, gravitating toward the bar, the food stations, and the dance floor. Placing your booth along one of these natural traffic routes means guests will encounter it organically without needing a sign pointing them there.
Think about the moments when guests are most likely to stop and engage. Right after dinner wraps up, people are relaxed and looking for something fun to do. Near the cocktail hour spread, guests are already mingling and in a social mood. These transition zones are prime real estate for photo booth positioning.
Avoid placing the booth in a room that guests rarely visit, like a side hallway, a coat check area, or a vendor staging zone. Even if that spot seems “out of the way” and tidy, low foot traffic means low booth usage. The photo booth should feel like a natural part of the event, not a hidden side attraction guests have to hunt down.
If you are working with Epic Events Booth, our team can walk through your venue layout with you ahead of time to identify the highest-traffic zones and recommend the ideal placement position for your specific event.
3. Nail the Lighting Before You Commit to a Spot
Lighting is arguably the biggest factor in photo quality, and it is one of the most common photo booth placement mistakes we see at events of all sizes. For smaller venues especially, you need to mind your lighting carefully. Avoid dim corners or areas with colored disco lights that can distort photos. Soft, indirect lighting produces the most flattering results and gives guests photos they will actually want to share.
Natural light near windows is wonderful during daytime events, but it creates challenges after dark when it disappears entirely. If your event runs from afternoon into the evening, make sure the chosen spot has reliable artificial lighting that works throughout the night.
Overhead spotlights pointed directly down create harsh shadows on faces. Colored LED wash lights common at nightclub-style receptions can tint skin tones in unflattering ways. The ideal lighting scenario is bright, even, and neutral in color temperature. Most professional booth setups come with their own ring lights or LED panels for exactly this reason, but the ambient light in the surrounding area still affects the final result.
According to planning resources on The Knot, lighting is consistently cited as a top concern for couples planning wedding entertainment, and photo booths are no exception to that rule. Take a few minutes to stand in the intended spot at the time of day your event will be running and assess what the light actually looks like before you lock in your placement decision.
4. Plan Around Power Access and Cable Safety
No power outlet nearby means no photo booth. It sounds obvious, but power access is one of the photo booth placement details that gets overlooked until the day of the event. Most photo booth setups require at least one dedicated outlet, and some configurations, particularly those with large LED ring lights, printers, or external monitors, may need more than one circuit.
When you are scouting your venue, locate every available outlet in the potential placement area and confirm what amperage they can handle. Ask the venue coordinator whether there are any circuits that share load with the DJ or the catering team’s equipment, as overloaded circuits can trip breakers mid-event.
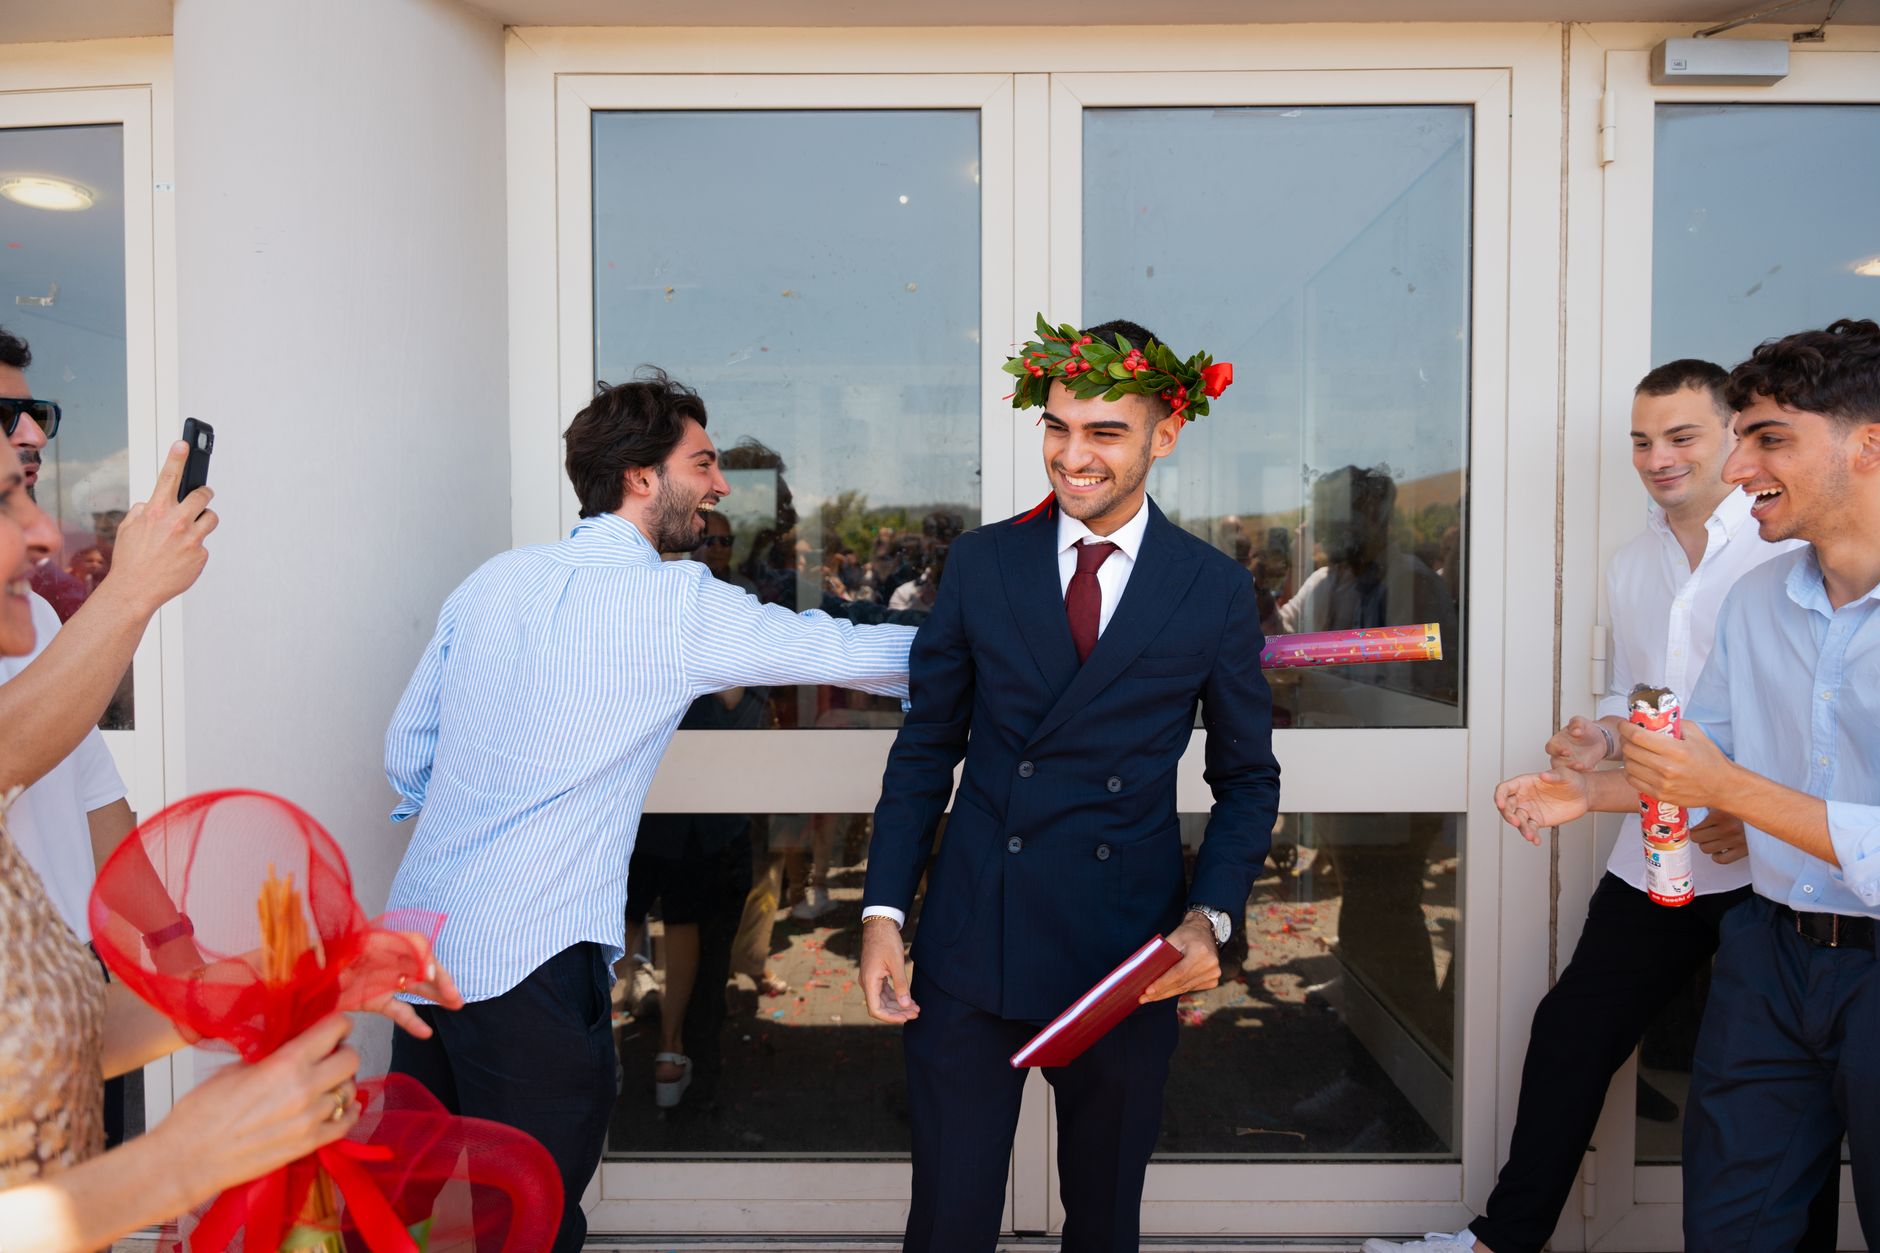
Cable safety is equally important. A power cord running across a walkway is a trip hazard for guests, particularly after a few hours of dancing and celebrating. Use cable ramps or tape cables flat to the floor along the perimeter of the space rather than across open walking areas. This protects your guests and keeps your setup looking clean and professional.
For outdoor events or venues with limited outlet access, ask your rental company about generator options. A small, quiet generator positioned well away from the booth can solve power access issues without disrupting the event atmosphere. Proper planning here prevents the kind of mid-event scramble that nobody wants to deal with.
If you are wondering how to avoid common errors like this from the start, our post on wedding photo booth setup covers the most frequent pitfalls couples run into.
5. Think About Your Backdrop and Background Context
The backdrop is a core part of the photo experience, and your placement choice directly affects how the backdrop looks in photos. Even if you bring a custom printed backdrop, the surrounding environment bleeds into the frame. A beautiful custom backdrop placed in front of a busy catering station or a stack of folding chairs loses a lot of its visual impact.
Position the booth so the background behind the backdrop is clean and uncluttered. Blank walls, draped fabric panels, or lush floral installations are ideal neighbors for a photo booth setup. Avoid placing the booth in front of exits where doors swing open mid-session, or near windows that create blown-out backgrounds after dark when interior lights reflect off the glass.
Choosing the right photo booth backdrop for your wedding is a whole topic on its own, but placement decisions and backdrop decisions should always be made together. A great backdrop in a bad location will still produce disappointing photos.
Consider the color palette of the surrounding room as well. If the venue uses deep jewel-tone drapery and you place your booth directly in front of it without a standalone backdrop, the result may clash with your theme. Being intentional about what surrounds the booth on all sides, not just directly behind it, makes a noticeable difference in the final images guests walk away with.
6. Avoid Common Photo Booth Placement Mistakes
Even experienced event planners make photo booth placement mistakes from time to time, so knowing the most common ones ahead of time gives you a real advantage. Here are the errors we see most often, and how to avoid each one.
- Placing the booth too close to the dance floor. Music volume and movement near the dance floor make it harder for guests to stop, pose, and enjoy the booth experience. Give the booth some breathing room from the speakers and the action.
- Blocking emergency exits. This is a safety and legal issue. Always check with venue staff that your chosen placement does not obstruct any fire exits or emergency pathways.
- Setting up too close to the bar. Proximity to the bar sounds fun but often creates a traffic jam. Guests queuing for drinks and guests queuing for the booth end up in each other’s way.
- Forgetting about the line queue space. A busy booth will have a line. If you do not leave room for that line to form in an organized way, guests spill into other areas of the event and the experience feels chaotic.
- Ignoring ceiling height for 360 booths. A 360 video booth needs overhead clearance for the arm to rotate. Always confirm ceiling height before finalizing placement for this type of experience.
- Placing the booth where vendor setup overlaps. If florists, caterers, or AV crews are working nearby during setup or teardown, they can accidentally bump or block the booth. Coordinate placement carefully with all vendors.
Many of these photo booth errors are easy to prevent with a quick site visit before the event day. Our team at Epic Events Booth always recommends a venue walkthrough when possible. You can also find more guidance specific to wedding events in our post on photo booth mistakes at weddings in Arizona.
7. Match Placement to the Type of Photo Booth Experience
Not all photo booth experiences have the same spatial requirements, and one of the most practical photo booth positioning tips is to match your placement strategy to the specific type of booth you have booked. Different experiences need different footprints, different ceiling clearances, and different amounts of open space around them.
Here is a breakdown by booth type:
- 360 Video Booth: This experience requires an open circular platform with enough space for the rotating arm to sweep around guests. You need at minimum an 8-by-8-foot clear area and ceiling heights above 9 feet. Place this in an open, central area so it also serves as a visual centerpiece for the event. For a deeper look at how video customization works with this setup, check out our guide on video booth overlays and branding.
- Wedding Booth: This classic portrait-style setup works beautifully near cocktail areas or reception entry points. It has a smaller footprint and works well with a custom backdrop. Guests naturally gravitate toward it during cocktail hour and between dinner courses.
- Glam Booth: The glam booth uses beauty lighting and high-key flash to produce magazine-quality images. Placement near a neutral wall or fabric drape works best. Keep it away from colored ambient lighting that can conflict with the glam effect.
- GIF Booth: The GIF booth is interactive and tends to draw small groups. Place it in a spot with enough room for three to five people to stand side by side, and make sure there is a clear path for guests to approach and exit without bumping into each other.
- Video Booth: This setup needs a slightly quieter zone where guests can record short video messages without shouting over music or background noise. A corner alcove with a bit of acoustic separation from the main event area is ideal for this experience.
Matching your placement strategy to the booth type ensures that the experience performs exactly as designed. A 360 video booth crammed into a narrow hallway will never deliver the wow factor it is capable of. Getting the space right is part of getting the experience right.
8. Factor in Setup Time, Teardown, and Vendor Access
Great photo booth placement is not just about the event itself. It also needs to account for the time before and after, specifically the setup window, teardown window, and how vendors move through the space during those phases.
Talk to your venue coordinator about when vendor access begins. Most setups require between 30 and 60 minutes of setup time depending on the complexity of the booth configuration. If the venue is hosting a ceremony before a reception in the same space, setup windows can be extremely tight. Knowing this ahead of time helps you plan a placement that does not require moving furniture or staging after the room flip.
Teardown is equally important. The booth needs to be broken down, packed, and moved out without disrupting any lingering guests or triggering venue overtime charges. Choose a placement that gives the rental team clear access to load equipment out through a nearby exit or loading dock at the end of the night.
Coordinate with your other vendors as well. The DJ, the florist, and the catering team all have their own setup footprints. A placement that looks perfect on paper may conflict with where the DJ needs to run speaker cables or where the florist is arranging tall centerpieces. A shared vendor contact sheet or a quick group walkthrough can prevent all of these conflicts before they become problems on the day of your event.
9. Communicate the Placement Plan With Your Event Team
Even the most carefully considered photo booth placement tips only work if every member of your event team is on the same page. The placement plan needs to be communicated clearly and confirmed in writing before the event day arrives.
Share a simple floor plan diagram with all vendors that shows exactly where the booth will be positioned, how much space it requires, and where the power cables will run. This prevents the all-too-common scenario where someone unknowingly places cocktail tables, floral arrangements, or speaker stands in the exact spot you reserved for the booth.
Brief your venue coordinator specifically, since they are often the first point of contact for vendors arriving on-site. If the coordinator knows the booth setup requirements, they can direct the rental team to the right spot immediately and keep the setup moving efficiently.
On the day of the event, do a final walkthrough with the rental team when they arrive. Confirm that the spot is still clear, that power access is available, and that the lighting conditions match what you assessed during your pre-event site visit. A ten-minute walkthrough at setup is worth far more than an hour of problem-solving mid-event.
Resources like Brides consistently highlight vendor communication as one of the top factors in whether wedding entertainment runs smoothly, and photo booth logistics are a textbook example of why that communication matters.
If you are planning an event in the Phoenix area and want expert guidance on placement from a team that has handled hundreds of events, a local photo booth rental provider who knows Arizona venues inside and out can make all the difference.
Ready to Get Your Photo Booth Placement Right?
Placement is the difference between a photo booth that guests line up for all night and one that sits unused in the corner. Whether you are planning a wedding, a corporate event, or a milestone birthday party, the tips above will help you position your booth for maximum engagement and stunning photos. Every event is different, and having an experienced team by your side makes the planning process much smoother. Reach out to our team at photo booth rental Arizona and contact us today for a free quote so we can help you find the perfect placement for your event.
Frequently Asked Questions
What is a good tip for a photo booth attendant?
Tipping a photo booth attendant is a thoughtful gesture for great service. A standard tip ranges from $20 to $50 depending on the length of the event and the quality of service you received. If the attendant went above and beyond, helping guests with props, troubleshooting technical issues, and keeping the line moving efficiently, a tip toward the higher end is always appreciated.
Do photo booths make good money?
Photo booth businesses can be quite profitable, particularly in markets with strong demand for weddings, corporate events, and social gatherings. A single booth can generate several hundred to over a thousand dollars per event booking. Operators who maintain their equipment well, build a strong local reputation, and offer diverse booth experiences tend to see consistent bookings and healthy margins over time.
How to look good in photo booth pictures?
Looking great in photo booth photos comes down to a few simple habits. Stand slightly angled rather than straight-on to the camera, since a slight turn is more flattering than a flat frontal pose. Lean in toward your group rather than standing rigid. Smile naturally by thinking of something funny rather than forcing a grin. Good lighting at the booth location also helps enormously, so placement near soft, even light makes a big difference in the final result.
How to arrange photo booth photos?
Arranging photo booth photos after an event is a fun way to preserve the memories. For printed strips, a simple scrapbook or shadow box works beautifully. For digital images, create a shared album so all guests can access their photos in one place. Many modern photo booth setups offer instant digital delivery via text or email, making it easy for guests to save and share their favorites right from the event. Custom overlays and branding on the prints also make for great keepsakes.
