

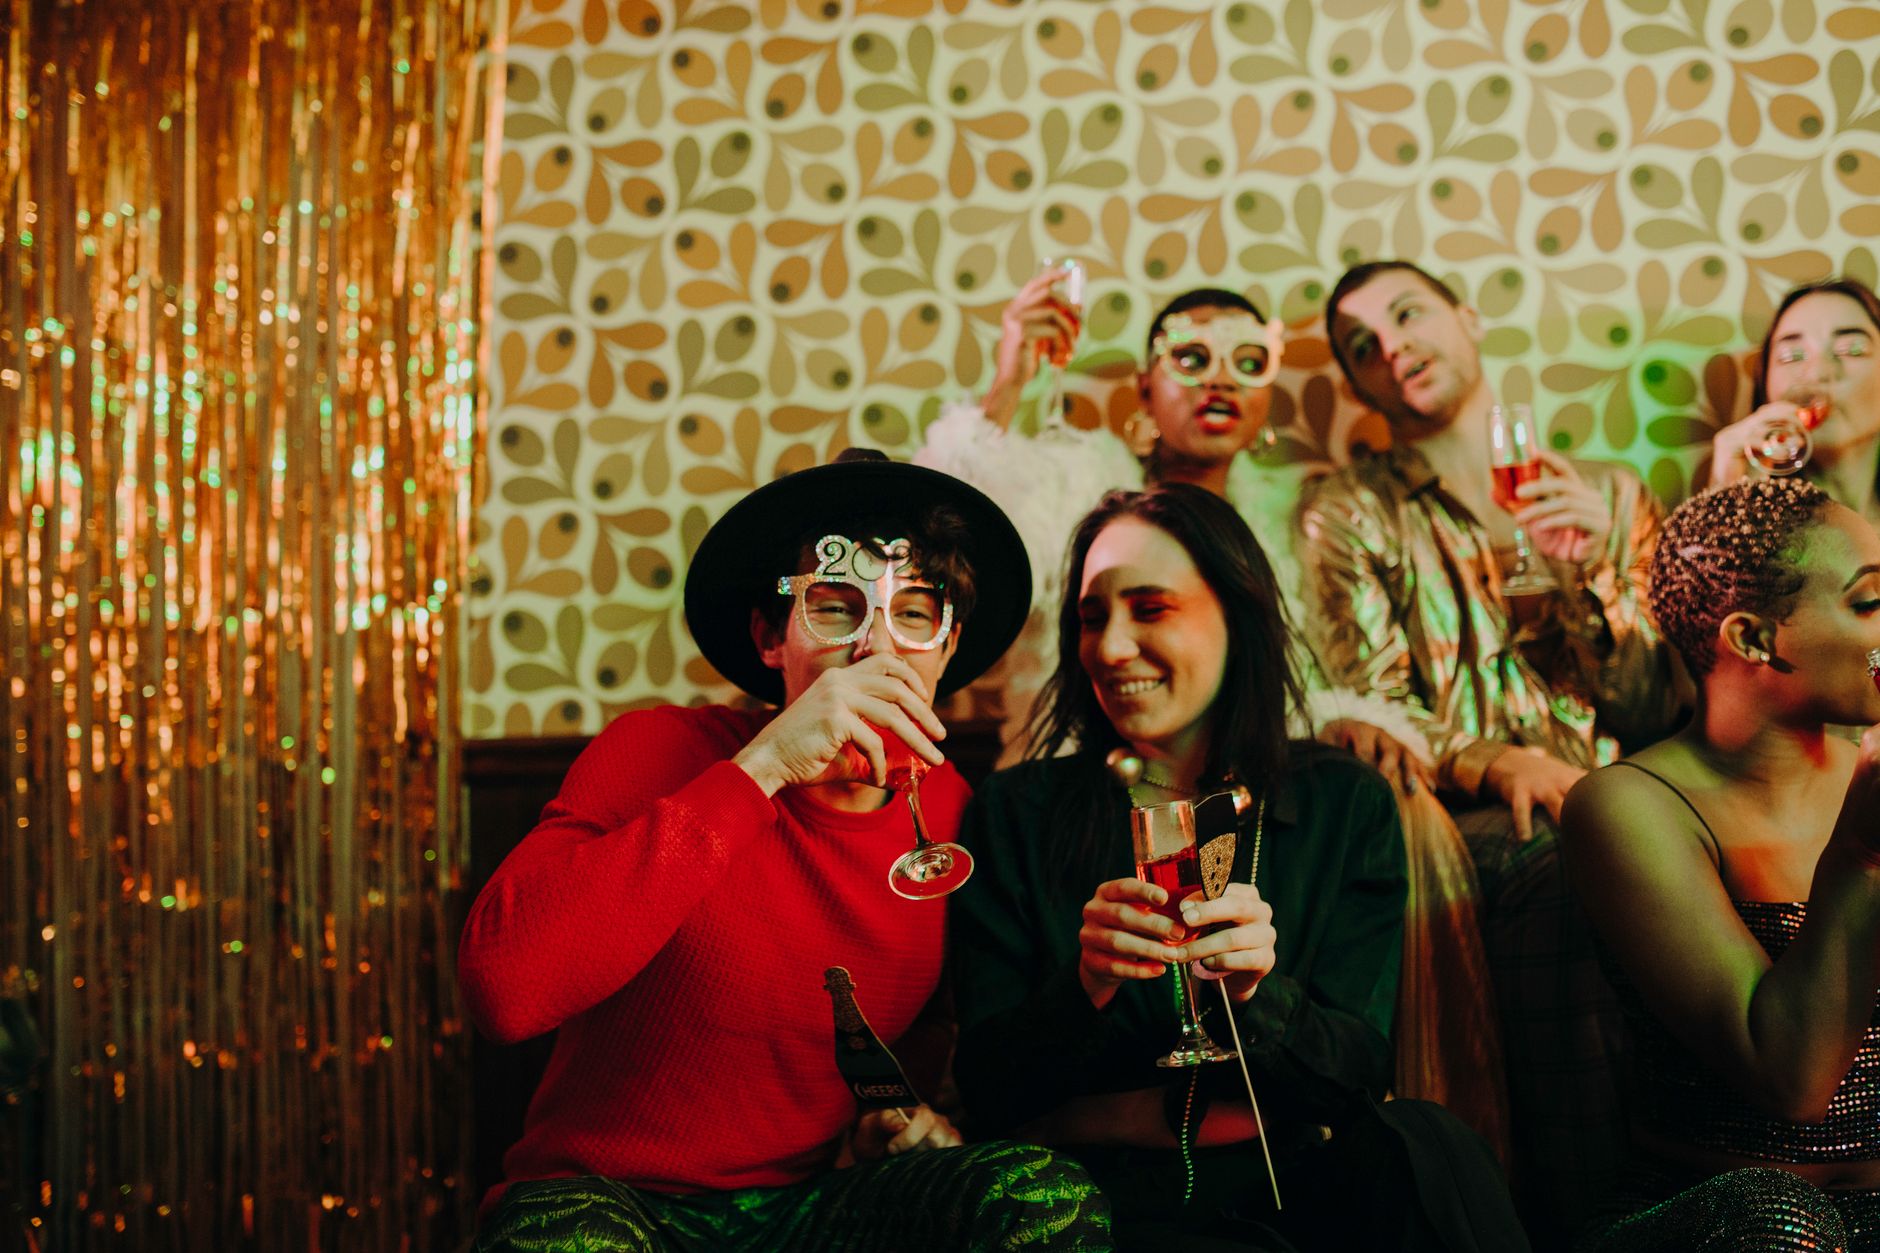
Bad venue lighting for photo booth setups is one of the most common challenges event professionals face, and the fix is simpler than most people expect. Dim banquet halls, harsh overhead fluorescents, and colorful DJ washes can wreck your photos before a single guest steps into the booth. This post walks through every practical solution, from hardware choices to software settings, so your photo booth delivers crisp, flattering images no matter what the venue throws at you.
Why Venue Lighting Ruins Photo Booth Photos
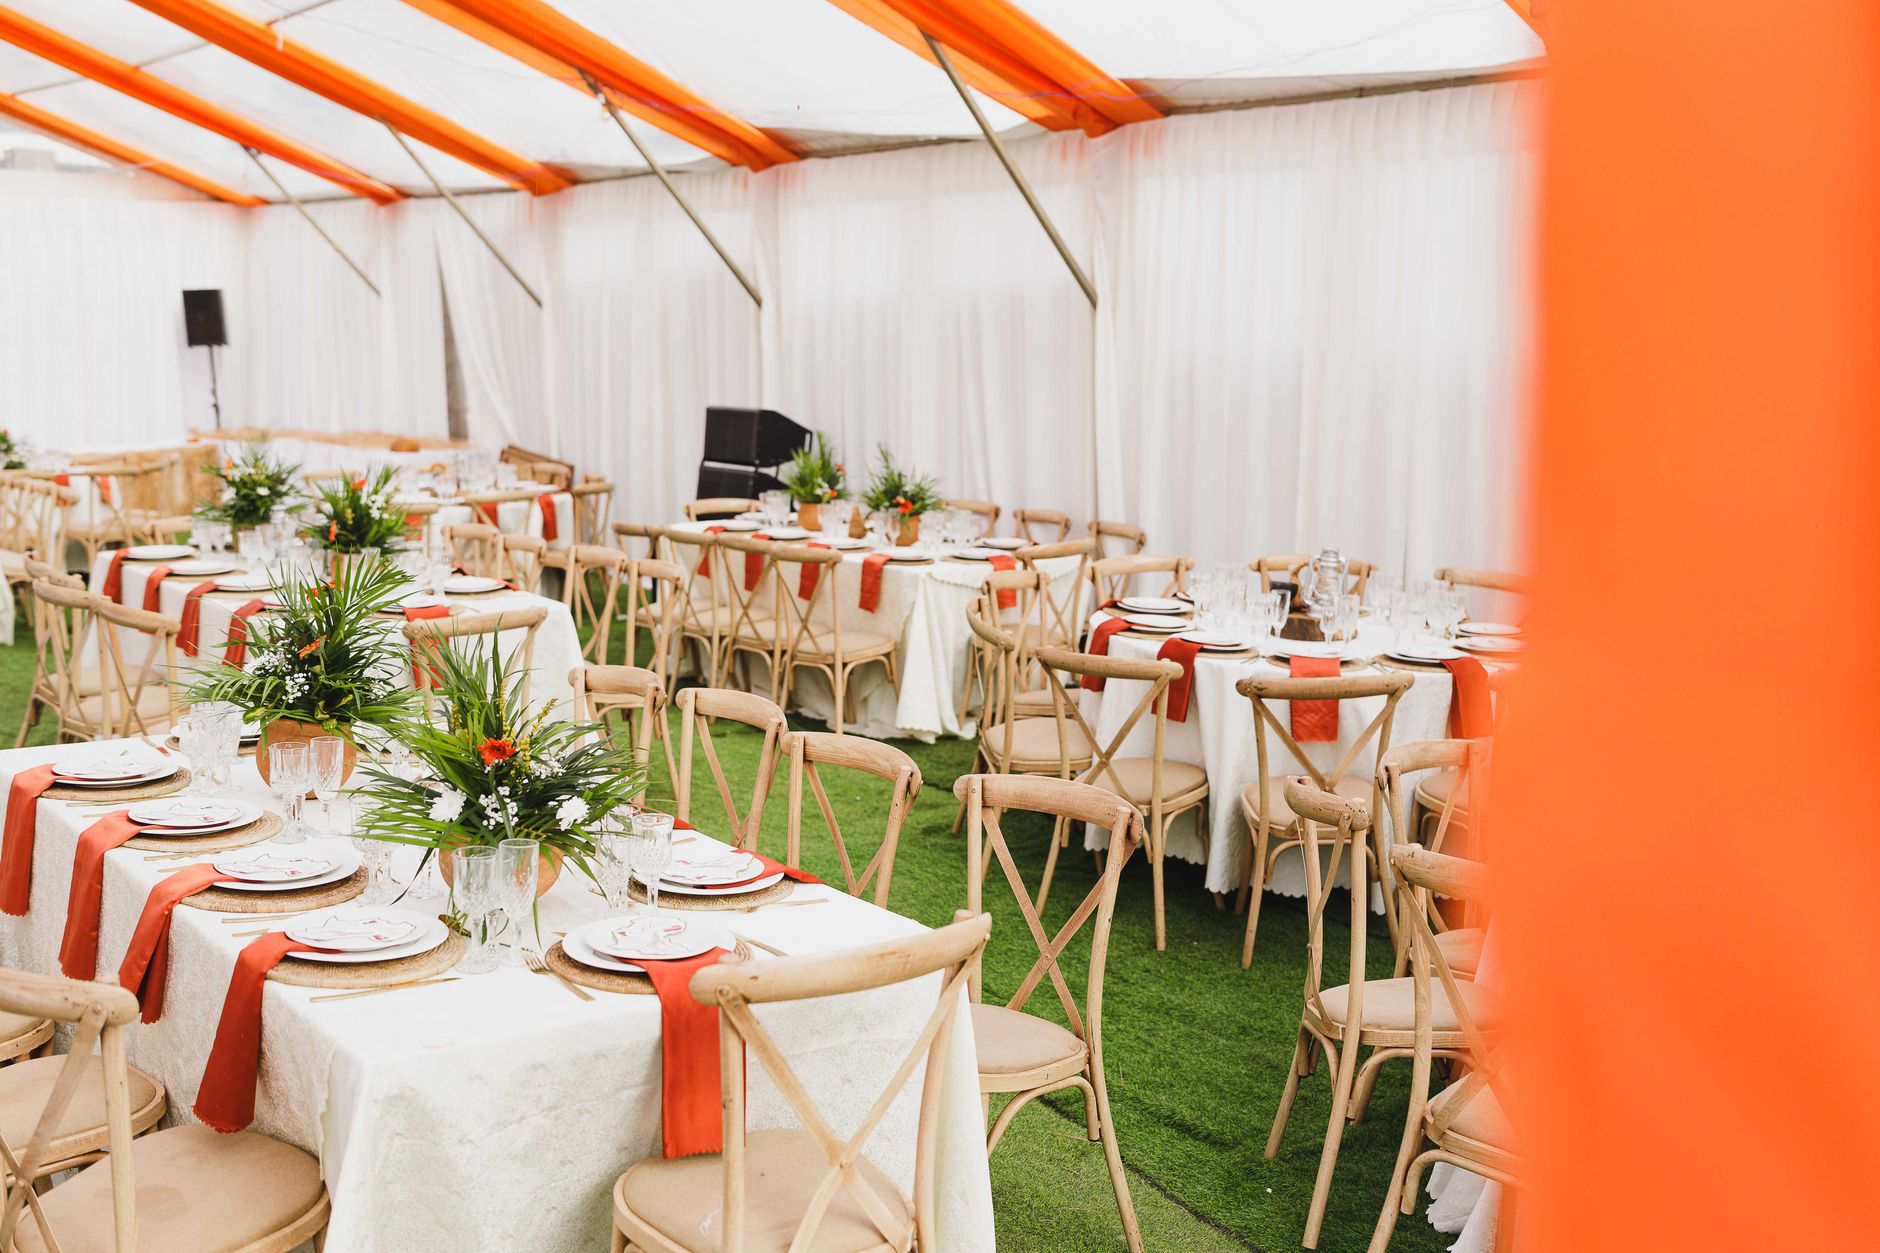
Most event venues are not designed with photo booths in mind. They are built for ambiance, not for accurate skin-tone reproduction or even exposure. When you set up a photo booth in a low-light ballroom or a neon-lit nightclub, the camera sensor has to work overtime, and the results show up as grainy images, blown-out backgrounds, and unflattering color casts. Understanding the root cause of bad venue lighting is the first step toward solving it.
The three most common culprits are low ambient light, mixed color temperatures, and dynamic colored lighting from DJ rigs or uplighting. Low ambient light forces your camera to raise its ISO, which introduces digital noise. Mixed color temperatures, for example, a warm tungsten chandelier competing with a cool fluorescent exit sign, create uneven color casts that are hard to correct in post. Dynamic colored lighting changes frame by frame, making consistent photo booth images nearly impossible without proper counterbalancing.
Understanding these three issues lets you choose targeted solutions rather than guessing. For guests who want tips on how to pose and interact with the booth itself, our guide on photo booth etiquette is a great companion read, because even perfect lighting cannot save an awkward pose.
According to BizBash, venue walkthroughs before event day are one of the most overlooked steps in event production. Scouting the space gives you a chance to measure ambient light levels, identify overhead fixtures, and plan exactly where your booth and its lighting rig need to sit.
Photo Booth Lighting Setup: Choosing the Right Hardware
Your lighting hardware is the single biggest factor in overcoming a bad venue. A well-chosen photo booth lighting setup can neutralize almost any venue condition, while a poorly chosen one will amplify every problem the space already has. Here is how to build a rig that works in the real world.
The most popular choice for portable setups is the ring light. A photo booth ring light delivers soft, even, wraparound illumination that flatters virtually every face shape and skin tone. It eliminates harsh shadows under the chin and eyes, which are the first things guests notice in a bad photo. Ring lights come in continuous LED and strobe versions; for photo booths, continuous LED is usually preferred because guests can see how they look before the shutter fires, which leads to better, more confident poses.
For setups that need more coverage or a more dramatic, glam look, a two-point or three-point strobe configuration works well. Placing a main strobe at 45 degrees to the subject and a fill light on the opposite side at reduced power mimics professional studio conditions. This is particularly effective for our wedding photo booth packages, where guests expect polished, print-quality images.
A few hardware details that make a real difference:
- Color temperature consistency: Choose lights rated at a consistent color temperature, ideally 5500K to 5600K (daylight), so your white balance setting stays locked throughout the night.
- Diffusion panels: Bare LEDs can look harsh. Adding a softbox attachment or diffusion panel in front of the light spreads it evenly and softens shadows.
- Light stands with sandbags: A tipped light at a wedding is a nightmare. Always weight your stands, especially in high-traffic areas.
- Backup power strips: Venues sometimes put photo booth circuits on the same breaker as DJ equipment. Having a dedicated power strip with a surge protector keeps you from losing power mid-event.
If you are exploring whether to own or rent your hardware, our post on photo booth rental vs. buying breaks down the financial and practical tradeoffs in detail.
Photobooth Lighting Settings: Camera and Software Adjustments
Hardware alone does not solve the problem. Your camera settings and photo booth software need to be dialed in to match the light you are producing. Photobooth lighting problems that seem like hardware failures are often really software or exposure issues in disguise.
Start with manual exposure mode. Auto exposure works fine in controlled studio environments, but in a venue where ambient light fluctuates every time a DJ wash sweeps across the room, auto mode will produce inconsistent results. Set your shutter speed, aperture, and ISO manually so that each frame is identical regardless of what the venue lighting is doing in the background.
Here are the baseline camera settings that work well for most indoor photo booth environments with added lighting:
- Shutter speed: 1/125s to 1/200s. This is fast enough to freeze motion (nobody stands perfectly still) and short enough to exclude most ambient light when you are using a strobe.
- Aperture: f/5.6 to f/8. This gives you enough depth of field to keep a group of four guests sharp from front to back.
- ISO: Keep it at 100-400. Higher ISO is the enemy of clean photo booth images. Let your lights do the work instead of pushing the sensor.
- White balance: Set it manually to match your lights (5500K for daylight LEDs). Auto white balance will shift between shots if the DJ lights change color.
On the software side, most professional photo booth platforms allow you to set exposure compensation, apply preset color corrections, and add a consistent skin-smoothing filter. Use these tools to build a profile specifically for each venue type: dark ballroom, bright outdoor tent, industrial warehouse. Saving those profiles means you can switch contexts in under a minute when conditions change.
How to Fix Photo Booth Lighting in Dark or Dimly Lit Venues
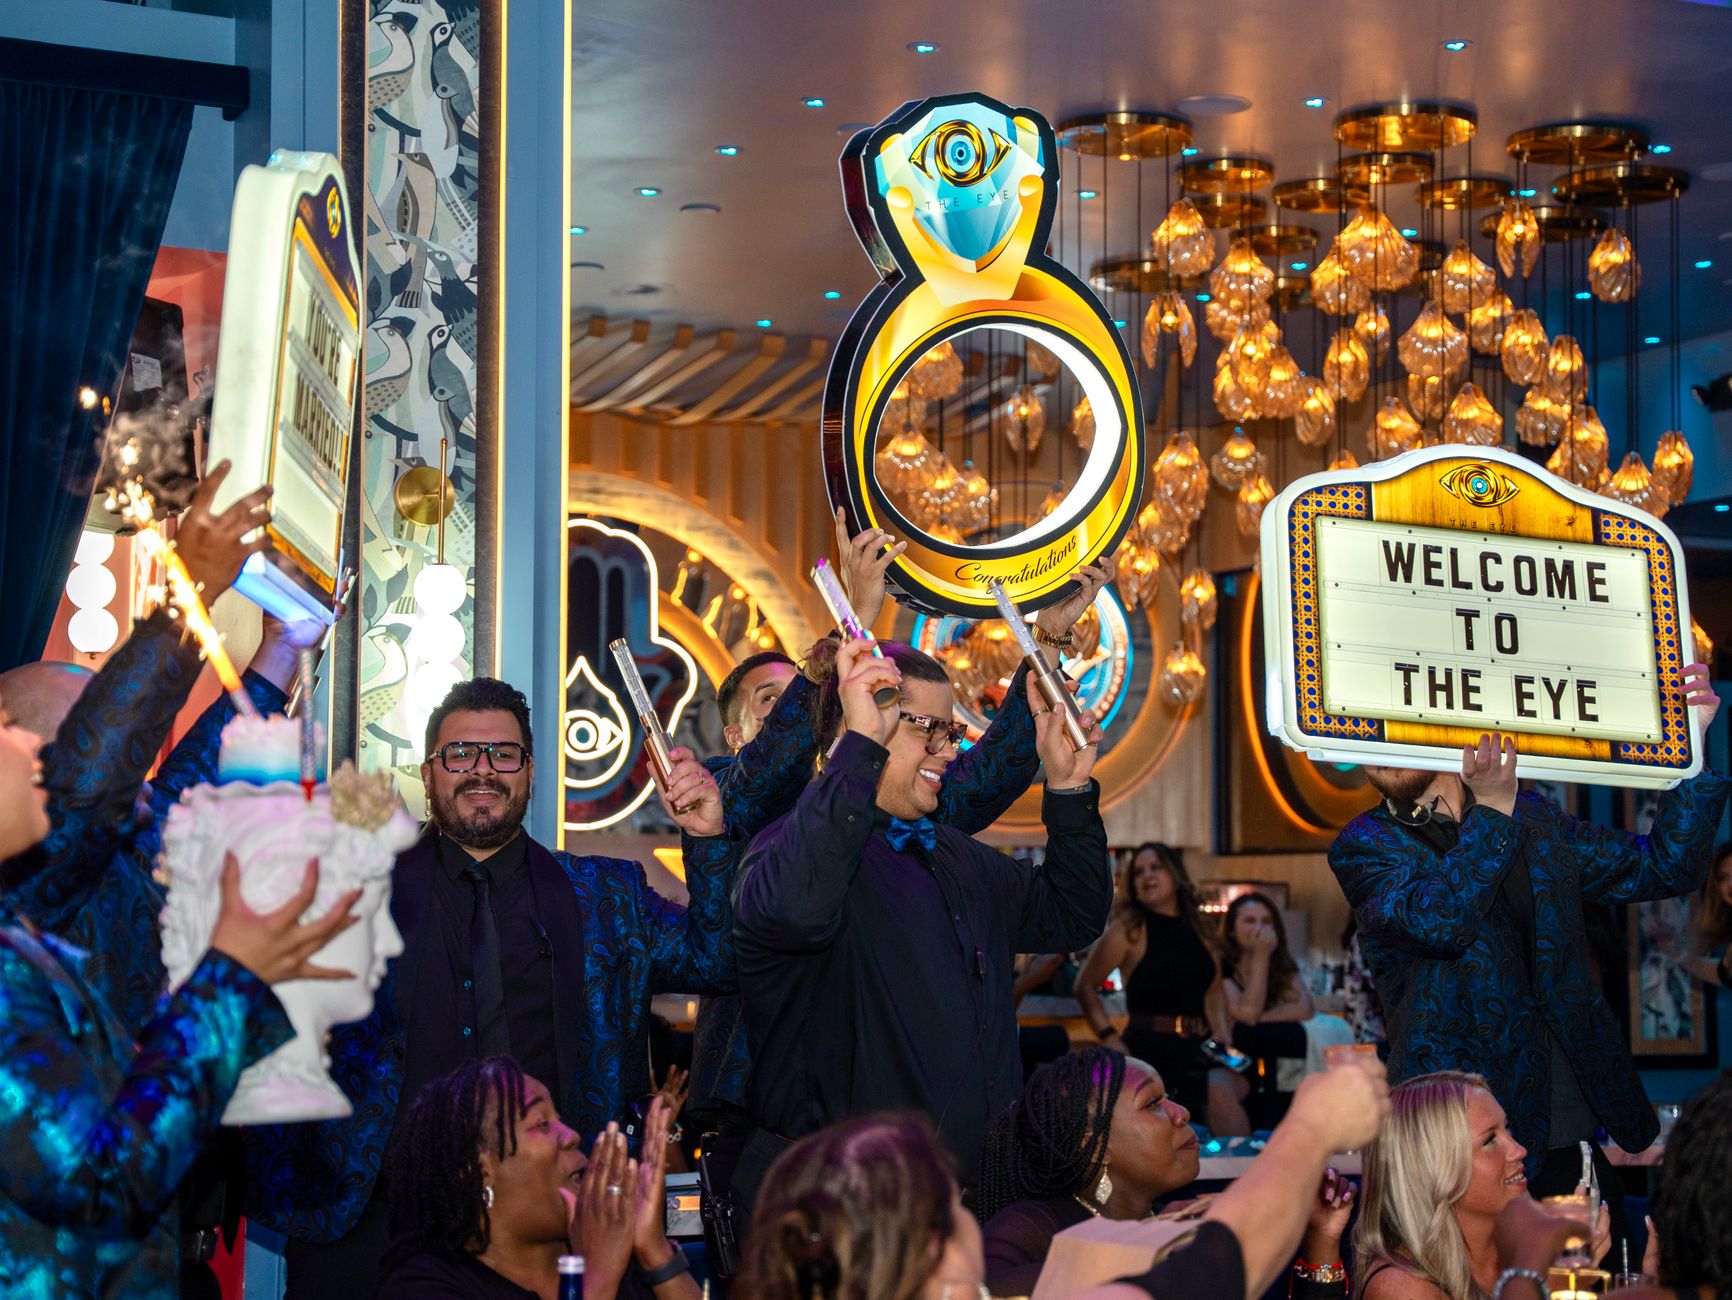
Dark venues are the most common complaint from photo booth operators and event hosts alike. Fixing photo booth lighting in a dim venue is a multi-step process that starts before you unpack a single piece of gear.
First, do a venue walkthrough during setup. Walk the exact footprint where the booth will sit and take a test shot without any added light. That baseline image tells you exactly how much light you need to add and where the worst shadows are falling. It also reveals any background elements, such as an exit sign or a lit bar shelf, that might create a competing color cast.
Second, position your booth so that any existing venue light works with you rather than against you. If there is a chandelier above the dance floor, placing the booth directly under it gives you a free fill light. If there are wall sconces, placing the booth between them creates a soft, warm side-light that flatters guests and reduces the power your own rig needs to produce.
Third, build a lighting perimeter. For very dark venues, a single ring light is sometimes not enough. Adding a pair of LED panels flanking the booth creates a contained, well-lit zone that is visually separate from the dim room around it. This actually creates a great effect: guests feel like they are stepping into a spotlight, which makes the booth experience feel more special and theatrical.
For weddings specifically, coordinating with the venue lighting team is worth doing. Many venues are willing to bring up the house lights slightly in the photo booth corner during cocktail hour or reception. According to The Knot, lighting coordination between vendors is one of the details that separates a smooth event from a stressful one. If you are working on backdrop selection in addition to lighting, our guide on choosing a photo booth backdrop for your wedding explains how backdrop material and color affect how light reflects back onto your subjects.
Dealing with Colored and Dynamic Venue Lighting
Colored event lighting, think uplighting, DJ washes, and neon accent walls, is one of the trickier lighting conditions for photo booth setups. Unlike simple darkness, colored light actively changes the white balance of every shot and can be unpredictable frame to frame.
The core strategy here is overpowering the ambient color with your own neutral light. If your strobe or LED output is significantly brighter than the ambient colored light at the subject position, your camera’s white balance locks onto your neutral light source and the colored ambient becomes a subtle background glow rather than a face-washing problem. This is why light power matters as much as light quality.
A few additional tactics for colored venue lighting situations:
- Use a faster shutter speed: Going from 1/125s to 1/200s or even 1/250s reduces the amount of ambient colored light the sensor records between strobe pulses.
- Add a backdrop with light-absorbing material: Matte fabric backdrops absorb stray colored light rather than reflecting it back onto guests. Sequin or metallic backdrops look stunning but can amplify color cast problems in DJ-lit venues.
- Communicate with the DJ: Ask the DJ to keep moving colored washes away from the photo booth zone. Most DJs are happy to do this once they understand the issue; it only takes a two-minute conversation during setup.
- Use a short focal length: A slightly wider lens means you need less depth of field, which lets you keep aperture slightly closed and reduce ambient light bleed.
At Epic Events Booth, our team scouts every venue in advance and speaks directly with the lighting and AV teams to make sure our setups are conflict-free from the start.
Photo Booth Backdrop Selection to Compensate for Poor Lighting
Your backdrop choice plays a larger role in managing bad venue lighting than most people realize. A photo booth backdrop absorbs, reflects, or diffuses the light that your rig produces, and selecting the wrong one can undermine even a well-designed lighting setup.
White and light-colored backdrops reflect light back onto subjects, which acts as a natural fill and brightens the overall image. This is ideal for dark venues where you need every bit of reflected light you can get. The tradeoff is that white backdrops are unforgiving with exposure: overexpose them by even a stop and they blow out completely.
Dark backdrops, deep navy, charcoal, or black velvet, absorb light and eliminate the reflection variable. They are excellent for dramatic, high-contrast looks and perform well in venues with colored ambient lighting because they do not pick up stray color the way lighter fabrics do.
Printed backdrops with detailed patterns sit in the middle. They can hide exposure inconsistencies because the eye is drawn to the pattern rather than the subject’s edges. This makes them a forgiving choice for challenging venues. If you want a deeper breakdown of backdrop materials and styles, our detailed guide on photo booth backdrop options for weddings covers every material type and how each one performs under different lighting conditions.
For outdoor setups or tented events where natural light is a factor, neutral gray backdrops work particularly well because they are flattering across a wide range of natural light intensities, from bright noon sun to golden-hour glow.
Pre-Event Lighting Checks and Venue Communication Tips
The best lighting setup in the world can still fail if you skip the prep work. Pre-event checks and clear communication with the venue team are what separate a smooth, professional setup from a stressful scramble during cocktail hour.
Here is a pre-event lighting checklist you can run through at every venue walkthrough:
- Test the ambient light level at the exact booth position with a test shot on your actual camera and lens, not your phone.
- Identify all overhead and wall-mounted light sources within 10 feet of the booth position and note their color temperature.
- Locate the nearest electrical outlet and confirm it is on a separate circuit from the DJ or AV equipment.
- Ask the venue coordinator if overhead fixtures above the booth can be dimmed or brought up during specific parts of the event.
- Confirm the final booth position will not be in the path of any moving DJ lights.
- Do a full dress rehearsal with your lighting rig at the venue if you have access for setup more than one hour before guests arrive.
Communicating clearly with the venue coordinator also sets professional expectations. Bring a one-page setup diagram showing your booth footprint, power needs, and lighting rig placement. Venues appreciate the professionalism, and it removes any last-minute surprises about space usage or power access.
For guests who want to make the most of the experience once setup is complete, our guide on photo booth dos and don’ts covers everything from how to stand to how many people can fit in the frame, which also ties directly into how your lighting needs to be positioned for different group sizes.
Handling bad venue lighting for photo booth setups is ultimately about preparation, layered solutions, and clear communication. No single fix covers every situation, but combining the right hardware, dialed-in camera settings, a well-chosen backdrop, and proactive venue coordination gives you a system that handles nearly any condition. Whether you are setting up a wedding photo and video booth in a candlelit ballroom or a 360 video booth in a warehouse event space, these principles apply across the board.
Closing: Get a Photo Booth Setup That Works in Any Venue
You should not have to cross your fingers and hope the venue cooperates on event day. With the right lighting strategy, proper hardware, and a team that does the prep work in advance, your photo booth can produce stunning images in every single environment. At Epic Events Booth, we handle every one of these details so you do not have to. If you are ready to experience a photo booth setup that works flawlessly no matter the venue, contact us today for a free quote on photo booth rental in Arizona and let our team take care of everything from lighting to the final printed memory your guests take home.
Frequently Asked Questions
What type of lighting is best for a photo booth?
A continuous LED ring light or a soft-box strobe setup works best for most photo booths. Ring lights produce even, shadow-free illumination that flatters every face shape. For larger booths or group shots, a two-point strobe configuration with a main light and a fill light gives you studio-quality results. Stick to a consistent 5500K color temperature to keep white balance locked across every shot.
How do I fix a photo booth in a dark venue?
Start with a venue walkthrough before the event and test your ambient light levels. Position the booth near any existing overhead fixtures you can use as fill. Add LED panels flanking the booth to create a well-lit zone, and set your camera to manual mode with a fast shutter speed (1/125s to 1/200s) so ambient darkness does not bleed into your exposure. Overpowering ambient light with your own rig is the most reliable fix.
Can colored DJ lighting ruin photo booth pictures?
Yes, colored moving lights can introduce strong color casts and inconsistent white balance across shots. The solution is to overpower the colored ambient light with a brighter, neutral-temperature strobe or LED. Using a faster shutter speed also reduces how much ambient color the sensor records between flashes. Talking to the DJ about keeping moving washes away from the booth zone takes about two minutes and solves the problem at the source.
Do I need a ring light for a photo booth setup?
A ring light is not strictly required, but it is one of the most practical choices for portable photo booth setups because it is compact, easy to position, and produces flattering, even light with minimal setup. Alternatives like softbox strobes or LED panels work well too, especially for larger setups or premium event experiences. The key is having dedicated, controllable light rather than relying on whatever the venue provides.
How far should the photo booth light be from subjects?
For a ring light, placing it two to four feet from the subject produces the best results. Too close and the light wraps uncomfortably; too far and you lose the soft, even quality that makes ring lights desirable. For strobe setups, a main light at 45 degrees and roughly four to five feet away, with a fill at reduced power on the opposite side, works well for one to four people in the frame.
