


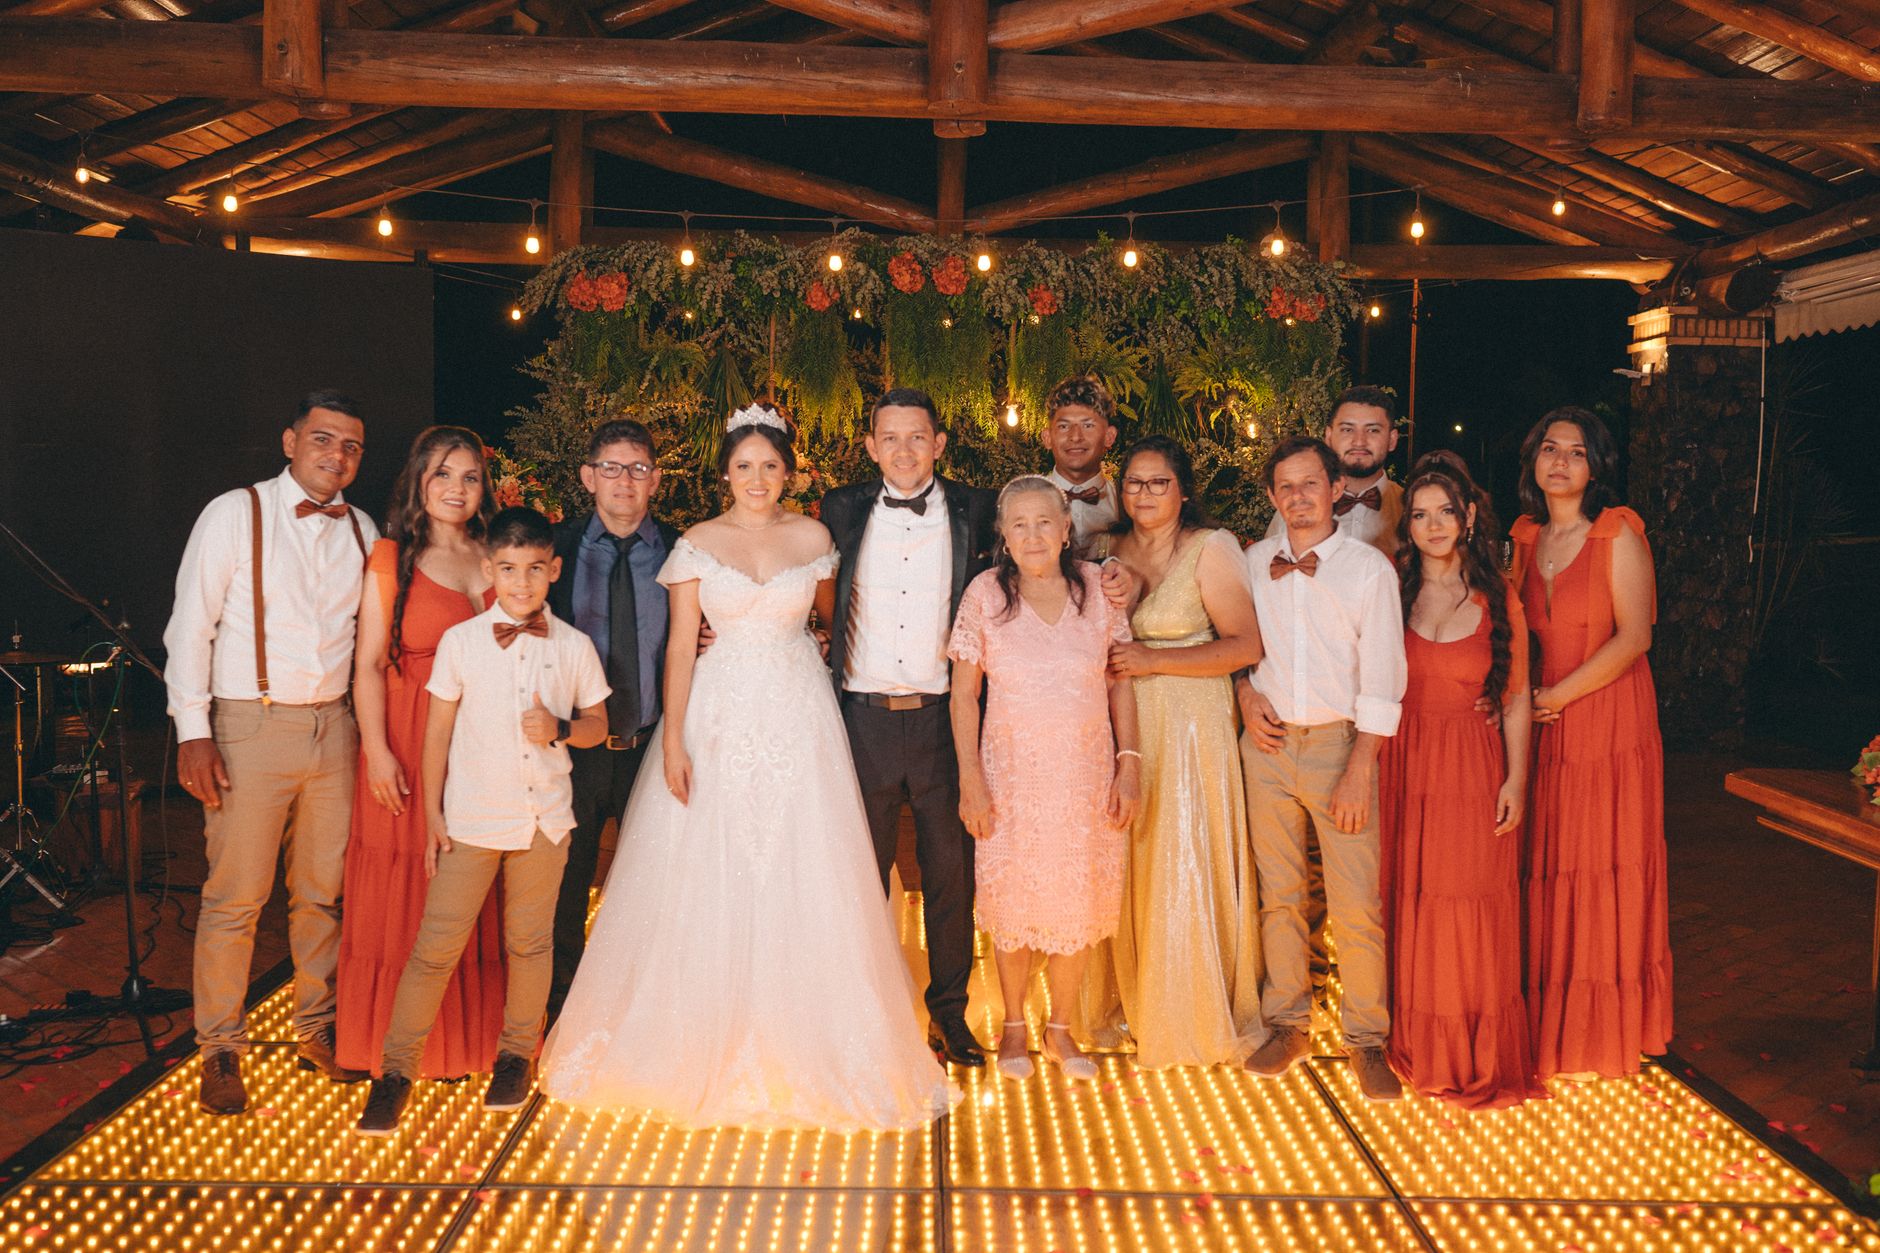
Taking perfect photo booth pictures comes down to three core elements: the right camera settings, good lighting, and confident posing. When all three click into place, every guest walks away with a print they actually want to keep. This guide walks you through each step in sequence, from dialing in your exposure settings to striking poses that look natural, so you can get great results every single time.

Step 1: Set Up Your Photo Booth for the Best Shot Quality
Before anyone steps in front of the camera, your setup matters more than most people realize. A wobbly backdrop, a camera at the wrong height, or a flash pointed in the wrong direction will undermine every other tip on this list. Getting the physical setup right is the foundation of taking perfect photo booth pictures.
Start with camera height. Mount your camera at chest-to-face level for the average adult, typically around 5 to 5.5 feet off the ground. This angle is flattering for most people and avoids the unflattering up-the-nose perspective you get when the lens is too low. If your booth serves a mix of adults and children, a slight downward tilt at mid-height works well for both.
Next, think about the backdrop. A well-chosen backdrop frames your guests and ties the entire look together. If you are planning a wedding, choosing a photo booth backdrop for your wedding involves matching the color palette to your florals and decor, so your prints feel cohesive rather than like an afterthought.
Finally, think about the distance between the camera and your subjects. Two to three feet is usually too close and causes distortion. Four to six feet gives you a natural perspective with enough room to capture a group of three to four guests comfortably. Mark the floor with a piece of tape so guests know exactly where to stand every time.
- Camera height: 5 to 5.5 feet works for most adult groups
- Camera-to-subject distance: 4 to 6 feet for natural perspective
- Backdrop position: taut, wrinkle-free, and at least 2 feet behind subjects
- Floor mark: use tape so guests never stand too close or too far
Step 2: Master Manual Camera Settings for Photo Booths
Shooting in manual mode is the single biggest upgrade you can make to your photo booth image quality. Auto mode makes guesses based on average scenes, and photo booths are anything but average: flash-heavy, fast-changing groups, mixed lighting. Manual settings give you repeatable, consistent results shot after shot.
Here are the three numbers you need to nail for photo booth photography settings:
ISO
ISO controls your sensor’s sensitivity to light. In an indoor booth with a dedicated flash or strobe, keep your ISO low, between 100 and 400. A low ISO means less digital noise and cleaner, crisper prints. If you are shooting outdoors in shade, you may need to push to 400 to 800, but go higher only when the light truly demands it.
Aperture
For group shots where you want everyone in focus, an aperture of f/5.6 to f/8 is the sweet spot. A wide-open aperture like f/1.8 is beautiful for portraits but will throw the person at the back of your group out of focus. In a booth, sharpness across the frame matters more than a blurry background, so keep that aperture mid-range. According to event photography guides on Special Events, consistent depth of field across group shots is one of the most important factors in professional event image quality.
Shutter Speed
When you are using a flash or strobe, your shutter speed must be at or below your camera’s sync speed, usually 1/200s or 1/250s. Going above the sync speed causes a dark band across the image. For most indoor booth setups, 1/125s to 1/200s works perfectly. This setting matters most for photo booth manual mode shooting in Phoenix and other sunny climates where ambient light bleed can wash out your flash if the shutter is too slow.
A quick cheat sheet for indoor photo booth camera settings:
- ISO: 100 to 200
- Aperture: f/5.6 to f/8
- Shutter Speed: 1/125s to 1/200s
- White Balance: set to match your light source (more on this below)
Step 3: Nail Your Photo Booth Lighting Setup
Lighting is what separates a crisp, professional-looking print from a flat, washed-out snapshot. Photo booth lighting setup does not have to be complicated, but it does need to be intentional. The three most common approaches are a single on-axis ring light, a two-strobe setup with a key and fill, and a softbox setup for a more diffused glow.
The ring light is popular in modern booths because it produces even, catchlight-in-the-eye illumination with minimal shadows. It is easy to use and forgiving across a wide range of skin tones. The catch: it can feel a bit flat and clinical if it is the only light source. Pair it with a warm ambient background light to add depth.
A two-strobe setup with a key light at 45 degrees and a fill light on the opposite side gives you a more sculpted, dynamic look. This is the approach many professional photo booth operators use for glam-style booths, where the goal is a polished, editorial feel. If you are running a Epic Events Booth style Glam Booth, this two-light configuration will give you that luxe, high-end quality that guests love.
A few lighting tips to keep in mind:
- Avoid mixing light sources with different color temperatures in the same frame
- Diffuse your flash with a softbox or umbrella to soften harsh shadows under chins
- If the venue has strong colored uplighting, turn it off or reposition the booth so it does not spill onto your backdrop
- Test with a real person at the start of the event before guests begin using the booth
Step 4: Set the Right White Balance for Accurate Photo Booth Colors
White balance is the setting that tells your camera what “true white” looks like under your specific light source. Get it wrong and your guests’ faces look orange under tungsten lights or sickly green under fluorescent office lights. Proper white balance for photo booth photography means your skin tones look natural and your backdrop colors match what you actually hung up.
For most indoor events with a strobe or flash, set your white balance to Flash (around 5500K). This matches the color temperature of your light source and gives you clean, neutral tones. If you are shooting in a venue with warm ambient light, you may want to nudge slightly warmer, around 5800K to 6000K, to avoid the cool-flash-against-warm-room mismatch.
If you are shooting RAW files, white balance is easy to correct in post-processing. If you are shooting JPEGs and printing on-site (which is the norm for most event booths), getting the white balance right in-camera is critical because there is no post step. Do a test shot with a gray card or a sheet of white paper in frame, use your camera’s custom white balance tool, and lock it in before the first guest steps up. This one step eliminates more color problems than any other adjustment you can make.
According to Brides, photo booth prints are one of the most popular wedding keepsakes guests take home, which means accurate, flattering color is not just a technical detail, it directly affects how people remember your event.
Step 5: Learn the Photo Booth Poses That Actually Look Good
Camera settings and lighting get you technical quality. Posing is what makes the pictures feel alive. The good news is that photo booth posing does not require years of modeling experience. A few reliable frameworks work for almost every group, and once guests see the first shot, they naturally loosen up and start having fun.
Photo Booth Poses for Couples
Photo booth poses for couples work best when there is some physical connection between the two people. A cheek-to-cheek lean, one person slightly behind the other with a hand on a shoulder, or the classic “look at each other instead of the camera” moment all produce natural, warm results. Avoid the stiff side-by-side stand with arms clamped to sides. That is what makes couples look like they are posing for a passport photo. Encourage a slight lean, a laugh, or a whispered joke just before the shutter fires.
Group Poses for 3 or More People
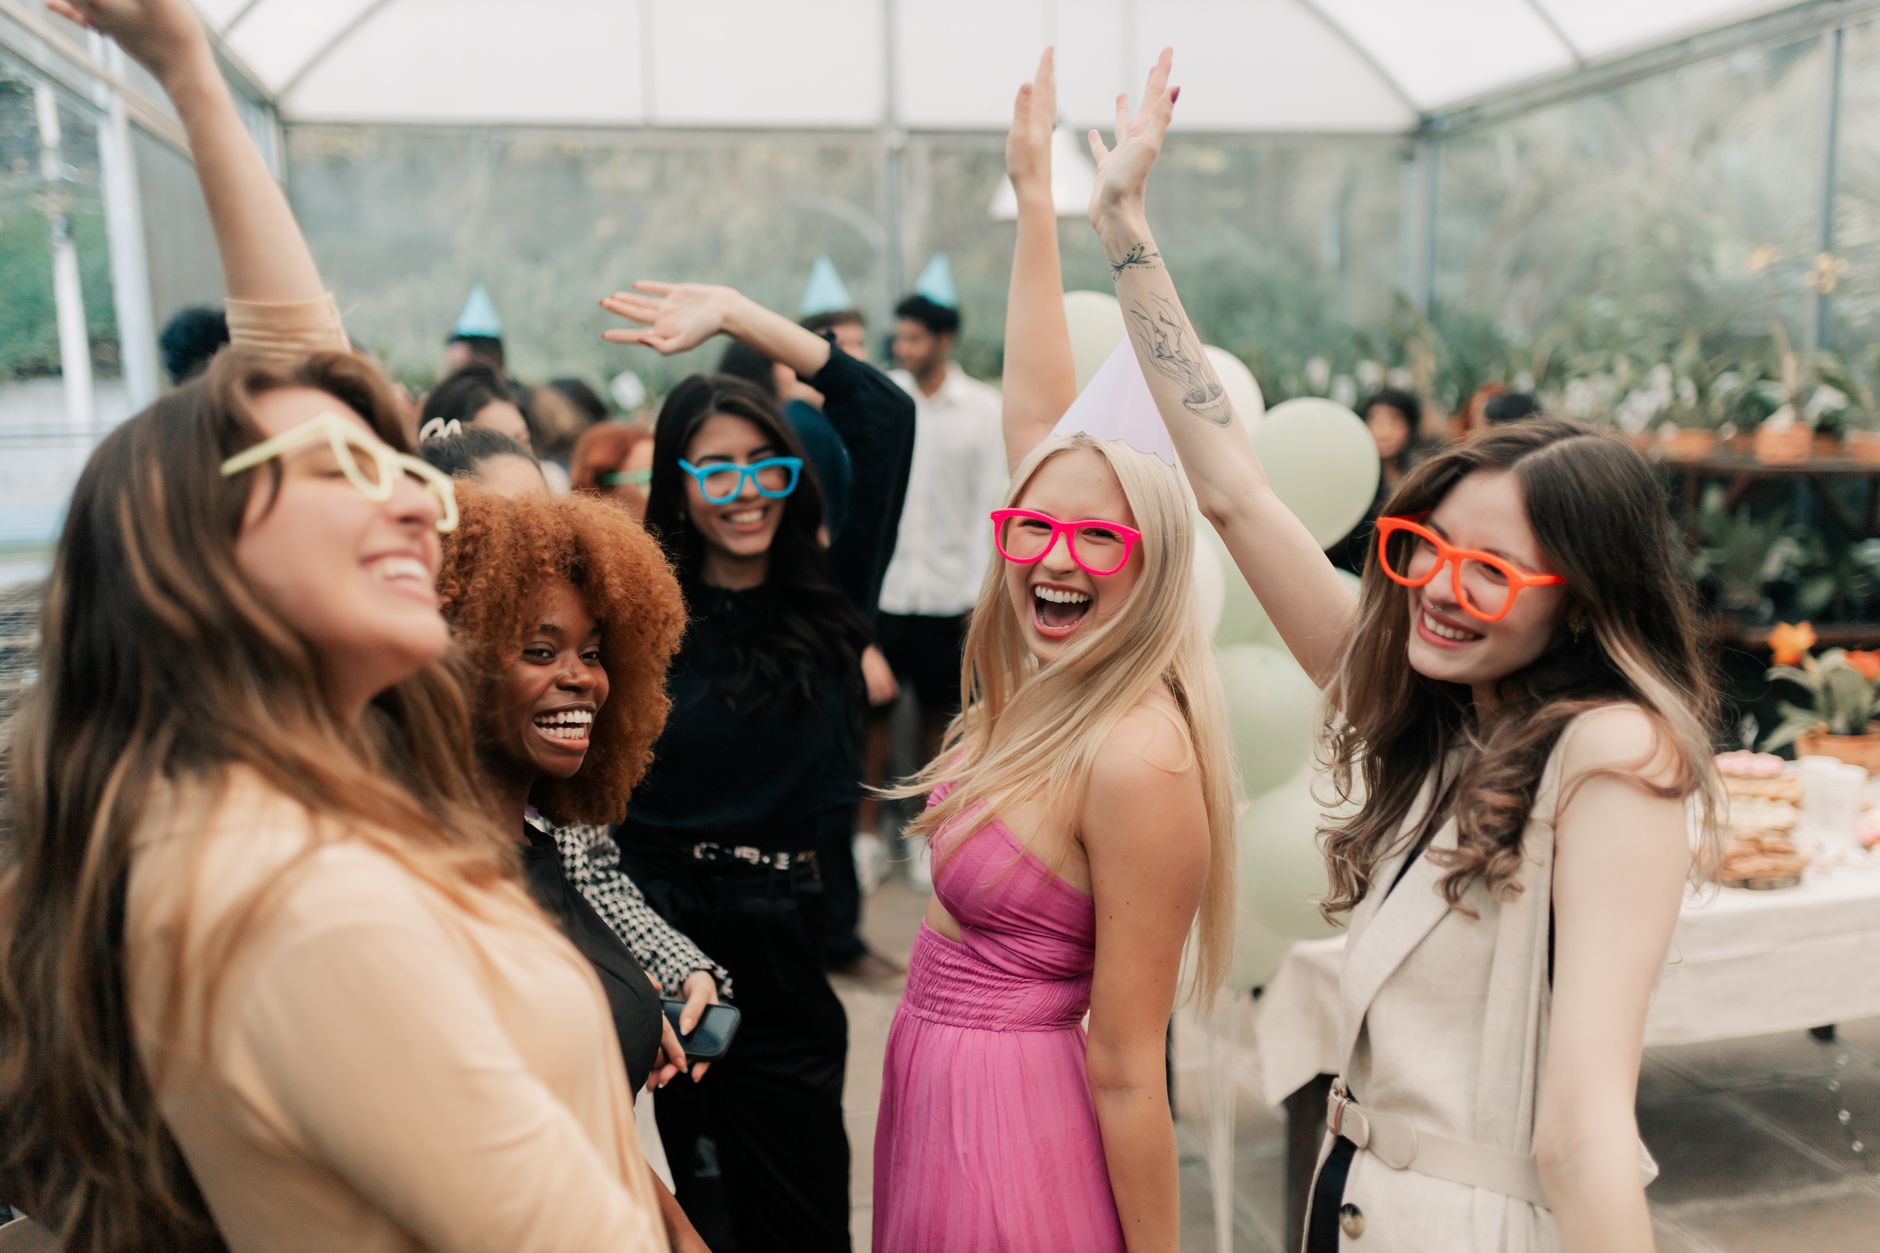
Groups need structure or the photo looks like a crowd shot. Use levels: have one row sitting or kneeling, one row standing. Tilt heads slightly toward the center of the group. Keep everyone within a roughly equal distance from the camera so no one is soft or out of frame. Props are your best friend here: a funny sign, oversized glasses, or a hat gives everyone something to do with their hands and loosens up the energy instantly.
For more guidance on getting guests into the booth and capturing great shots in a real event setting, take a look at photo booth rental in Gilbert, the tips there apply to any event format.
Solo Poses
Solo shots are often the most awkward for guests. Give them a simple direction: turn slightly to one side, shift your weight to your back foot, and look just past the camera lens rather than directly at it. This alone takes most solo shots from stiff to natural. If props are available, hand something to your subject to hold so they have a natural focal point for their hands.
Step 6: Use Photo Booth Frames, Strips, and Templates Wisely
Photo booth picture frames, photo strips, and digital templates are more than decorative touches. They are a significant part of the overall experience and they affect how guests perceive the quality of the event. A well-designed photo booth pictures template that matches your event branding makes every print feel intentional and premium. A generic or mismatched template makes even a technically great photo feel like an afterthought.
Classic photo strips, the vertical two-by-six format with two to four frames, remain one of the most popular print formats at weddings and parties. Guests love them because they fit in a wallet, stick on a fridge, or slide into a card as a personal note. Photo strips also encourage guests to take multiple shots in one session, which means more variety and more chances to catch a natural, unplanned moment.
Digital photo booth picture frames are increasingly popular for events that want instant social media sharing. A well-branded digital frame gives guests something share-ready and ties the brand or event identity to every image that goes out online. At epic events booth arizona, every booth comes with fully customizable templates so your prints and digital frames reflect your event’s unique look.
A few template design tips:
- Keep text minimal: your event name, date, and a simple logo are enough
- Use colors that complement your backdrop, not compete with it
- Leave enough white or negative space so the photo remains the hero of the print
- For weddings, coordinate your template colors with your invitation suite for a cohesive look
Step 7: Shooting Outdoors with Your Photo Booth
Outdoor photo booth photography introduces variables you simply do not have inside: changing sunlight, wind on your backdrop, and ambient light that shifts by the hour. But outdoor booths can also produce stunning, naturally lit images when set up correctly.
The most important rule for outdoor photo booth use: position the booth in open shade. Direct sunlight creates harsh shadows under eyes and noses and will blow out skin highlights in your images. Open shade, the kind you find under a tent or on the north side of a building, gives you soft, even light that is flattering across all skin tones.
If you are shooting an outdoor wedding, the timing of your setup matters. The hour after sunrise and the hour before sunset (the golden hour window) produce the most beautiful ambient light. Midday sun between 11am and 2pm is the hardest to work with and usually requires additional diffusion or flash compensation.
For a detailed breakdown of what to prepare before rolling out your booth at an outdoor venue, the outdoor wedding photo booth setup guide covers everything from power supply logistics to backdrop anchoring in windy conditions.
Wind is the enemy of a clean backdrop outdoors. Use a heavier fabric backdrop material and anchor your backdrop stand with sandbags or weight bags at each leg. A flapping or creased backdrop ruins the background of every single shot. Check the weather forecast ahead of the event, and have a plan for relocating indoors if sustained winds exceed 15 mph.
Planning an outdoor event? The Knot offers a helpful guide to outdoor wedding logistics that pairs well with these photo booth tips for couples planning al fresco celebrations.
Whether you are a first-time photo booth user trying to look your best in the frame or an event organizer setting up a full booth experience for guests, these steps give you a clear, repeatable process for getting great results. Great photo booth pictures come from preparation, not luck. When the settings are dialed in, the lighting is clean, and your guests know how to pose, every session produces prints worth keeping.
Ready to put all of this into action at your next event? 360 video booth rental Arizona and our full lineup of premium booth experiences are available for weddings, corporate events, and private parties across Arizona. Contact us today for a free quote and let our team help you design a photo booth experience your guests will talk about long after the night is over.
Frequently Asked Questions
How do I make my photo booth pictures look good?
Start with the setup: position the camera at face height, use a clean backdrop, and mark the floor so guests stand at the right distance. From there, focus on lighting consistency and set your white balance to match your light source. Good posing direction makes a big difference too. Give guests a simple cue like a slight lean or a prop, and the images immediately feel more natural and lively.
What is the best camera setting for a photo booth?
For indoor photo booth photography with a flash or strobe, shoot in manual mode with ISO 100 to 200, aperture f/5.6 to f/8, and shutter speed between 1/125s and 1/200s. These settings give you consistent depth of field across group shots, minimize noise, and sync correctly with your flash. Always do a test shot with a real person before the event starts so you can fine-tune before guests arrive.
What are the best photo booth poses for couples?
The most flattering photo booth poses for couples involve physical connection: a cheek-to-cheek lean, one person slightly behind the other with a hand on a shoulder, or looking at each other mid-laugh. Avoid the stiff side-by-side pose. Encourage natural movement, a whispered joke just before the shutter fires, or a silly prop to break the ice. Relaxed subjects always photograph better than posed ones.
How do I improve photo booth picture quality on Mac?
If you are using Apple’s Photo Booth app on Mac, image quality is largely tied to your webcam or connected camera. For better results, use the Lighting Correction setting in the app’s preferences, shoot in a well-lit room with light facing you rather than behind you, and avoid busy backgrounds. For professional-quality prints, a dedicated DSLR or mirrorless camera connected via capture card will always outperform a built-in webcam.
What size are photo strips and how many photos do they include?
Classic photo strips are typically two inches wide by six inches tall and include two to four individual frames arranged vertically. This format became the standard in traditional photo booths and remains the most popular print size at events today. Modern booths often offer customizable photo booth picture templates in this size, letting you add event branding, colors, and text while keeping the timeless strip format guests love to take home.
