
Setting up a photo booth at an LA venue requires planning around space, power, lighting, and load-in logistics before your event day arrives. A smooth photo booth setup starts with coordinating with your venue coordinator at least two weeks out to confirm dimensions, electrical access, and floor protection requirements. This guide walks through every step, from choosing the right booth type to managing insurance paperwork, so your event runs without a hitch.
1. Photo Booth Setup for LA Venue Events: Choosing the Right Booth Type First
Before you can plan a photo booth setup for an LA venue event, you need to decide which booth style fits the space and the vibe. Not every booth works in every room, and LA venues range from sprawling rooftop decks to intimate Hollywood Hills courtyards. Getting this choice right early saves you a lot of headaches on event day.
Here is a quick look at the most popular options and what each one needs from a venue:
- Open-air photo booth: The most flexible option. Works well in narrow corridors, cocktail areas, and tented patios. Typically needs a footprint of about 8 feet by 8 feet for the booth itself plus a 6-foot backdrop.
- 360 video booth: This is the showstopper at corporate activations and high-energy weddings. A 360-degree video setup requires a circular platform (usually 5 feet in diameter) plus a safe perimeter of at least 3 feet on all sides. Total footprint: 12 feet by 12 feet minimum. Be aware of low ceilings, as the rotating arm needs clearance.
- Mirror booth: A freestanding unit that looks like a full-length mirror. Footprint is roughly 4 feet by 4 feet, but you still need room for guests to step back and pose, budget 8 feet of depth from the mirror face.
- Glam booth: Delivers studio-quality lighting and dramatic, softly lit portraits. If you want that glamorous look, a glam booth rental for events is worth discussing with your vendor early so the correct backdrop and lighting rig can be pre-staged.
- GIF booth: Compact and easy to position. Works in most standard cocktail-hour setups.
The key takeaway here: share your venue’s floor plan with your photo booth vendor before you sign anything. Sending even a rough diagram prevents surprises on setup day.
2. Space Requirements by Booth Type: Mapping Out Your Footprint
Space requirements for photo booth setups are the single most common point of conflict between event planners and venue managers. LA venues are notorious for looking enormous in photos and feeling much smaller once tables, a dance floor, a bar, and a DJ setup are all in place. Knowing the actual square footage each booth type needs gives you leverage when negotiating placement.
Use these guidelines as your starting checklist:
- Open-air booth: 8 ft x 10 ft minimum (includes backdrop and guest queue).
- Enclosed booth: 6 ft x 8 ft for the unit plus a 4-foot queue lane.
- 360 video booth: 12 ft x 12 ft minimum, ideally 14 ft x 14 ft to handle larger groups on the platform.
- Mirror booth: 6 ft x 8 ft for the unit plus depth for guests to stand back.
- Props table: Add 2 feet of width beside any setup that uses physical props so guests are not crowding the queue.
One practical tip for LA venue setups: request a site visit or at minimum a venue measurement sheet before the event. Many historic Boyle Heights event halls and Koreatown banquet rooms have columns and alcoves that eat into usable floor space. For a deeper dive on photo booth setup logistics in a large urban market, check out our photo booth setup guide for Houston events, which covers many of the same venue coordination principles.
According to BizBash, event designers increasingly recommend designating a dedicated photo activation zone that is at least partially separated from the main flow of foot traffic. This prevents bottlenecks and keeps guests moving through the space.
3. Power Requirements for Photo Booth Installations at Venues
Power is one of those things that nobody thinks about until the booth goes dark mid-event. Getting your power requirements right is critical for any photo booth installation at a venue, especially in LA where older buildings may have outdated electrical panels.
Here is what you need to confirm with the venue before your event:
- Standard outlet access: Most photo booths run on a standard 110V, 15-amp outlet. Confirm the venue has a dedicated circuit within 25 feet of your planned placement spot. Running an extension cord across a dance floor is a liability issue and a trip hazard.
- 360 video booth power: Some rotating arm rigs draw more current, especially those with built-in LED ring lights. Your vendor should provide exact amp draw specs so the venue electrician can confirm circuit capacity.
- Printer power: If your setup includes an on-site photo printer, budget for a second outlet or confirm the printer is on the same circuit as the booth without overloading it.
- Backup power: For outdoor LA venue setups, tents, or rooftop locations without reliable panel access, ask your photo booth vendor about battery backup options or generator compatibility.
- Wi-Fi and internet: Instant social sharing, a signature feature of a personalized event photo booth experience, depends on a stable connection. Confirm venue Wi-Fi speed or budget for a dedicated mobile hotspot.
A simple rule: never assume outlets will be where you need them. Walk the room with your venue contact and physically identify the circuit panel location, outlet positions, and any known dead zones for Wi-Fi before finalizing your booth placement.
4. Best Placement Spots in LA Venues for Maximum Guest Engagement
Where you put the booth matters just as much as what kind of booth you choose. The best placement spots in LA venues are the ones that catch guests naturally as they move through the space, not tucked into a corner that people have to hunt for.
Consider these placement strategies:
- Cocktail hour area: This is the sweet spot for most events. Guests are mingling, drinks are in hand, and the energy is right for stepping up to a booth. Cocktail-hour placement typically yields the highest number of sessions per hour.
- Entrance or foyer: Placing the booth near the entrance creates an immediate impression when guests walk in. It also means guests can take photos before dinner, when they are freshly dressed and energized.
- Near the bar (but not blocking it): Proximity to the bar keeps traffic flowing toward the booth, but give at least 6 feet of clearance so you are not creating a logjam.
- Away from the DJ speakers: Noise disrupts the attendant’s communication with guests. Position the booth at least 15 feet from the main speaker stack.
- Avoid direct sunlight for indoor-outdoor spaces: Southern California light is beautiful, but direct afternoon sun through a window or glass wall blows out photos. Test the light at the time of day your event runs.
For outdoor LA venues specifically, check out our detailed breakdown on outdoor wedding photo booth setup to understand how weather, wind, and ambient light factor into your plan.
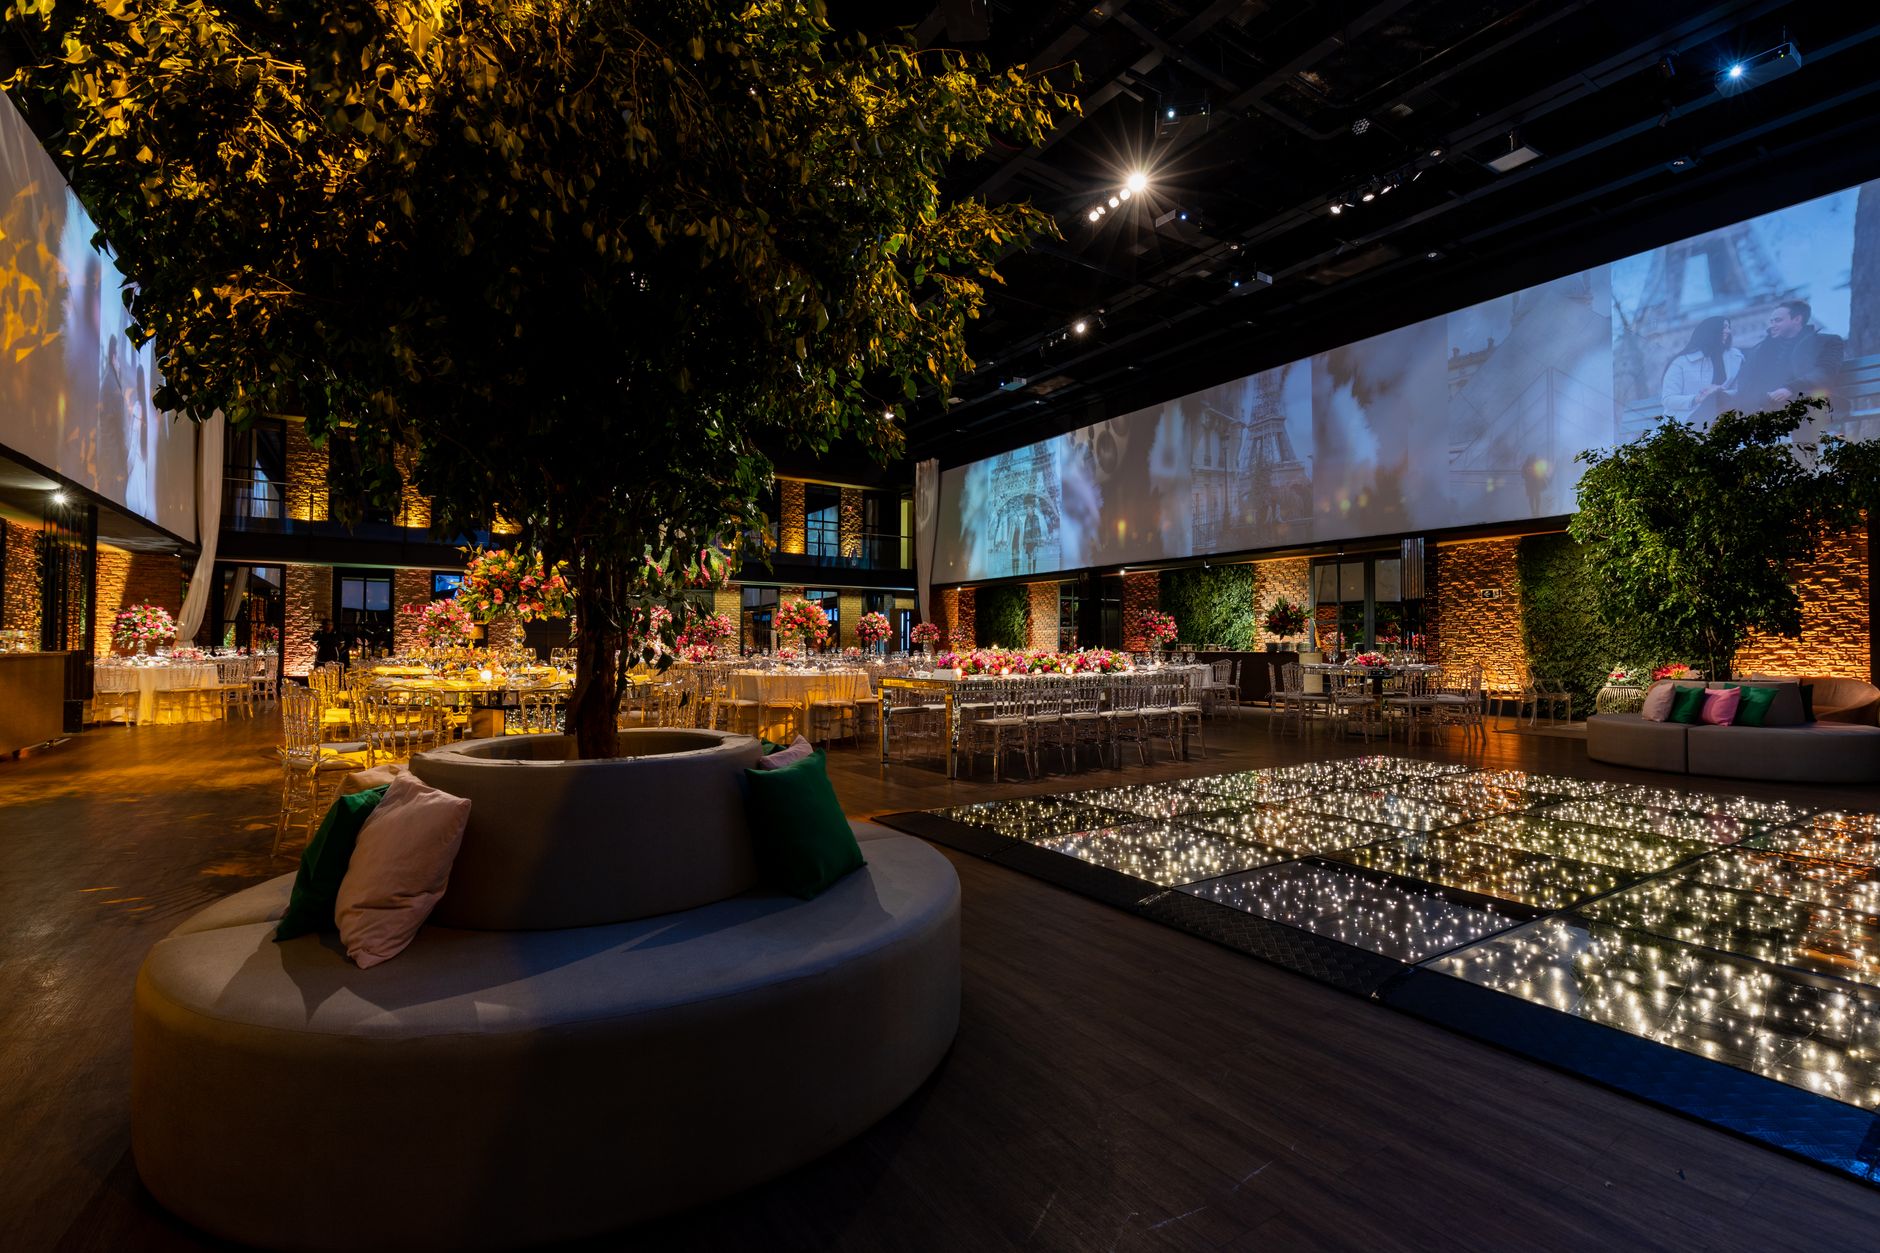
5. Lighting Considerations for Photo Booth Setups at Indoor and Outdoor LA Venues
Lighting is where photo booth setups succeed or fail visually. LA has some of the most visually sophisticated event guests in the country, and a poorly lit photo booth will show in every single print and digital share. Getting your lighting considerations right is non-negotiable.
Here is what to think through:
- Natural light venues: Spaces like glass-walled lofts in Arts District or greenhouse-style event spaces are gorgeous but tricky. Natural light changes dramatically from 6 PM to 9 PM. Your booth setup should include its own ring light or strobe so the output stays consistent regardless of ambient light.
- Dark ballrooms and warehouse venues: These are actually ideal for controlled lighting. Your booth’s built-in lights do all the work. The downside is that the backdrop needs to be well lit to avoid flat, muddy backgrounds.
- Glam booth setups: If you are using a glam or beauty-filter booth style, the lighting rig is a core part of the experience. Soft, diffused, even light is what creates that high-fashion portrait look guests love.
- 360 video booth lighting: For video setups, you want enough ambient light that the slow-motion footage does not look grainy. Talk to your vendor about supplemental LED panels if the venue is dark.
- Avoid mixed color temperatures: Warm incandescent venue lighting mixed with cool daylight or LED booth lighting creates unflattering color casts. If possible, request that the venue adjust lighting in the booth area to match or complement your setup’s color temperature.
Lighting details like these are covered well in event design resources. Martha Stewart’s party planning guides highlight how critical ambient light control is for creating a cohesive visual atmosphere at events, and the same principle applies directly to photo booth setups. For more actionable tips on getting great shots out of any setup, our post on photo booth tips and tricks is a practical read for both renters and venue coordinators.
6. Floor Protection and Load-In Logistics for LA Venue Photo Booth Setups
Many LA venues, particularly those in historic buildings, require vendors to submit a floor protection plan before allowing any equipment on the premises. Even if your venue does not require it, protecting the floor is the right call. Scratched hardwood or damaged tile means a deduction from the event deposit, and nobody wants that conversation after a great party.
Floor protection for photo booth load-in should include:
- Moving blankets or furniture pads: Lay these down along the path from the load-in entrance to the booth placement spot. Carts and dollies can scratch hardwood and marble very quickly.
- Anti-slip mats under the booth base: Both for floor protection and guest safety. A booth or platform that shifts during use is a hazard.
- Rubber casters or soft feet on all equipment: Ask your vendor to confirm their equipment has rubber feet or casters. Metal feet are a venue violation at most LA event spaces.
- Load-in timing windows: LA venues are often back-to-back on bookings. Confirm your load-in window with the venue coordinator and your photo booth vendor at least a week before the event. A standard photo booth setup takes 45 minutes to 1.5 hours depending on booth type. A 360 video booth can take up to 2 hours for full setup and testing.
- Elevator access and door widths: Many LA hotel ballrooms and high-rise venues require vendors to use service elevators. Confirm the dimensions of the service elevator and any narrow doorways before your vendor loads equipment onto the truck.
- Parking for the vendor vehicle: LA traffic and parking are a reality. Confirm whether the venue has a loading dock or a designated vendor parking spot. A vendor stuck circling the block for 30 minutes eats directly into your setup window.
Avoiding common logistical errors during load-in is something our post on 360 photo booth rental mistakes covers in detail, many of those lessons apply equally to LA venue setups.
7. Insurance and Liability Requirements for Photo Booth Vendors at LA Venues
This is the part of event planning that most people skip until it becomes a problem. LA venues, particularly those with a large events program, increasingly require photo booth vendors to carry their own liability insurance and to name the venue as an additional insured on the policy. Skipping this step can get your vendor turned away at the door on event day.
Here is what to confirm with your photo booth vendor before booking:
- General liability coverage: Most venues require a minimum of $1 million per occurrence. Some high-end LA venues require $2 million. Ask your vendor for a Certificate of Insurance (COI) and confirm the coverage amounts.
- Additional insured endorsement: Many venues require that they be listed as an additional insured on the vendor’s policy. Your vendor should be able to provide this documentation within a few business days of the request.
- Equipment coverage: This protects the vendor’s gear, not you directly, but it matters because an uninsured vendor who loses equipment may cancel or compromise your event.
- Worker’s compensation: If your vendor sends an attendant to staff the booth, some venues require proof of worker’s compensation coverage for that individual.
- Business license verification: Some LA venues and corporate clients request proof that the photo booth vendor holds a valid business license in California or their state of operation. Always ask your vendor about this upfront.
Working with a professional, established company means these documents are already on file and easy to provide. This is one of the clearest reasons to choose an experienced vendor over a casual side-hustle operation for an event that matters.
8. Backdrop Selection and Customization for LA Venue Photo Booth Setups
The backdrop is what guests actually see in their photos, and it is one of the most powerful branding and aesthetic tools in any photo booth setup. Choosing the wrong backdrop for an LA venue can make even a great booth look generic. Getting it right elevates every single print and digital share.
Backdrop considerations for LA venue setups include:
- Match the venue’s aesthetic: A boho macrame backdrop works beautifully in a rustic Malibu vineyard venue but feels out of place in a sleek Beverly Hills hotel ballroom. Pull the venue’s decor palette and match accordingly.
- Sequin and metallic backdrops: These are perennial crowd-pleasers in LA, especially for nighttime events where venue lighting hits the fabric and creates a dynamic shimmer effect on camera.
- Custom printed backdrops: For corporate events and brand activations, a custom printed backdrop with company branding, logos, and event-specific messaging turns every photo into a piece of branded content. This is standard practice for LA-area product launches and experiential marketing events.
- Floral walls: One of the most popular choices at LA weddings and quinceañeras. These look incredible on camera but require secure anchoring, especially outdoors where wind is a factor.
- Video background overlays: If you are using a video booth, your backdrop goes digital. Custom branded overlays, animated backgrounds, and venue-specific theming can all be built into the software. This is where video booth customization with overlays and branded backgrounds really shines for high-production events.
Always confirm the backdrop’s attachment method with the venue. Some LA spaces prohibit wall-mounted hardware. Make sure your vendor uses freestanding backdrop stands that do not require any drilling or adhesive.
9. Coordinating with LA Venue Staff for a Smooth Photo Booth Experience
Even the most carefully planned photo booth setup can hit friction if the venue staff is not in the loop. Communication between your photo booth vendor and the venue’s event coordinator is what keeps everything running smoothly on the day of.
Key coordination steps to complete before event day:
- Share the vendor’s contact info with the venue: The venue coordinator should have a direct line to the photo booth vendor’s lead technician at least 48 hours before the event.
- Confirm the booth in the venue’s event timeline: Make sure setup, operating hours, and breakdown windows are reflected in the venue’s master event timeline, not just your personal schedule.
- Identify the venue point person for load-in day: Who will let the vendor in? Where is the service entrance? Who has keys to the storage room where props can be staged before setup? Get these answers in writing.
- Discuss guest flow with the venue’s event planner: Where will the photo booth queue form relative to dinner tables, the dance floor, and the bar? The venue’s floor plan and the photo booth placement need to be designed together, not separately.
- Ask about venue noise policies: Some LA venues have sound ordinances or quiet hours. If your booth plays music or announcement audio, confirm this is allowed before the event.
Couples planning a wedding photo booth setup can find a wealth of vendor coordination advice at resources like The Knot, which regularly covers how to manage the vendor logistics that venue staff encounter most often.
10. Day-of Photo Booth Checklist for LA Venue Events
When event day arrives, having a structured checklist prevents the small things from becoming big problems. A professional photo booth installation at an LA venue should follow a clear sequence from load-in to wrap-up.
Use this checklist as your guide:
- Confirm vendor arrival time matches the venue’s load-in window.
- Walk the setup spot with the vendor upon arrival to confirm nothing has changed since the site visit.
- Verify power outlet access and test the circuit before plugging in equipment.
- Lay down floor protection before moving any equipment.
- Set up the backdrop first, then the booth hardware, then the props table.
- Run a full test session with real photos or video before guests arrive.
- Confirm internet/Wi-Fi connectivity and test the social sharing feature.
- Brief venue staff on what the booth does and how guests use it so they can direct traffic.
- Check lighting in the booth area and adjust if needed.
- Keep the vendor’s contact number handy for any technical issues during the event.
- At breakdown, follow the same floor protection protocol used during load-in.
This kind of structured approach is what separates a flawless photo booth experience from one that guests barely notice. A luxury photo booth rental in AZ from Epic Events Booth comes with a fully trained attendant who handles this checklist for you, so your event team can focus on the bigger picture.
Ready to Book Your Photo Booth at an LA-Style Event?
Whether you are coordinating an intimate rooftop wedding, a high-energy corporate activation, or a milestone birthday celebration, getting your photo booth setup right is the difference between a forgettable corner attraction and the most-talked-about part of the night. From space planning and power requirements to backdrop selection and day-of logistics, every detail covered in this guide exists to help your event run smoothly and look stunning. If you are ready to get started, reach out to our team and contact us today for a photo booth rental in LA quote so we can help you design the perfect setup for your venue and your vision.
Frequently Asked Questions
How to set up a photo booth for an event?
Start by choosing the right booth type for your venue size and event style. Confirm power outlet access, map out the footprint, and secure floor protection before load-in. Set up the backdrop first, then the booth hardware, and run a full test before guests arrive. Coordinate load-in timing with your venue at least two weeks in advance to avoid day-of conflicts.
How much would it cost to set up a photobooth?
Photo booth rental pricing for events varies based on booth type, event duration, customization level, and travel distance. A basic open-air setup typically starts around $500 to $800 for a three-hour rental. Premium options like a 360 video booth, glam booth, or fully branded corporate setup can range from $1,200 to $2,500 or more. Request a custom quote to get accurate pricing for your specific event needs.
What is the standard photo booth setup?
A standard photo booth setup includes a camera and touchscreen interface, a backdrop or background, on-site printing capability, and an attendant to assist guests. Most setups also include a props collection, digital delivery of photos, and social sharing features. The footprint is typically 8 feet by 10 feet, though this varies by booth type. Setup time averages 45 minutes to 1.5 hours.
Do I need a business license for a photo booth?
If you are operating a photo booth as a business, yes, you generally need a business license in the city or county where you operate. Requirements vary by state and municipality. In California, most photo booth businesses also need a seller’s permit if they sell printed products. Always verify requirements with your local city or county clerk’s office before operating commercially.
