
The top ideas for a DIY photo booth in 2026 include creative backdrops, fun prop stations, smartphone rigs, mirror setups, and themed open-air frames that guests can interact with on their own. Setting one up is more accessible than ever, with affordable hardware and free or low-cost apps making professional-looking results possible. This guide covers every idea in detail, plus planning tips for weddings and parties of all sizes.
Is a DIY Photo Booth Right for You?
Before diving into the ideas themselves, it helps to think honestly about whether a DIY photo booth setup fits your event. Building your own photo booth can save money and give you creative control, but it also demands time, troubleshooting, and a bit of technical know-how. If you are hosting an intimate backyard gathering or a casual birthday party, a DIY approach can be a genuinely fun project. For weddings, corporate events, or brand activations where polish matters, you may want to weigh your DIY photo booth options against renting a professional unit.
Ask yourself a few questions: Do you have someone at the event willing to manage the setup? Do you own or can you borrow a decent camera, tablet, or smartphone? Are you comfortable with basic lighting? If you answered yes to all three, a do-it-yourself photo booth is well within reach. If the answers are mostly no, exploring professional wedding photo booth packages might save you the headache and still deliver the experience you want.
According to The Knot, interactive entertainment like photo stations consistently ranks among the most memorable elements guests mention after an event. That data point alone shows why so many hosts want one, whether they rent or build it themselves.
1. The Classic Backdrop-and-Props DIY Photo Booth
The most recognizable DIY photo booth idea is the classic setup: a decorative backdrop hung behind a designated photo spot, paired with a basket or crate filled with physical props. This approach requires almost no technology and works at virtually any event.
For the backdrop, think beyond a plain fabric panel. Paper flower walls, balloon arches, macramé hangings, greenery walls made from faux foliage, or even a simple wooden frame wrapped in string lights all create a compelling photo backdrop without costing a fortune. Sites like Martha Stewart Party Ideas are packed with backdrop tutorials that you can adapt for your theme.
For props, keep them relevant to the occasion. Weddings call for “Mr. & Mrs.” signs, oversized rings, and novelty glasses. Birthday parties can use age-milestone signs, silly hats, and feather boas. Holiday parties deserve ugly-sweater cutouts and antler headbands. Label the prop station clearly so guests know it is part of the photo experience, and place a small mirror nearby so they can check their look before snapping.
To capture photos, simply place a smartphone on a tripod set to a 10-second timer, or ask a willing friend to act as “booth operator” for a few minutes at a time. The result is a low-budget DIY photo booth that still generates genuine fun and shareable memories.
2. Smartphone-on-a-Tripod Photo Booth Setup
A smartphone-on-a-tripod is the most accessible form of DIY photo booth photography right now. Modern smartphones shoot images that rival entry-level DSLR cameras in good lighting, so the hardware you already own is often enough to get started.
The key upgrades that separate a polished smartphone photo station from a clunky one are a sturdy tripod, a remote shutter trigger, and a ring light or softbox for even illumination. A Bluetooth shutter remote lets guests trigger the shutter without touching the phone, which eliminates the awkward rush after hitting the timer. A ring light placed at face height creates flattering, even light that eliminates harsh shadows.
For software, look into dedicated photo booth apps available on iOS and Android. Many of these apps offer countdown timers, strip-style multi-shot sequences, digital overlays, and even direct sharing to email or text. Some popular options offer a free tier that is more than sufficient for a small DIY photo booth at home or at a party.
If you want to explore how these setups scale into professional territory, DIY photo booth ideas in Queen Creek covers local inspiration and equipment recommendations worth reviewing before your event.
3. iPad Photo Booth with a Dedicated App
An iPad photo booth setup takes the smartphone concept and gives it a larger, more interactive screen that guests of all ages find intuitive. The iPad’s big display makes it easy to frame shots, preview filters, and tap the shutter without squinting at a tiny screen. For family reunions, school events, or any gathering with a mixed age range, this is one of the most crowd-pleasing DIY photo booth ideas available.
The hardware list is simple: an iPad (any model from the last four years works well), a sturdy tablet mount or tripod adapter, a ring light, and a printed sign directing guests to step into the frame. The magic comes from the app. Photo booth apps designed for iPad typically offer branded overlays, strip layouts, GIF creation, boomerang-style clips, and digital sharing. Some even support a print connection if you want physical keepsakes.
Position the iPad at chest-to-eye height, roughly 6-8 feet from the backdrop, to capture full-body or waist-up shots. Tape a strip of colored tape on the floor to show guests exactly where to stand. That simple floor marker alone dramatically improves photo consistency throughout the event.
4. DSLR or Mirrorless Camera Photo Booth
For hosts who own a DSLR or mirrorless camera, stepping up to a camera-based DIY photo booth is a satisfying project. The image quality difference is noticeable, especially in lower-light venues like evening receptions or indoor halls. With the right settings and lighting, your DIY photo booth photos can look nearly indistinguishable from what a professional service delivers.
Connect the camera to a laptop running photo booth software, and you unlock a full tethered shooting workflow: guests see a live preview on the laptop screen, a countdown triggers the shot, and the image displays immediately after. Pair this with a wireless remote or foot pedal trigger so guests do not have to touch any equipment.
Lighting is the real differentiator at this level. A two-light setup with a softbox on each side at 45-degree angles creates studio-quality results. Keep your aperture around f/4 to f/5.6 for a sharp group shot with slight background separation. A dedicated photo printer connected to the laptop lets you hand out 4×6 prints as instant souvenirs, which guests genuinely love.
5. Mirror Photo Booth DIY
The mirror photo booth has become one of the most popular DIY photo booth styles at weddings and upscale events. At its core, it is a large reflective surface (often a floor-length mirror or a display screen with a mirrored finish) that prompts guests to pose as if checking their reflection, then snaps their photo.
A true magic mirror photo booth uses a touchscreen display hidden behind a two-way mirror surface, but a convincing DIY version can be built with a large framed mirror prop, a camera positioned just above or beside it, and signage inviting guests to “strike a pose.” Add some gold or silver frame detailing, a strand of fairy lights around the border, and velvet rope stanchions to create the feel of a glamour-studio experience.
If you want the full interactive experience but prefer to leave the technical complexity to someone else, it is worth checking out a professional video guest book booth that combines the mirror-style experience with guided video messages, creating a keepsake that goes well beyond a single photo.
6. Planning Your DIY Wedding Photo Booth
A DIY wedding photo booth deserves its own planning conversation because the stakes are higher than a casual birthday party. Your wedding photos are permanent records of the day, and if the photo booth experience falls flat or goes untended, it reflects on the overall event atmosphere.
Start planning your DIY wedding photo booth at least eight weeks out. That gives you time to source materials, test your equipment, and run a full rehearsal at home. The following checklist covers the essentials:
- Backdrop: Order or build your backdrop at least three weeks before the wedding so you have time for adjustments. Floral walls, sequin curtains, and wooden arch frames are all popular wedding photo booth backdrop choices.
- Props: Keep them wedding-appropriate. Personalized signs with your names and wedding date, vintage frames guests can hold up, and elegant accessories work better than novelty gag props at formal receptions.
- Lighting: Venue lighting is almost never enough on its own. Bring your own LED ring light or softbox to ensure consistent, flattering results regardless of venue conditions.
- Attendant: Assign a trusted friend or family member to manage the DIY wedding photo booth for the first hour of the reception. Someone needs to help guests use it and troubleshoot any issues.
- Sharing plan: Decide ahead of time how photos will be shared. Email delivery, a shared album link on a sign at the booth, or printed strips handed out on the spot all work. Pick one method and set it up before the event starts.
WeddingWire research consistently shows that photo stations and interactive guest experiences are among the top things couples wish they had spent more attention on when planning. A well-executed DIY wedding photo booth makes the reception more memorable for everyone in attendance.
For more creative inspiration tailored to weddings, the post on wedding photo booth setups covers ideas that work beautifully for all types of wedding styles and venues.
7. Open-Air Photo Booth Frame Setup
An open-air photo booth frame is exactly what it sounds like: a freestanding decorative frame that guests step behind or hold up, with no enclosed booth structure needed. This format is highly flexible, visually striking, and remarkably easy to DIY.
You can build a frame from PVC pipe, wood dowels, or conduit painted to match your event palette. Wrap it in greenery, fabric, or string lights, and you have a photo-ready structure that costs well under $50 in materials. Place it in front of a complementary backdrop or even a plain wall, and the result looks polished in every shot.
The open-air format has a practical advantage: it accommodates large groups far more easily than an enclosed photo booth can. Six to ten people can gather around an open frame without crowding, which makes this one of the most party-friendly DIY photo booth configurations you can build. It also photographs well in natural light, so placing it near a window or outdoor door during daytime events gives you beautiful, diffused illumination for free.
8. GIF and Boomerang DIY Photo Booth
Still photos are great, but GIF and boomerang-style clips are what guests actually share on their phones right now. Setting up a GIF-capable DIY photo booth adds a layer of engagement that static photo booths simply cannot match. Guests become instant content creators, and the looping motion of a GIF or boomerang captures personality and energy in a way a single frame never does.
Creating a GIF photo booth at home is easier than it sounds. Most dedicated photo booth apps for smartphone and iPad include a GIF or boomerang mode. Set up your camera or phone on a tripod, enable the rapid-burst or boomerang mode in your chosen app, and add a sign near the booth encouraging guests to “jump, wave, or dance.” The resulting clips are almost always hilarious and instantly shareable.
For group fitness events or high-energy parties where movement is part of the culture, a GIF booth is a natural fit. The post on photo booth ideas for fitness events explores how motion-based photo formats work especially well in active settings.
9. Themed Photo Booth Setups for Parties and Events
One of the most enjoyable aspects of a DIY photo booth project is tailoring the entire experience to a specific theme. A themed photo booth setup transforms a simple camera-and-backdrop arrangement into an immersive moment that fits seamlessly into your event’s aesthetic.
Here are a few theme directions that consistently generate great results:
- Tropical / Luau: Grass skirt backdrop panels, oversized paper flowers in bright colors, leis, and cardboard sunglasses props. Natural wicker or bamboo elements tie the look together.
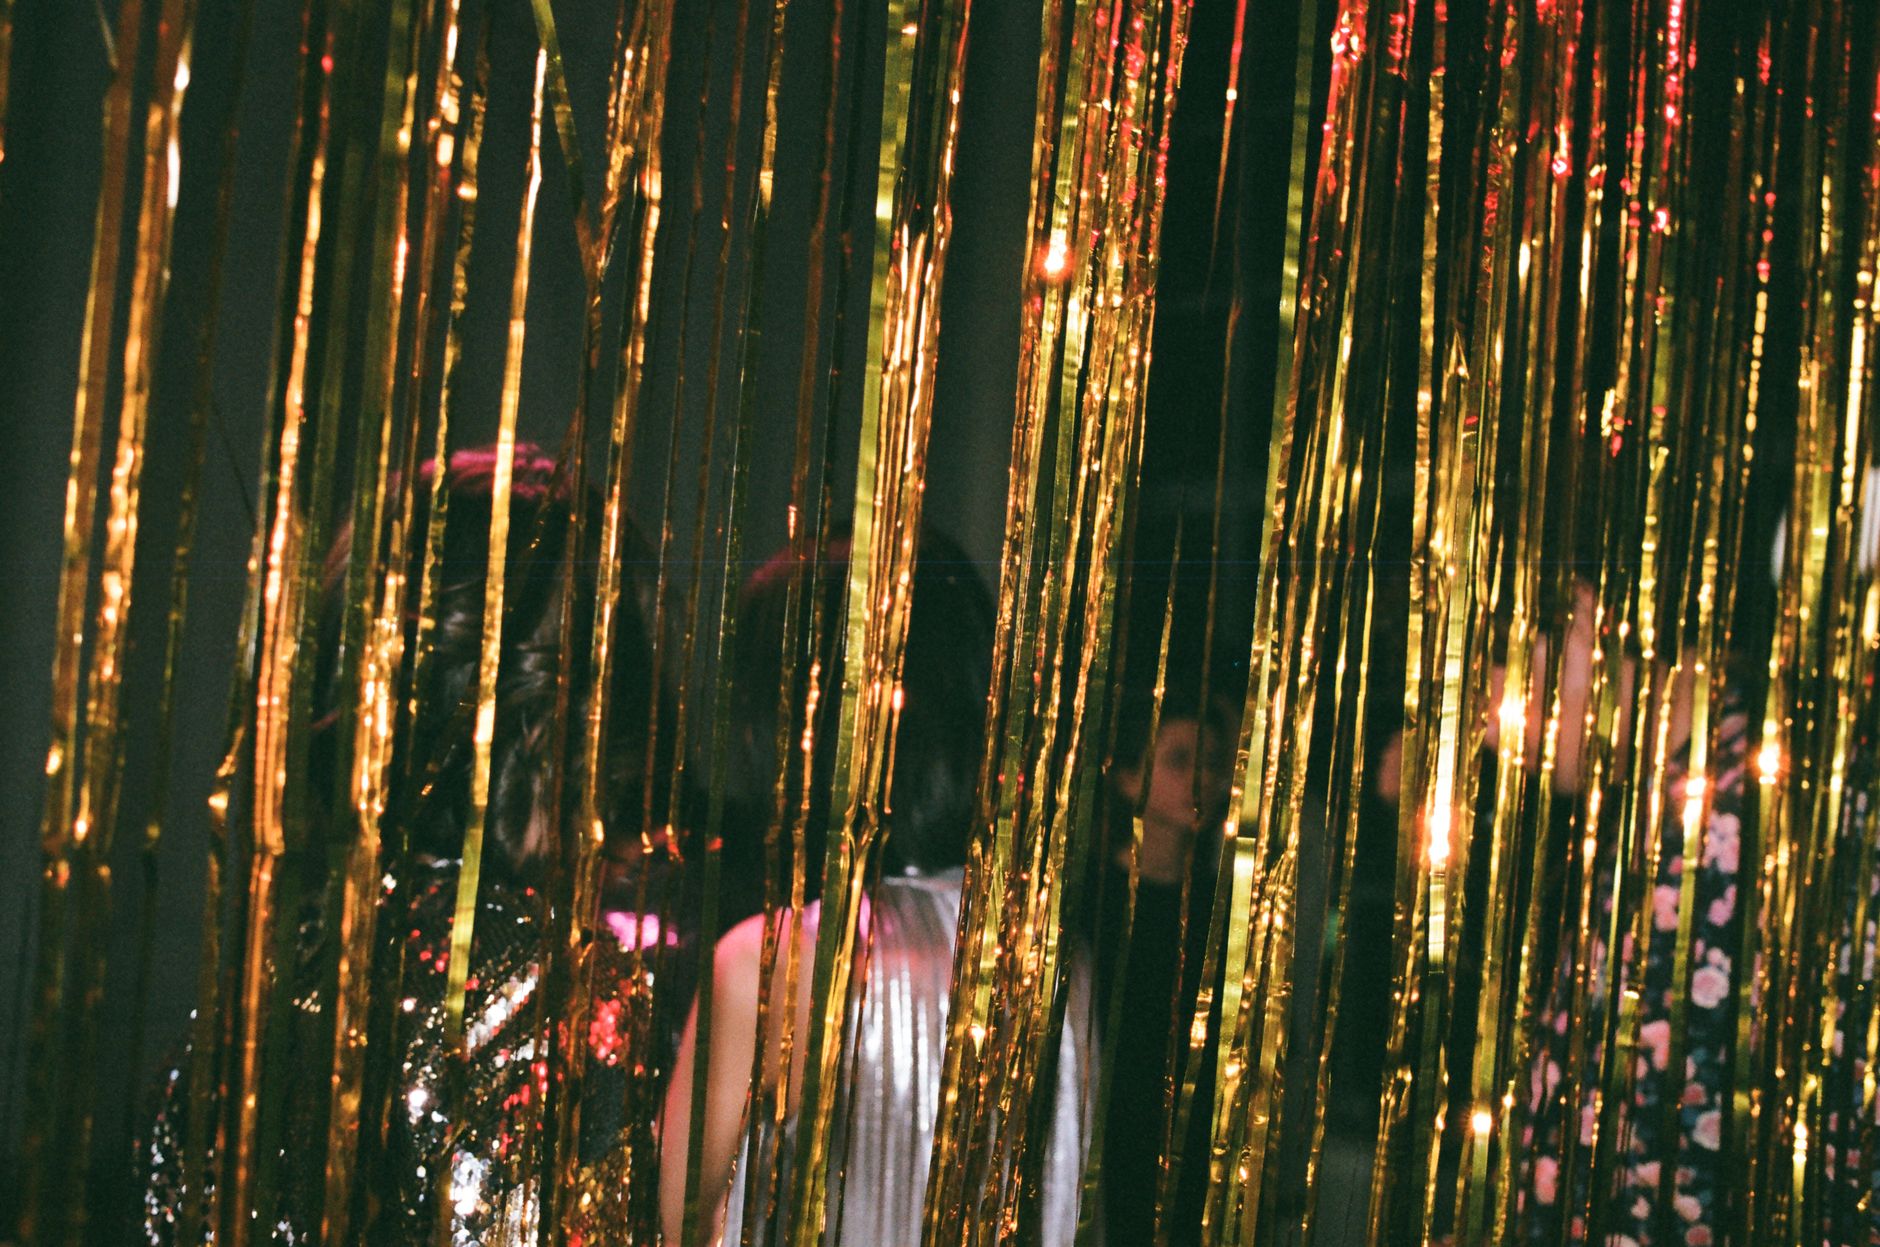
- Hollywood Glamour: Black and gold sequin backdrop, a faux velvet rope entrance, star-shaped props, and a clapperboard sign. Guests immediately play into the theme.
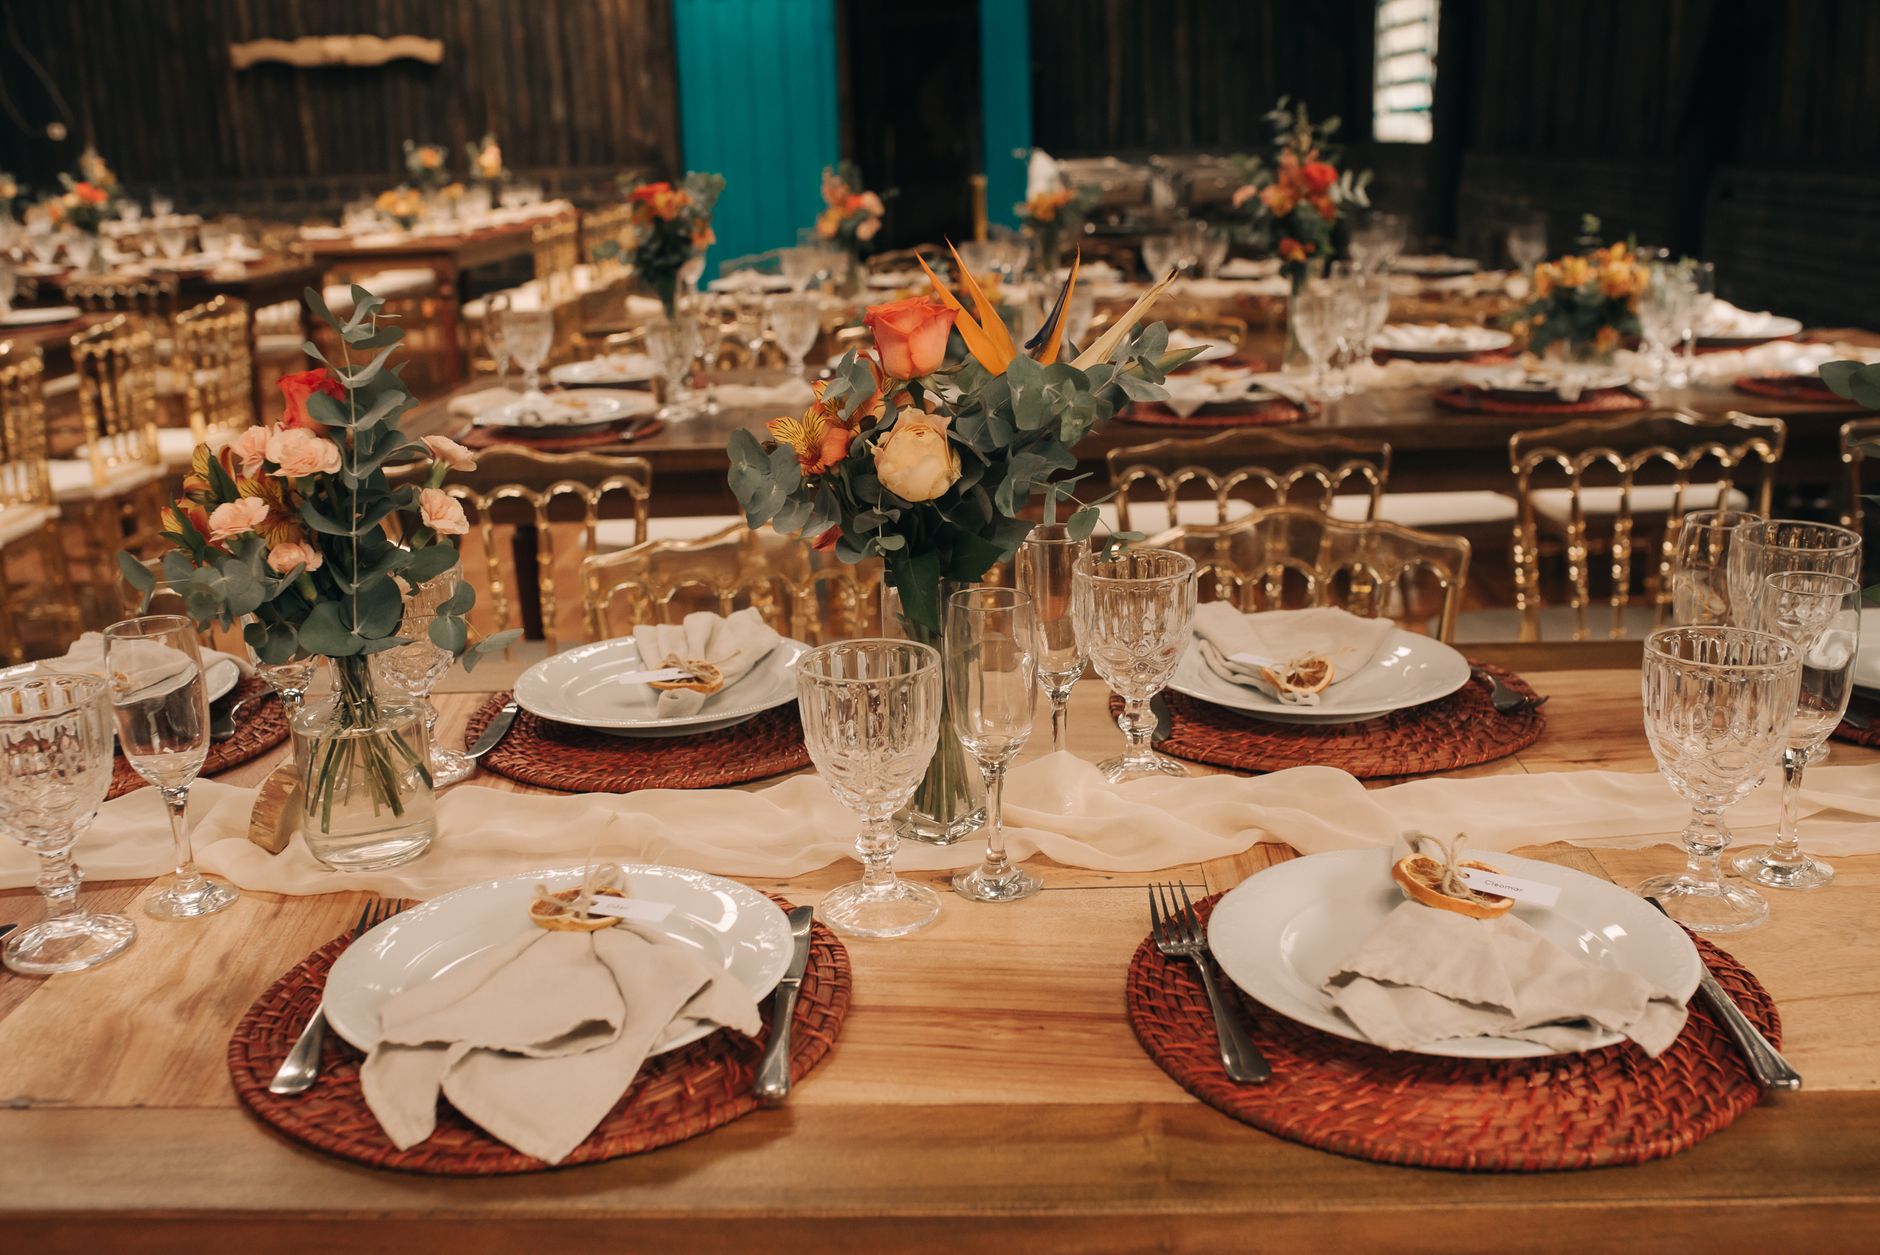
- Rustic Barn: Reclaimed wood backdrop or shiplap panels, burlap accents, mason jar lanterns, and chalkboard signs. This theme is especially popular for casual weddings and fall events.
- Retro / Vintage: Antique frames, old newspaper props, sepia-toned filter settings in your photo app, and a vintage typewriter as a decorative accent.
- Winter Wonderland: White and silver balloon arch, faux snow ground covering, snowflake props cut from metallic cardstock, and cool-toned LED lighting.
- Neon / Glow Party: Black backdrop, neon paint props, UV ring light or blacklight, and neon sign accents. This theme photographs brilliantly even on a budget.
For deeper inspiration, Wedding Forward maintains a thorough library of themed event and reception ideas that can spark your creative direction when you are still deciding on a concept.
Whatever theme you choose, consistency is what makes it feel intentional. Match your props, backdrop, signage, and lighting to the same palette and era for a cohesive look that photographs well in every shot.
10. Leveling Up Your DIY Photo Booth with Lighting and Backdrops
No matter which DIY photo booth idea you choose from this list, lighting and backdrop quality will do more to elevate your results than almost any other upgrade. These two elements are what separate a polished DIY photo booth experience from a fuzzy, dimly lit snapshot station.
On the lighting side, here is what actually matters:
- Color temperature: Aim for a consistent 5000-5500K (daylight balanced) LED source. Mixed color temperatures, like a warm tungsten overhead combined with cool fluorescent fill, create unflattering skin tones that no filter can fully fix.
- Diffusion: Hard, undiffused light from a bare LED panel creates harsh shadows. A softbox, umbrella, or even a white sheet stretched over a light stand diffuses the beam for skin-flattering results.
- Placement: Light should come from slightly above and in front of your subjects, not from below or directly behind. A classic 45-degree front angle is the most forgiving for a wide range of face shapes and poses.
On the backdrop side, fabric wrinkles are your enemy. Steam or iron any fabric backdrop before the event. Use a proper backdrop stand with horizontal crossbar support to keep the material taut. If you are working with a paper flower wall or balloon arch, build it the day before and photograph it under your actual lighting setup so you can spot any gaps or color imbalances before guests arrive.
Small improvements in these two areas create a noticeably better DIY photo booth experience without requiring a significant additional investment. If you want a reference point for what a professional-grade backdrop and lighting combination looks like, photo booth tips and tricks for any event covers the standards that professional setups are built around, which is useful context when calibrating your own DIY version.
Ready to Skip the DIY Stress? Epic Events Booth Has You Covered
DIY photo booths are a rewarding project when you have the time, tools, and energy to pull them off well. But for weddings, corporate events, brand activations, and any occasion where the experience needs to be seamless from the first guest to the last, a professional setup simply delivers results that a homemade version cannot reliably match. See how Epic Events Booth can help bring a fully managed, luxury photo and video booth experience to your next event in Arizona. From 360 video booths to glam booths and GIF stations, every setup is customized to your theme, fully staffed, and ready to impress. photo booth rental Arizona contact us today for a free quote and let our team handle every detail while you focus on enjoying your event.
Frequently Asked Questions
What do I need to set up a DIY photo booth at home?
The core items for a DIY photo booth at home are a camera or smartphone, a sturdy tripod, a backdrop, basic lighting (a ring light works well), and a photo booth app. Optional additions include a remote shutter trigger, a prop station, and a small printer for instant keepsakes. With these components in place, most hosts can build a functional photo booth setup for under $100.
How much does a DIY photo booth cost to build?
A basic DIY photo booth setup using a smartphone, a budget ring light, and a fabric or balloon backdrop typically costs between $30 and $150 in new materials. If you already own a camera, tripod, and lighting, costs drop significantly. A more polished setup with a dedicated tablet, printed overlays, and a portable photo printer can run $200 to $500 depending on the hardware and printing supplies you choose.
What is the best app for a DIY photo booth?
The right app depends on your device and what features matter most to you. For iPad, look for apps that offer multi-shot strips, GIF or boomerang mode, digital overlays, and a sharing option via email or text. Many solid options offer a free tier with basic features and a paid upgrade for branding and printing. Test your chosen app at home before the event to confirm it works reliably with your hardware.
How do I make a DIY photo booth backdrop?
Common DIY photo booth backdrop options include fabric panels hung from a tension rod or backdrop stand, balloon arches, paper flower walls, sequin curtain panels, and wooden arch frames wrapped in greenery. For weddings and formal events, floral or sequin backdrops photograph best. For casual parties, balloon arches and themed prop walls are fast to assemble and easy to customize to your color palette.
Should I hire a professional photo booth service instead of doing it myself?
If your event is a wedding, corporate function, or any occasion where reliability and polish are non-negotiable, a professional photo booth service is worth the investment. Professional setups include staffing, branded overlays, instant sharing, and guaranteed print quality. A DIY photo booth makes the most sense for casual parties, small gatherings, and situations where you have time to plan and test the setup thoroughly before guests arrive.
