
Creating a photo booth is straightforward when you break it down into clear steps: choose your setup type, gather the right equipment, pick a backdrop, add props, set up your camera or app, and decide how guests will share their prints or digital shots. A photo booth works for any event size or budget, from a simple DIY corner to a fully professional rental experience. This guide walks you through every step so you can build something your guests will genuinely love.

1. Is a DIY Photo Booth Right For You?
Before you start buying ring lights and backdrop stands, it is worth asking yourself whether the DIY photo booth route is actually the right call for your event. Building your own photo booth setup can be rewarding and budget-friendly for small, casual gatherings. But it comes with real trade-offs worth knowing about.
DIY photo booths require time: sourcing gear, testing your camera or app, arranging lighting, and troubleshooting on the day of the event. If something goes wrong mid-party, you are the one fixing it instead of enjoying your own event. The results can also look noticeably different from a professional photo booth experience, especially when it comes to print quality, lighting consistency, and branding.
Ask yourself these questions before going the DIY route:
- Do you have 5 to 10 hours to build, test, and set up the booth?
- Is print quality or branded output important to you or your client?
- Is this a corporate event or wedding where impressions matter?
- Do you have a backup plan if the camera, app, or printer fails?
If most of your answers lean toward “yes, it matters,” a professional outdoor wedding photo booth setup or a fully managed rental is likely a smarter investment. For casual birthday parties or low-stakes events, though, a DIY photo booth with a printer can absolutely deliver fun, shareable moments. According to The Knot, photo booths consistently rank among the most popular wedding entertainment options, which is why the quality of your setup really does matter for bigger occasions.
2. Choose Your Photo Booth Camera Setup
The camera is the heart of any photo booth setup. You have three main options, each with different levels of complexity and output quality.
iPad or Tablet Photo Booth App
This is the most accessible starting point for a DIY photo booth. Apps like Dslrambooth, Snappic, and Darkroom Booth turn an iPad into a self-contained photo booth camera. The setup is compact, relatively affordable, and easy for guests to use without guidance. The downside is that image quality tops out at what the iPad camera can deliver, which may not satisfy guests used to sharp, professional prints.
DSLR or Mirrorless Camera Setups
A DSLR or mirrorless camera paired with photo booth software gives you significantly better image quality, especially in lower-light venues. Canon and Sony mirrorless bodies are popular choices. You will need a laptop running the booth software, a trigger cable, and a lens suited for group shots, typically a 24mm to 35mm range. The trade-off is a more complex, heavier kit to transport and set up.
360 Video Booth Option
If you want something more dynamic than a still photo, a 360 video booth uses a rotating arm and camera to capture slow-motion video clips guests can share instantly. This format is extremely popular at corporate events, weddings, and brand activations right now. It requires more investment in equipment and software but delivers a dramatically more shareable result.
3. Pick the Right Photo Booth Backdrop
Your photo booth backdrop is what people actually see in every photo, so it matters more than most first-timers expect. A poorly chosen or wrinkled backdrop can ruin an otherwise solid setup. The right backdrop turns every shot into something worth keeping and sharing.
Here are the most common photo booth backdrop options and when to use each:
- Step-and-repeat banners: Great for corporate events and brand activations. They prominently feature logos and look polished in every frame.
- Sequin or metallic curtains: Catch the light beautifully and add glamour. Popular for weddings, galas, and holiday parties.
- Floral walls: A perennial favorite for weddings and bridal showers. You can rent or DIY with faux florals.
- Solid color or fabric backdrops: Simple, clean, and affordable. Works well when you want the subject to pop without distraction.
- Custom printed backdrops: The most flexible option. You can print a branded design, a custom pattern, or a themed scene to match any event perfectly.
Whatever you choose, make sure the backdrop is wrinkle-free and properly tensioned. A backdrop stand with crossbar is the standard mounting solution, and you can find them at most photography supply stores. For weddings specifically, Brides magazine often features backdrop trends worth checking for seasonal inspiration.
4. Set Up Your Photo Booth Lighting
Lighting is the single biggest factor separating a “good enough” photo booth from one that produces genuinely flattering, professional-looking shots. Guests will immediately notice and appreciate the difference, and it shows up in every single print.
For a DIY photo booth with a printer or digital output, here is a simple but effective lighting setup:
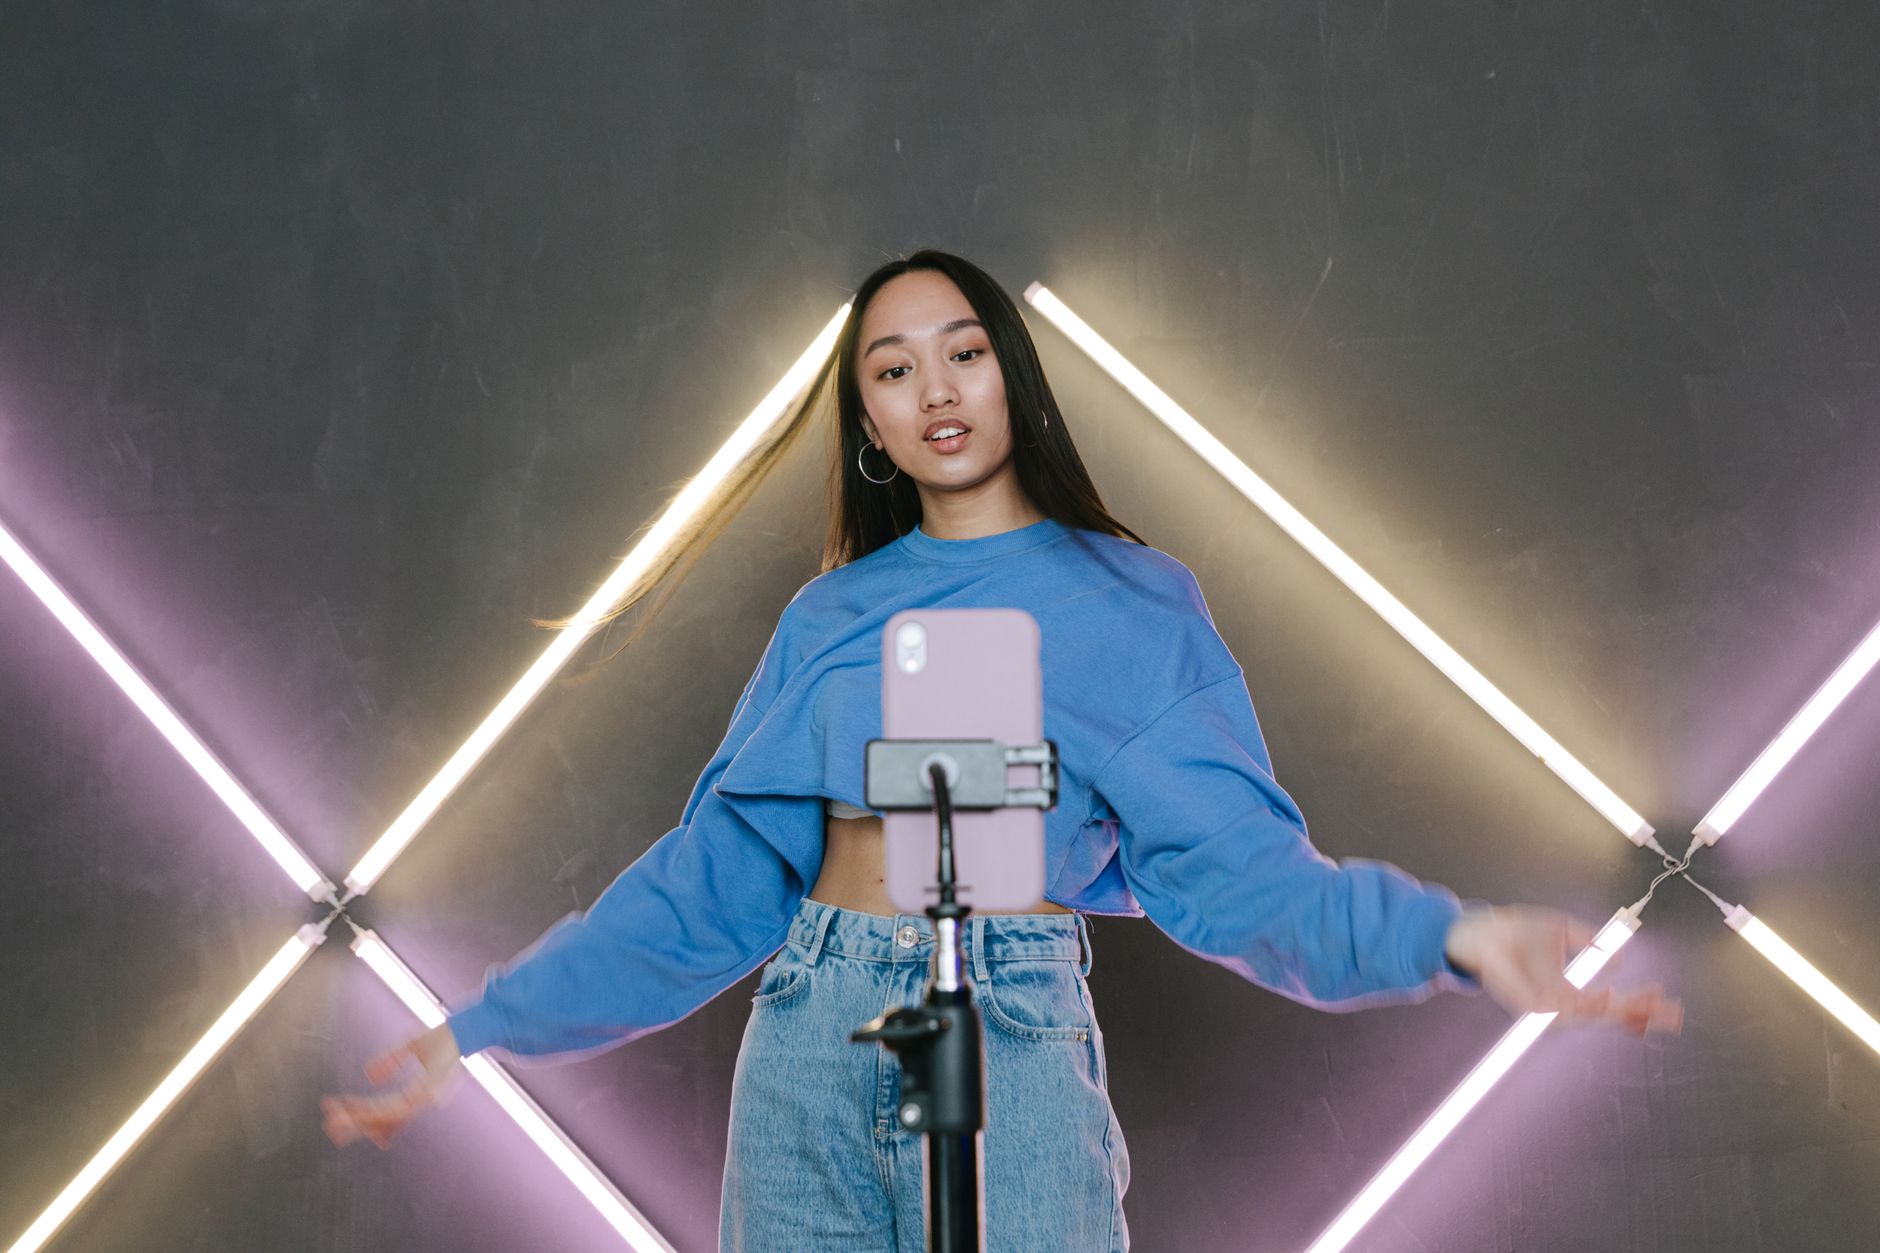
- Ring light: A large ring light (18 inches or larger) positioned directly behind the camera provides even, shadowless lighting and adds a flattering catchlight to subjects’ eyes. This is the easiest single upgrade you can make.
- Softbox lights: Two softbox lights at 45-degree angles to the subject create a classic, flattering look. More gear to carry, but better results for group shots.
- LED panels: Compact, dimmable, and color-adjustable. Great for matching the mood of the event venue.
Avoid mixing your artificial light with strong ambient light from windows or colored venue lighting, as this creates color casts that are difficult to correct in post-processing. If you are setting up at a venue with unpredictable lighting, a portable backdrop combined with controlled artificial light gives you the most consistent results regardless of venue conditions. You can read more about photo booth setup tips in our dedicated step-by-step guide.
5. Add Props and Personalization to Your Photo Booth
Props are what turn a photo booth into a party activity. They give shy guests something to do with their hands and naturally bring out smiles and silliness. The key is choosing props that match your event’s theme without looking cheap or clunky in photos.
Here are practical photo booth prop ideas by event type:
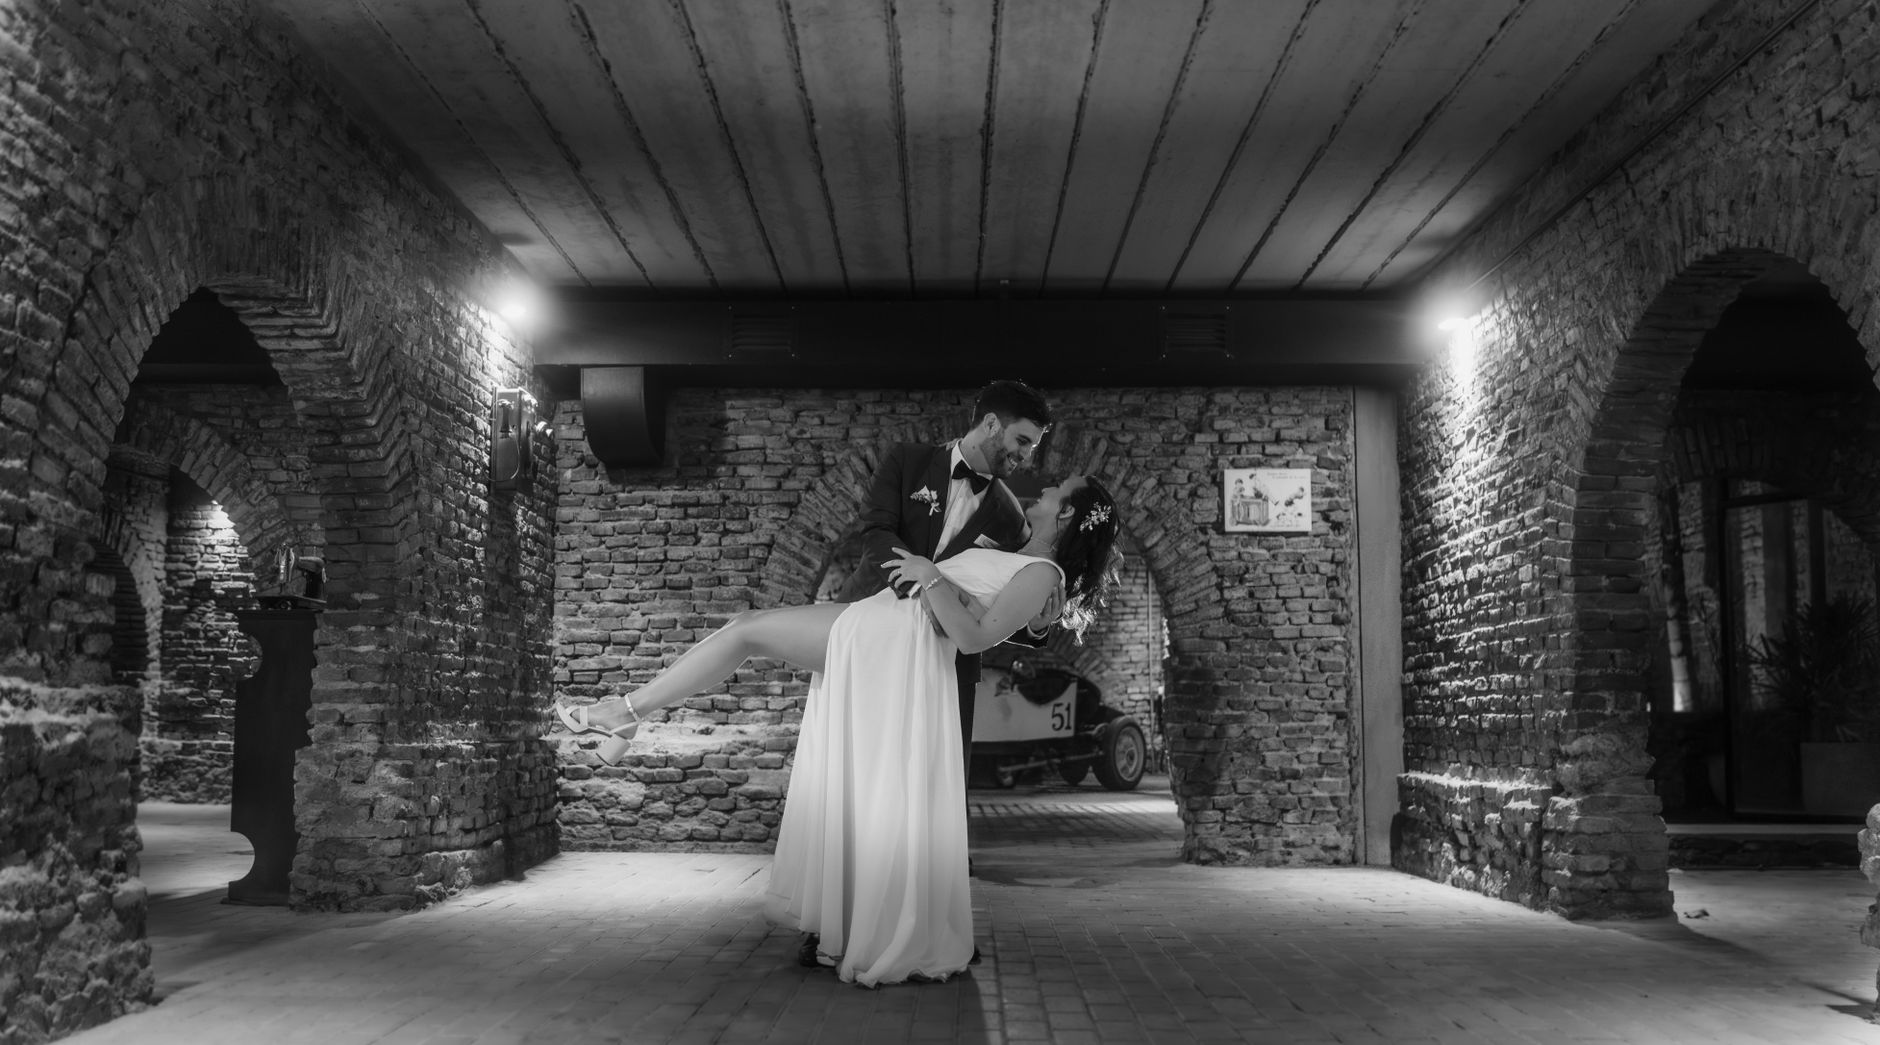
- Weddings: Custom signs with the couple’s names or wedding date, speech bubbles, oversized sunglasses, flower crowns, bow ties, and veils.
- Corporate events: Branded hats or glasses, company logo signs, industry-themed props (keep them work-appropriate).
- Birthday parties: Age-specific signs (“Cheers to 30!”), party hats, feather boas, novelty glasses.
- Holiday parties: Seasonal props like Santa hats, reindeer antlers, ugly sweater frames, or New Year’s Eve countdown signs.
Beyond physical props, personalization extends to the digital layer of the photo booth experience. Custom overlays, branded digital frames, and personalized data capture screens all add polish that guests notice. This kind of branding is especially important at corporate events. If you are working with a professional company, ask about video booth customization with overlays and branded backgrounds to see how far personalization can go.
6. Set Up Printing and Photo Sharing Options
How guests receive their memories is just as important as how they take them. You have two main paths: physical prints and digital sharing, and ideally you offer both.
DIY Photo Booth With a Printer
For a DIY photo booth that produces prints, a dye-sublimation printer is the industry standard. Brands like DNP and HiTi produce compact dye-sub printers widely used in professional photo booths. They print a 4×6 inch photo in roughly 10 to 15 seconds, and the prints are dry immediately and resistant to smudging. Inkjet printers are not recommended for high-volume event printing as they are slow, prone to smearing, and use expensive ink cartridges.
For a simple DIY photo booth with printer output, you will need:
- A dye-sublimation printer with enough media (paper and ink ribbon) for your expected guest count, plus 20% extra.
- A laptop or iPad connected to the printer via USB or WiFi.
- Photo booth software that can format and send the print job automatically after each session.
Digital Sharing and Social Media Integration
Digital sharing via SMS or email is now a standard expectation at most events. Guests receive a link to their photos seconds after the session ends. Most professional photo booth software platforms include this feature. For events where instant social media sharing matters, look for platforms that support direct posting or at least allow easy download in a shareable format. When considering a social event photo booth rental, instant digital sharing is typically included in the package.
7. Plan Your Photo Booth Space and Layout
A well-designed photo booth space encourages guests to actually use it. Poor placement, cramped space, or confusing flow can kill engagement even with great equipment.
Here is how to plan your photo booth layout effectively:
- Space requirements: A standard open-air photo booth needs roughly 10 feet wide by 10 feet deep to comfortably accommodate the camera, lighting, backdrop, and a group of 4 to 6 guests. Enclosed booths or 360 video platforms may need slightly more.
- Foot traffic: Position the booth near the main event flow but not directly in a walkway. You want it visible and accessible without creating a bottleneck.
- Signage: Add a small sign or instructional display so guests know how to start a session without hunting for a staff member.
- Prop table: Place a prop table immediately beside the booth so guests pick up props before stepping in front of the camera, keeping the session flow smooth.
- Power access: Map out your power needs before the event day. Camera, laptop, printer, ring light, and softboxes all need outlets. Use a power strip with a surge protector and keep cables safely out of foot traffic paths.
If you are building a photo booth box or enclosed structure, factor in ventilation (equipment generates heat) and ensure the interior dimensions are large enough for at least 2 to 3 people. You can also read about photo booth rental options to understand what a professional setup looks like before you commit to building your own.
8. Test Your Photo Booth Setup Before the Event
This step is where DIY photo booth creators often stumble. Testing the full setup before the event day is non-negotiable. Do a complete dry run from guest entry to photo delivery, including prints if applicable, at least 48 hours before the event so you have time to fix problems.
Your pre-event photo booth checklist should include:
- Camera focus and exposure at the actual booth distance and lighting conditions.
- A full test print run to confirm color accuracy and print quality.
- Digital delivery test: send a photo to your own phone via SMS and email.
- Props inventory: make sure nothing is missing, broken, or inappropriate.
- Battery and power: charge all wireless devices and test every outlet you plan to use.
- Software test: run 5 to 10 complete sessions to confirm no software glitches.
Common issues discovered during testing include autofocus problems in low light, WiFi connectivity drops affecting digital sharing, and printer driver conflicts on recently updated laptops. Discovering these on the day of the event with 100 guests waiting is a stressful situation you can avoid entirely with a proper pre-event test. BizBash, a trusted resource for event professionals, regularly covers real-world production pitfalls worth reviewing if you are planning a larger-scale event.
9. Know When to Hire a Professional Photo Booth Company Instead
Creating a photo booth yourself is genuinely achievable for casual events. But there is a clear point where the effort, risk, and cost of DIY outweigh the savings. Knowing that threshold helps you make a smarter decision.
Consider hiring a professional photo booth company when:
- The event is a wedding or high-profile corporate gathering where guest experience and first impressions matter.
- You need branded output, custom overlays, or fully themed customization that DIY apps cannot easily replicate.
- You want a 360 video booth, glam booth, or GIF booth experience that requires specialized hardware and expertise.
- You cannot afford to have the setup fail mid-event with no backup.
- You want someone on-site managing the booth so you can enjoy your own event.
A professional wedding photo booth service handles everything from delivery and setup to on-site operation and teardown. For events in Arizona, Epic Events Booth offers a full lineup of luxury experiences including 360 Video Booths, Glam Booths, GIF Booths, and fully customized Wedding Booths. You can also explore resources like Zola Expert Advice for guidance on incorporating photo booths into your wedding planning process. To compare what to look for in any company you hire, our guide on photo booth rental company selection covers the key questions to ask.
Ready to Create an Unforgettable Photo Booth Experience?
Whether you are going the DIY route for a casual gathering or planning a luxury setup for a wedding or corporate event, you now have everything you need to make smart decisions at every step. If you want a professionally managed experience with zero stress and stunning results, Epic Events Booth has you covered across Arizona. Reach out and contact us today for a free quote on photo booth rental in Arizona and let our team bring your vision to life.
Frequently Asked Questions
How do I make a photo booth for a party at home?
To make a photo booth for a party at home, you need four basics: a camera or tablet with a photo booth app, a backdrop (a fabric curtain or a DIY floral wall works well), a ring light or softbox for flattering light, and a collection of fun props. Set it all up in a corner with enough space for a group of 3 to 4 people and run a few test shots before guests arrive.
Can you make a DIY photo booth with a printer?
Yes, you can build a DIY photo booth with a printer by pairing a tablet or laptop running photo booth software with a dye-sublimation printer. Dye-sub printers from brands like DNP produce fast, smudge-proof prints that guests can take home. You will need a USB or WiFi connection between the software and printer, and enough print media for your expected guest count plus a buffer.
How do you build a photo booth box?
A photo booth box is typically a three-sided or four-sided enclosure built from PVC pipe frames, wood panels, or modular display walls. Line the interior with your chosen backdrop material, mount your camera on a stand or bracket inside at face height, and add lighting above or to the sides. Make sure the interior is large enough for at least two people and leave a gap for ventilation to prevent equipment overheating.
How much does it cost to create a photo booth?
A basic DIY photo booth setup for a party can cost between $200 and $800 depending on whether you already own a camera or tablet, the quality of your backdrop, and whether you include a printer. A professional-grade DIY setup with a DSLR, softbox lights, dye-sub printer, and custom backdrop can run $1,500 to $3,000 or more. Renting a professional photo booth for a single event is often more cost-effective for one-time use.
What is the difference between an open-air photo booth and an enclosed photo booth?
An open-air photo booth has no walls or enclosure, just a backdrop, camera, and lighting. It accommodates large groups, is easier to set up, and feels more social. An enclosed photo booth is a physical box or curtained structure that fits 2 to 4 people, offers more privacy, and gives a classic “photo strip” experience. Open-air setups are more popular at modern events because they are more flexible and photogenic.
