
Planning a wedding photo booth means choosing the right booth style, locking in your setup location, personalizing props and backdrops, and coordinating with your vendor well before the big day. A well-planned wedding photo booth keeps guests entertained, generates instant keepsakes, and adds a layer of fun that no other element quite matches. This guide walks you through every step, from first inquiry to post-event photos.
Why a Wedding Photo Booth Is Worth Adding to Your Reception
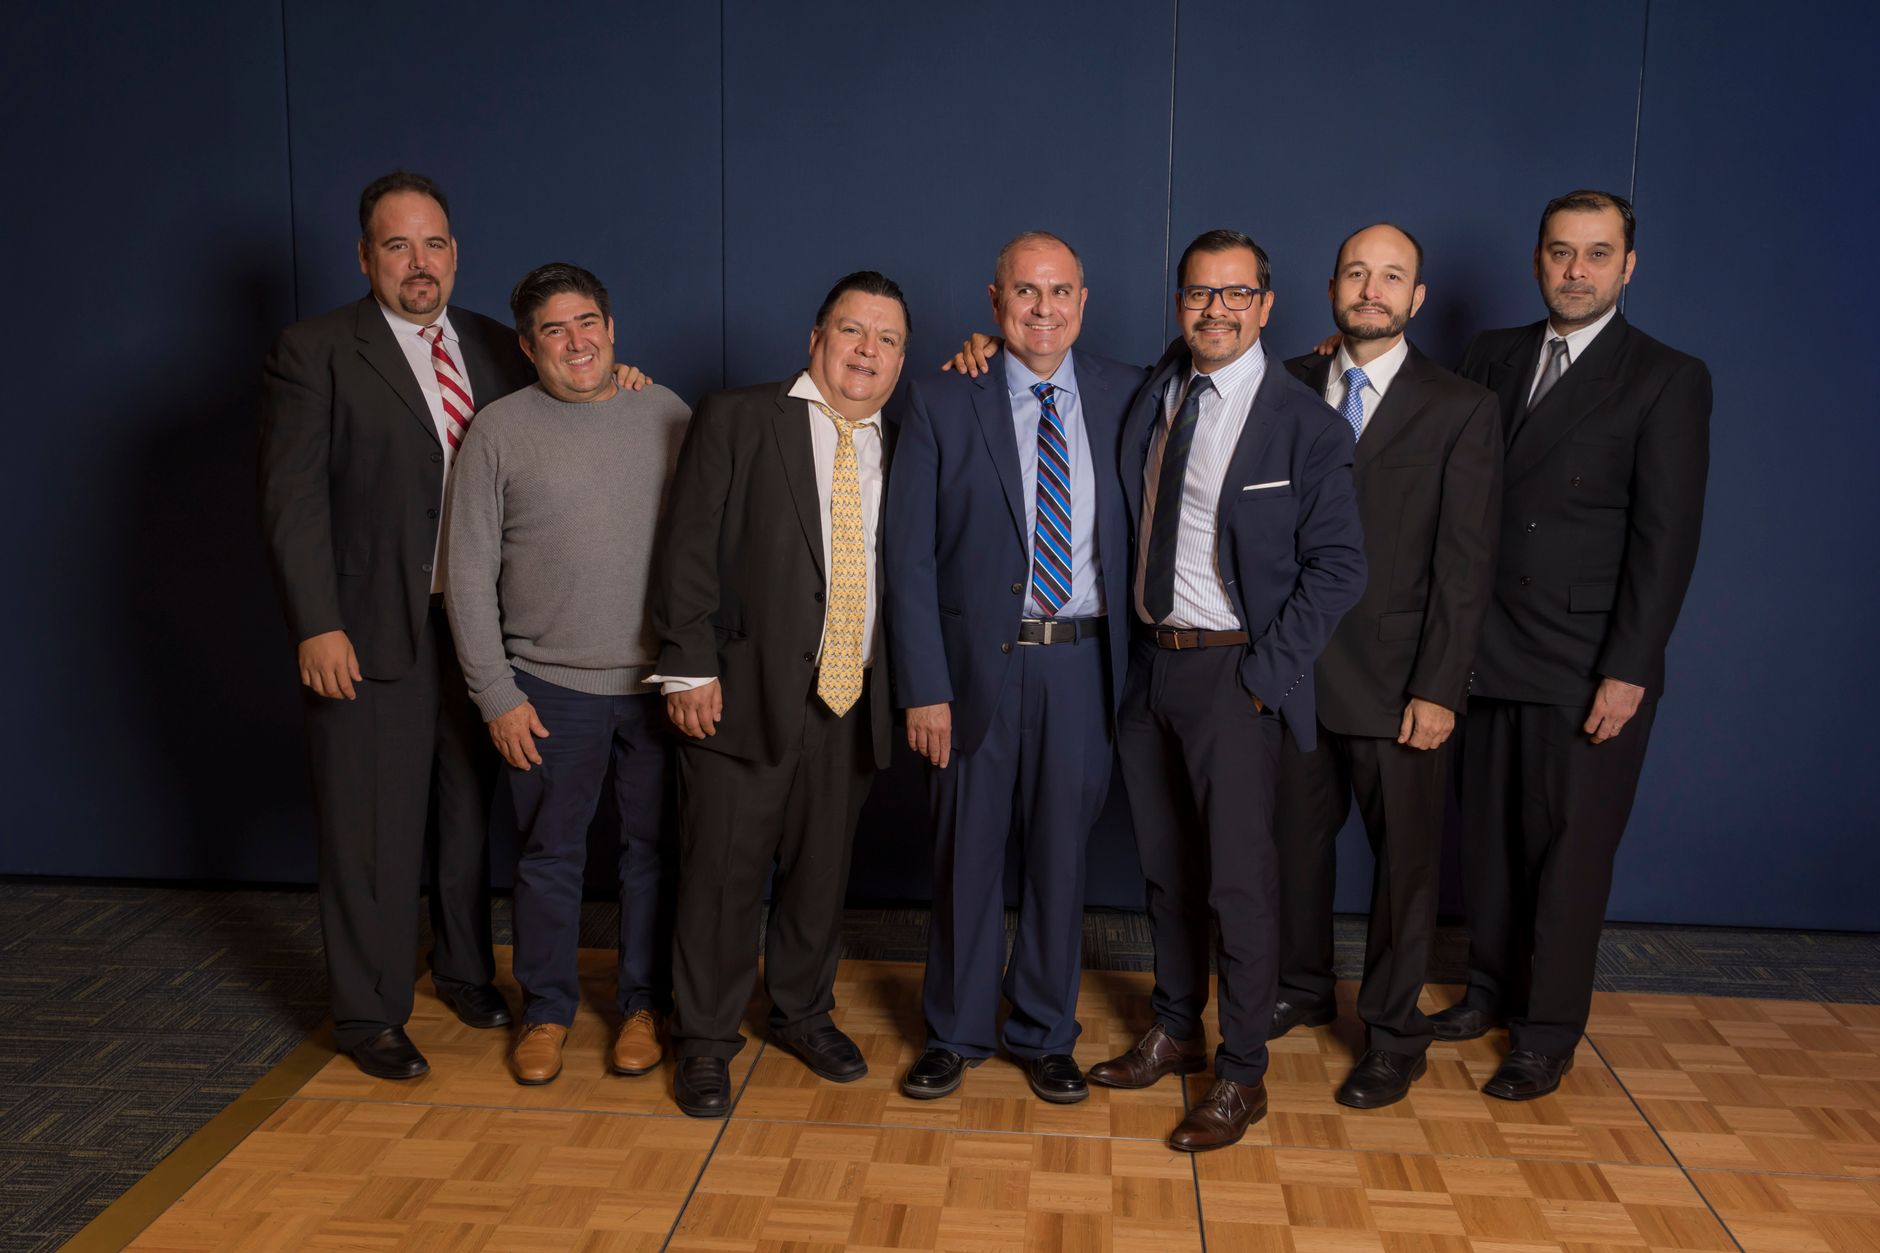
Ask any couple who skipped a photo booth whether they regret it, and the answer is almost always yes. A wedding photo booth gives guests something active to do during cocktail hour or between dinner courses, and it produces tangible memories people actually keep. According to The Knot, photo booths consistently rank among the most popular wedding reception entertainment choices, and it is easy to see why: they bring together guests from different social circles and break the ice in a way that a DJ alone simply cannot.
Beyond entertainment, a photo booth at a wedding doubles as décor. A well-styled booth with a backdrop that matches your color palette looks stunning in the room and in your wedding photographer’s wide shots. When you work with a professional event photo booth company, every visual detail, from the frame design on printed strips to the overlay text on digital files, ties directly back to your wedding brand.
There is also a practical guest engagement angle. Not every guest will hit the dance floor. Photo booths give non-dancers, elderly relatives, and young kids an equally fun way to participate. You end up with candid moments from people you might never have captured otherwise, which is exactly why wedding photo booth planning deserves real attention early in the process.
Choosing the Right Photo Booth Style for Your Wedding
The photo booth rental market has grown far beyond the curtained box you remember from the mall. Today, couples can choose from several distinct booth formats, and each one creates a different atmosphere and takeaway. Understanding your options is the foundation of solid wedding photo booth planning.
360 Video Booth: A rotating arm camera circles guests standing on a platform, capturing a slow-motion video clip that is immediately shareable. This style tends to steal the show at receptions because every guest wants to watch the playback. It works especially well in larger venues with open floor space.
Wedding Booth (Open-Air): The classic open-air setup uses a camera on a sleek kiosk, a ring light or studio lighting array, and a backdrop. It accommodates large groups, prints instantly, and keeps the process simple enough that guests of all ages can use it without assistance. If you are looking at wedding photo booth packages, this style is usually what a standard package covers.
Glam Booth: This setup uses specific studio lighting and filters to produce high-fashion, magazine-quality portraits. The glam booth is a favorite at black-tie receptions and styled shoots because the output looks polished enough to frame.
GIF Booth: Guests cycle through a quick series of poses that stitch together into an animated loop. The output is endlessly shareable and adds a playful energy that suits casual or outdoor receptions.
Video Booth: Guests record short video messages, which can be compiled into a digital guestbook the couple watches together after the honeymoon. This format is growing fast because it preserves voices and personalities, not just faces.
Choosing the right style comes down to three things: your venue size, your overall wedding vibe, and how you want guests to engage. A rustic barn wedding might pair beautifully with a classic open-air setup and a floral backdrop. A modern luxury ballroom reception could call for a glam booth or a 360 video experience. If you are weighing a portable setup for an outdoor ceremony, check out this portable photo booth rental guide for specifics on outdoor-ready equipment.
How to Select the Best Photo Booth Location at Your Wedding
Location is one of the most underestimated parts of wedding photo booth planning. Put the booth in the wrong spot and guests may never find it. Put it in the right spot and the line never stops moving.
Here are the key factors to consider when picking a photo booth setup location at your venue:
- Traffic flow: Position the booth near a natural congregation point, such as the bar area or cocktail hour space, rather than tucked into a corner of the main reception hall.
- Power access: Most photo booths require at least one dedicated outlet. Confirm with your vendor how many cords will run and whether extension cables are needed.
- Lighting: Natural light during the day is a bonus, but avoid placing the booth where windows behind guests will cause overexposure. At night, rely on the booth’s built-in lighting and confirm there are no competing colored uplights washing out skin tones.
- Space clearance: A standard open-air booth needs roughly 8 by 8 feet of floor space. A 360 video booth platform typically requires 10 by 10 feet minimum. Always confirm exact dimensions with your rental company and walk the venue floor plan in advance.
- Guest visibility: If guests cannot see the booth when they walk in, post a small styled sign pointing toward it. A booth nobody finds is a missed investment.
- Backdrop orientation: Make sure the backdrop faces away from harsh overhead spotlights that could cause glare on camera.
For outdoor weddings specifically, there are additional considerations around shade, wind, and surface leveling. Read this detailed breakdown on outdoor wedding photo booth setup before finalizing placement at an open-air venue.
Also, loop in your venue coordinator early. Some venues have restrictions on where vendors can set up, and discovering that on the day of your wedding is a headache nobody wants.
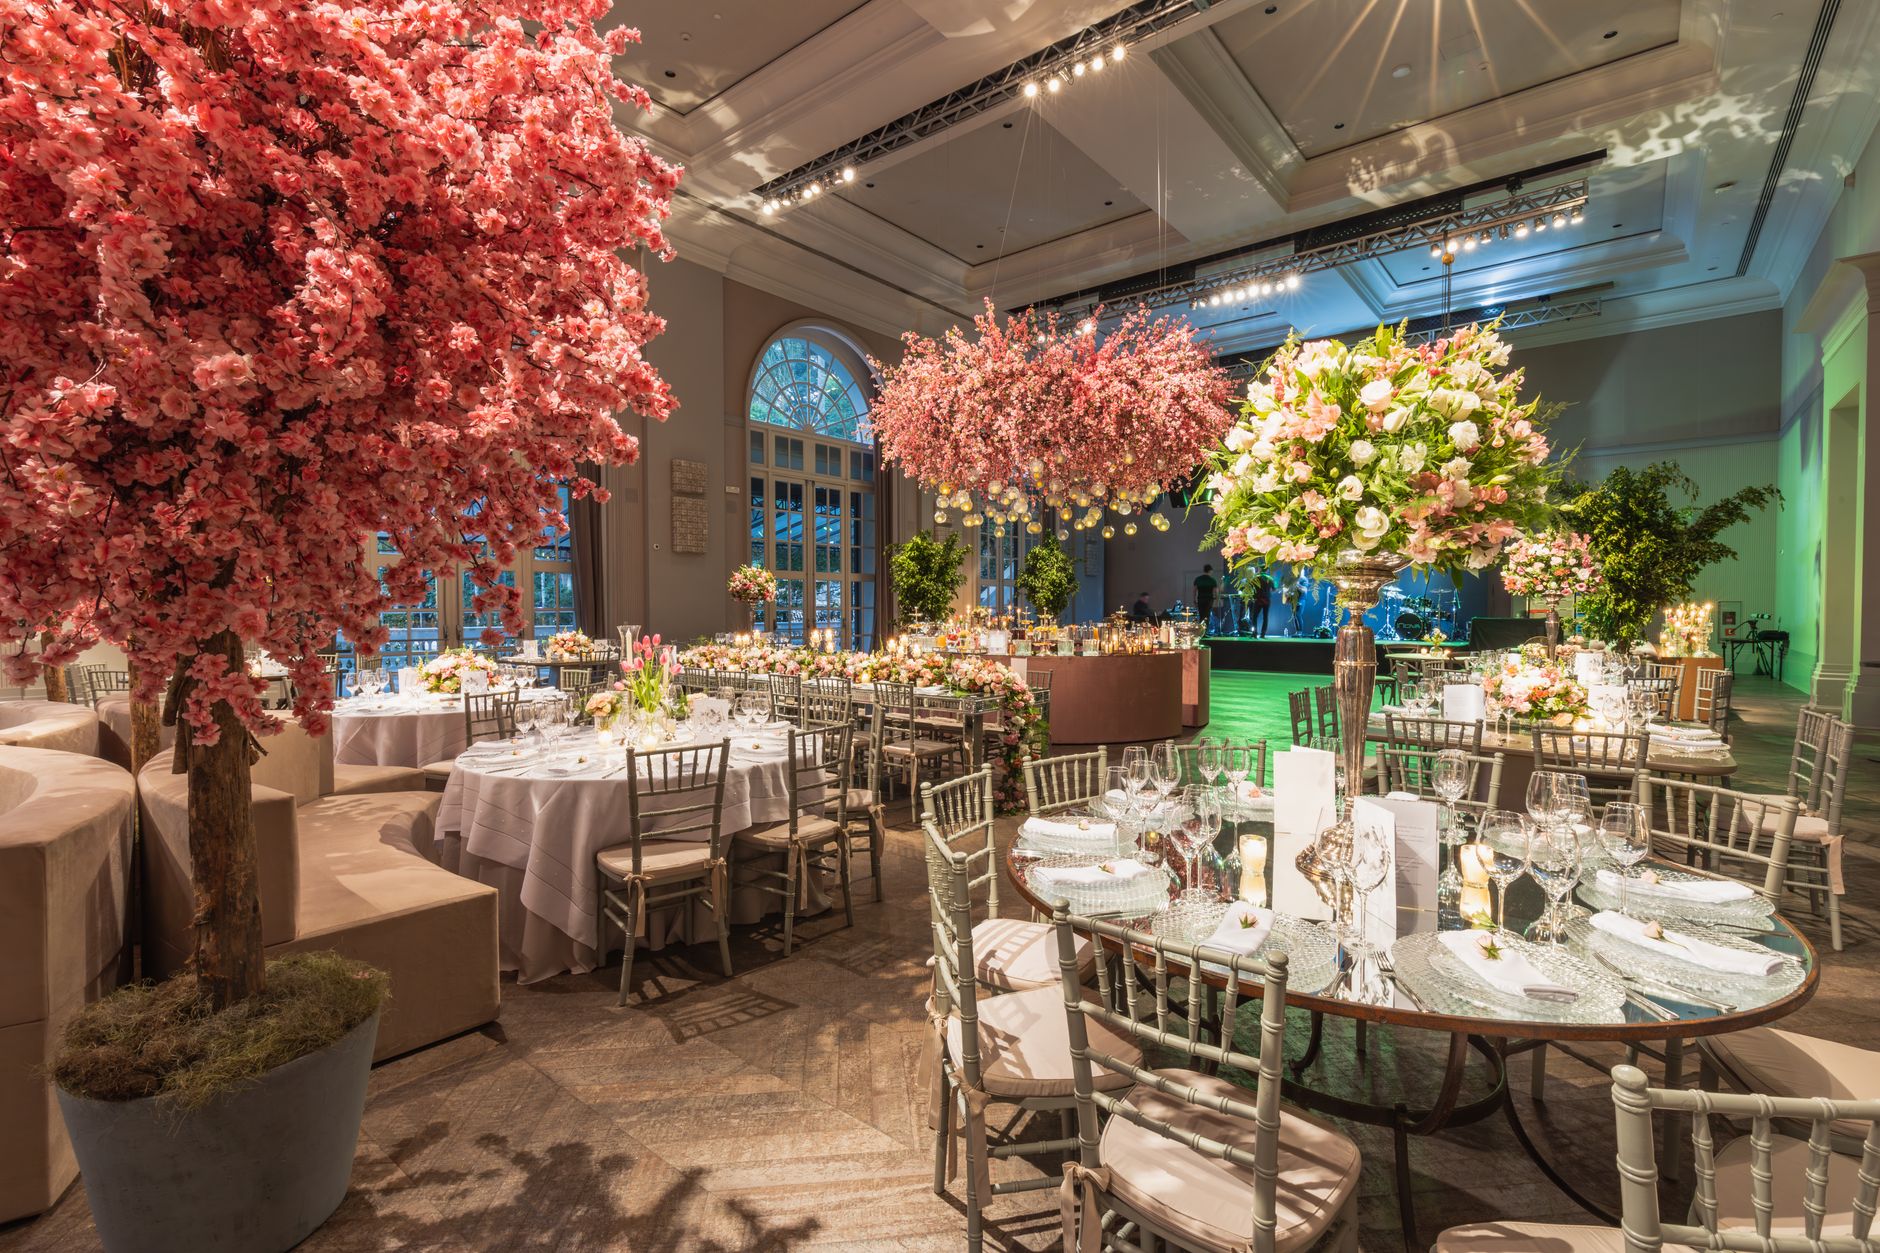
Personalizing Your Wedding Photo Booth Experience
Personalization is where a photo booth rental goes from a nice amenity to a true wedding experience. Couples who invest in custom touches consistently say the booth becomes one of the most talked-about elements of the reception.
Start with the backdrop. The backdrop is the visual anchor of every photo, so it should echo your wedding color palette, theme, or florals. Popular choices include:
- Floral walls with real or faux florals arranged by your florist
- Sequin or metallic panels for a glamorous look
- Rustic wood slat panels for barn or outdoor weddings
- Neon signs featuring your wedding monogram or a phrase that fits your personality
- Custom printed fabric backdrops with a pattern that coordinates with your stationery suite
Next, think about the print or digital overlay. Every photo strip or digital file can carry a custom overlay that includes your names, wedding date, and a design that matches your invitation style. This small detail transforms each printout into a keepsake your guests will actually hold onto.
Props are another layer of personalization. Curated prop boxes filled with items specific to your story as a couple, or to your wedding location, feel more intentional than a generic set of oversized glasses and mustache-on-a-stick. Work with your photo booth vendor to brainstorm prop ideas that fit your theme.
Finally, consider a photo guestbook. An attendant at the booth can invite guests to print one copy for themselves and glue a second copy into a guestbook album, signing their name next to the photo. Couples consistently say the photo guestbook becomes one of their most cherished wedding keepsakes. The range of custom photo booth design options available today makes it easy to build a fully cohesive look without a design background.
What to Look for in Photo Booth Packages for Weddings
Photo booth packages for weddings vary widely in what they include, and reading the fine print before you sign matters. Here is a breakdown of what a quality wedding photo booth package should cover and what questions to ask your vendor before booking.
What a Standard Package Typically Includes
- A set number of rental hours (usually 3 to 5 hours)
- On-site attendant throughout the event
- Unlimited prints during the rental period
- A digital gallery delivered after the event
- Custom print overlay design
- Backdrop selection from the vendor’s existing inventory
- Props box
- Setup and breakdown time (usually not counted against your rental hours)
Premium Add-Ons Worth Asking About
- Instant social media sharing or text-to-phone delivery
- Photo guestbook album with attendant assistance
- Custom or upgraded backdrop beyond the standard options
- Additional rental hours
- GIF or boomerang output in addition to still photos
- Idle hour pricing if you need the booth present but not actively running during dinner
One of the most common mistakes couples make is assuming all vendors include the same things. Always confirm whether travel fees, overtime rates, or print media costs are extra. According to WeddingWire, photo booth pricing varies significantly by region and booth type, so getting an itemized quote is the only way to make a true apples-to-apples comparison between vendors.
It also pays to check how the vendor handles technical issues on the day of your event. A reputable company should have backup equipment on hand or a clear protocol for resolving technical problems quickly. To avoid common booking pitfalls, this post on wedding photo booth mistakes covers the errors most couples make and exactly how to sidestep them.
Step-by-Step Wedding Photo Booth Setup and Testing Process
Even if your vendor handles all the heavy lifting on setup day, understanding the process helps you ask smarter questions and catch potential issues before guests arrive. A proper photo booth setup and testing process follows a clear sequence.
- Venue walkthrough: Your vendor should arrive at least 90 minutes before the booth goes live to assess the space, confirm power availability, and choose the exact placement within the agreed-upon area.
- Equipment assembly: The booth unit, backdrop stand, lighting rig, and print station are assembled and positioned. For a 360 video booth, the platform is leveled and the rotating arm calibrated.
- Software and settings check: The vendor loads your custom overlay design, tests the touchscreen or trigger button, confirms the correct print template, and verifies that the digital gallery sharing settings are active.
- Lighting calibration: Test shots are taken under actual venue lighting conditions so the vendor can adjust exposure, white balance, and ring light intensity before any guest touches the booth.
- Print test: At least two or three test prints run through the printer to confirm color accuracy, print quality, and that the overlay is centered correctly.
- Social sharing test: If your package includes instant sharing, the vendor tests text delivery and email gallery access from a real phone to confirm the workflow before the event starts.
- Attendant briefing: The on-site attendant reviews the run-of-show with you or your coordinator: when the booth opens, any VIP photo requests, and how to handle the guestbook if included.
The setup and testing process is not something to rush, which is why you should always ask your vendor what their standard setup window is and build that into your venue arrival timeline.
Managing Guest Flow and Interaction at Your Wedding Photo Booth
A great booth with poor guest flow management leads to long waits, missed photo opportunities, and guests who give up and never return. Smooth guest interaction at a wedding photo booth requires a little planning on your part as the couple and active coordination by the on-site attendant.
Here are the most effective strategies for managing guest flow during the event:
- Open the booth during cocktail hour: This is when guests are mingling and looking for activities. Opening early captures people before they are seated and keeps the line manageable throughout dinner.
- Use a dedicated attendant: A good attendant does more than press buttons. They coach groups on posing, encourage shy guests to participate, manage the queue, and keep energy high around the booth area.
- Announce the booth: Ask your DJ or emcee to mention the photo booth two or three times during the reception. A simple announcement like “the photo booth is open and your prints are free to take home” dramatically increases traffic.
- Create a designated waiting area: If your booth is popular, a short rope barrier or a small seating nook near the booth gives people a comfortable place to wait without crowding the shooting area.
- Encourage group shots: Groups of four to eight people are the sweet spot for most booth styles. Prompt guests to grab their table or family group and head over together.
- Send the couple through early: Once the couple does a fun run through the booth early in the evening, it signals to guests that it is open and fun, and the line usually picks up immediately after.
Managing guest interaction at your wedding photo booth is as much about energy and enthusiasm as logistics. When guests see other people laughing and enjoying themselves, they naturally want to join in.
What to Do with Wedding Photo Booth Photos After the Event
The event is over, the dance floor is empty, and you have a digital gallery full of candid moments you never would have gotten from your formal photographer. What happens next with your wedding photo booth pictures matters almost as much as the night itself.
Here is how couples get the most out of their photo booth content after the wedding:
- Download and back up the digital gallery immediately: Most vendors send a gallery link within 24 to 72 hours of the event. Download the full resolution files and store them in at least two places, such as a cloud service and an external drive.
- Create a thank-you card using booth photos: A photo strip or a fun group shot from the booth makes a genuinely personal thank-you card. Guests love seeing themselves in the card they receive.
- Build a photo book or album: Many online printing services allow you to design a custom photo book from your digital gallery. A booth-only album makes a wonderful companion to your formal wedding album.
- Share with guests: If your vendor set up a shared gallery link, send it to all your guests so they can download their own photos in full resolution.
- Display prints at home: A framed grid of photo strips in your home office or guest room is a conversation starter and a constant reminder of a great night.
- Create a highlight reel: If you booked a 360 video booth, ask your vendor if they can compile a highlight reel from the night’s video clips. These short videos make excellent anniversary gifts to share with family.
According to Brides, couples who plan for post-event content use feel less overwhelmed by the sheer volume of digital memories they receive, simply because they have a system in place before the wedding day arrives.
Planning how you will use your photo booth pictures after the event is the final step in a complete wedding photo booth plan, and it ensures the investment you made keeps delivering joy long after the last dance.
Ready to Plan Your Wedding Photo Booth?
You now have a complete roadmap for planning a wedding photo booth from start to finish: choosing the right booth style, nailing the setup location, personalizing every detail, understanding your package, and managing your guests like a pro. The only thing left is finding the right partner to bring it all to life. photo booth setup for events is what the team at Epic Events Booth does every single week across Arizona, and we would love to make your wedding unforgettable. Reach out to the team at Epic Events Booth and contact us today for a free quote on your wedding photo booth rental.
Frequently Asked Questions
How far in advance should I book a photo booth for my wedding?
Most wedding photo booth vendors book out 3 to 6 months in advance, especially during peak wedding season in spring and fall. If your wedding date falls on a popular weekend, aim to book as soon as your venue is confirmed. Waiting until 4 to 6 weeks out often means your preferred booth style or vendor is already taken.
How much space does a wedding photo booth require?
A standard open-air photo booth needs roughly 8 by 8 feet of floor space, including the backdrop and print station. A 360 video booth platform typically requires 10 by 10 feet or more. Always share your venue’s floor plan with your vendor early so they can confirm exact placement and power requirements before the event day.
Can a photo booth work for both the ceremony and the reception?
Most couples run their photo booth exclusively during the reception, usually opening during cocktail hour and keeping it active through the final dance. Running a booth during a ceremony is not practical since guests are seated and focused on the couple. The reception is where photo booth activity shines brightest and generates the most guest participation.
Do wedding photo booths include an attendant?
Quality vendors always include a trained on-site attendant as part of their wedding photo booth packages. The attendant manages the queue, helps guests with posing, troubleshoots any technical issues, and keeps the energy around the booth positive throughout the evening. Always confirm attendant inclusion before signing any rental agreement.
What is the difference between a digital-only and a print photo booth package?
A print package produces physical photo strips or 4×6 prints on the spot, which guests take home as instant keepsakes. A digital-only package skips physical prints and instead delivers photos via text, email, or a shared gallery link. Many couples choose a hybrid package that includes both, giving guests an immediate printout and a downloadable digital file for easy sharing.
