
Creating a photo booth for your event is simpler than most people think, and the results are always worth it. A well-built photo booth setup gives your guests a hands-on activity, creates lasting keepsakes, and fills your event space with energy and laughter. This guide walks you through every step, from choosing a backdrop to handling props and lighting, so you can build a photo booth experience that fits your Queen Creek event perfectly. Whether you are planning a DIY setup or thinking about renting a professional booth through a company like Epic Events Booth, a Vintage photobooth Phoenix experience can transform any party into something guests talk about for years.
1. Start with a Plan: How to Create a Photo Booth That Fits Your Event
Before you buy a single prop or hang a single strand of lights, you need a clear plan for how to create a photo booth that actually works for your specific event. Think about the vibe you are going for. Is this a formal wedding reception in Queen Creek, a laid-back birthday party, or a polished corporate activation? Your answer shapes every decision that follows.
Start by asking a few key questions. How many guests will use the booth? Where will it be set up, indoors or outdoors? Will you print photos on the spot or send digital copies? What is your total budget? Once you map out the answers, you can move forward with purpose instead of guessing.
Building a photo booth also means thinking about flow. You want guests to walk up, step in, take their shots, and walk away with something in hand, all in under two minutes. That kind of smooth experience does not happen by accident. It requires planning the physical space, the tech setup, and the prop station ahead of time.
If you are looking for inspiration on how professionals approach the full process, the photo booth setup in Queen Creek step-by-step guide on the Epic Events Booth blog breaks down the logistics in practical detail.
According to The Knot, photo booths consistently rank among the top guest-favorite activities at weddings and receptions, which tells you a lot about how much value a good booth setup brings to any event.
2. Build a Backdrop That Sets the Tone
Your backdrop is the first thing guests see when they look at any photo taken at your booth, so it needs to be intentional. A strong photo booth backdrop does two jobs at once: it gives the image a clean, attractive background, and it reinforces the event’s overall theme.
For a DIY setup, you have a lot of solid backdrop options at a low cost. Stretch of fabric in a solid bold color works beautifully for modern events. A balloon wall creates a playful, festive backdrop that guests love. Flower walls, whether real or artificial, add an elegant touch that photographs especially well. You can also use streamers, paper fans, or a simple sequin curtain from a craft or party supply store.
If you want something more polished, pipe-and-drape kits let you build a freestanding backdrop frame that looks clean and professional. Many Queen Creek event hosts use these for weddings and upscale parties because they can be dressed up with fabric, greenery, or signage.
When choosing a backdrop, think about contrast. If your guests are mostly wearing dark clothing, go with a light or bright background so everyone stands out. If the event is light and airy in tone, a white or blush backdrop keeps the look cohesive and wedding-ready.
Custom printed backdrops are another option worth considering. You can get a vinyl or fabric banner printed with your event name, date, logo, or any pattern you want. These are especially popular for corporate events and brand activations because they double as signage. For more inspiration on what wedding guests love, Brides has a solid roundup of backdrop styles that photograph well.
3. Have Fun with DIY Photo Booth Props
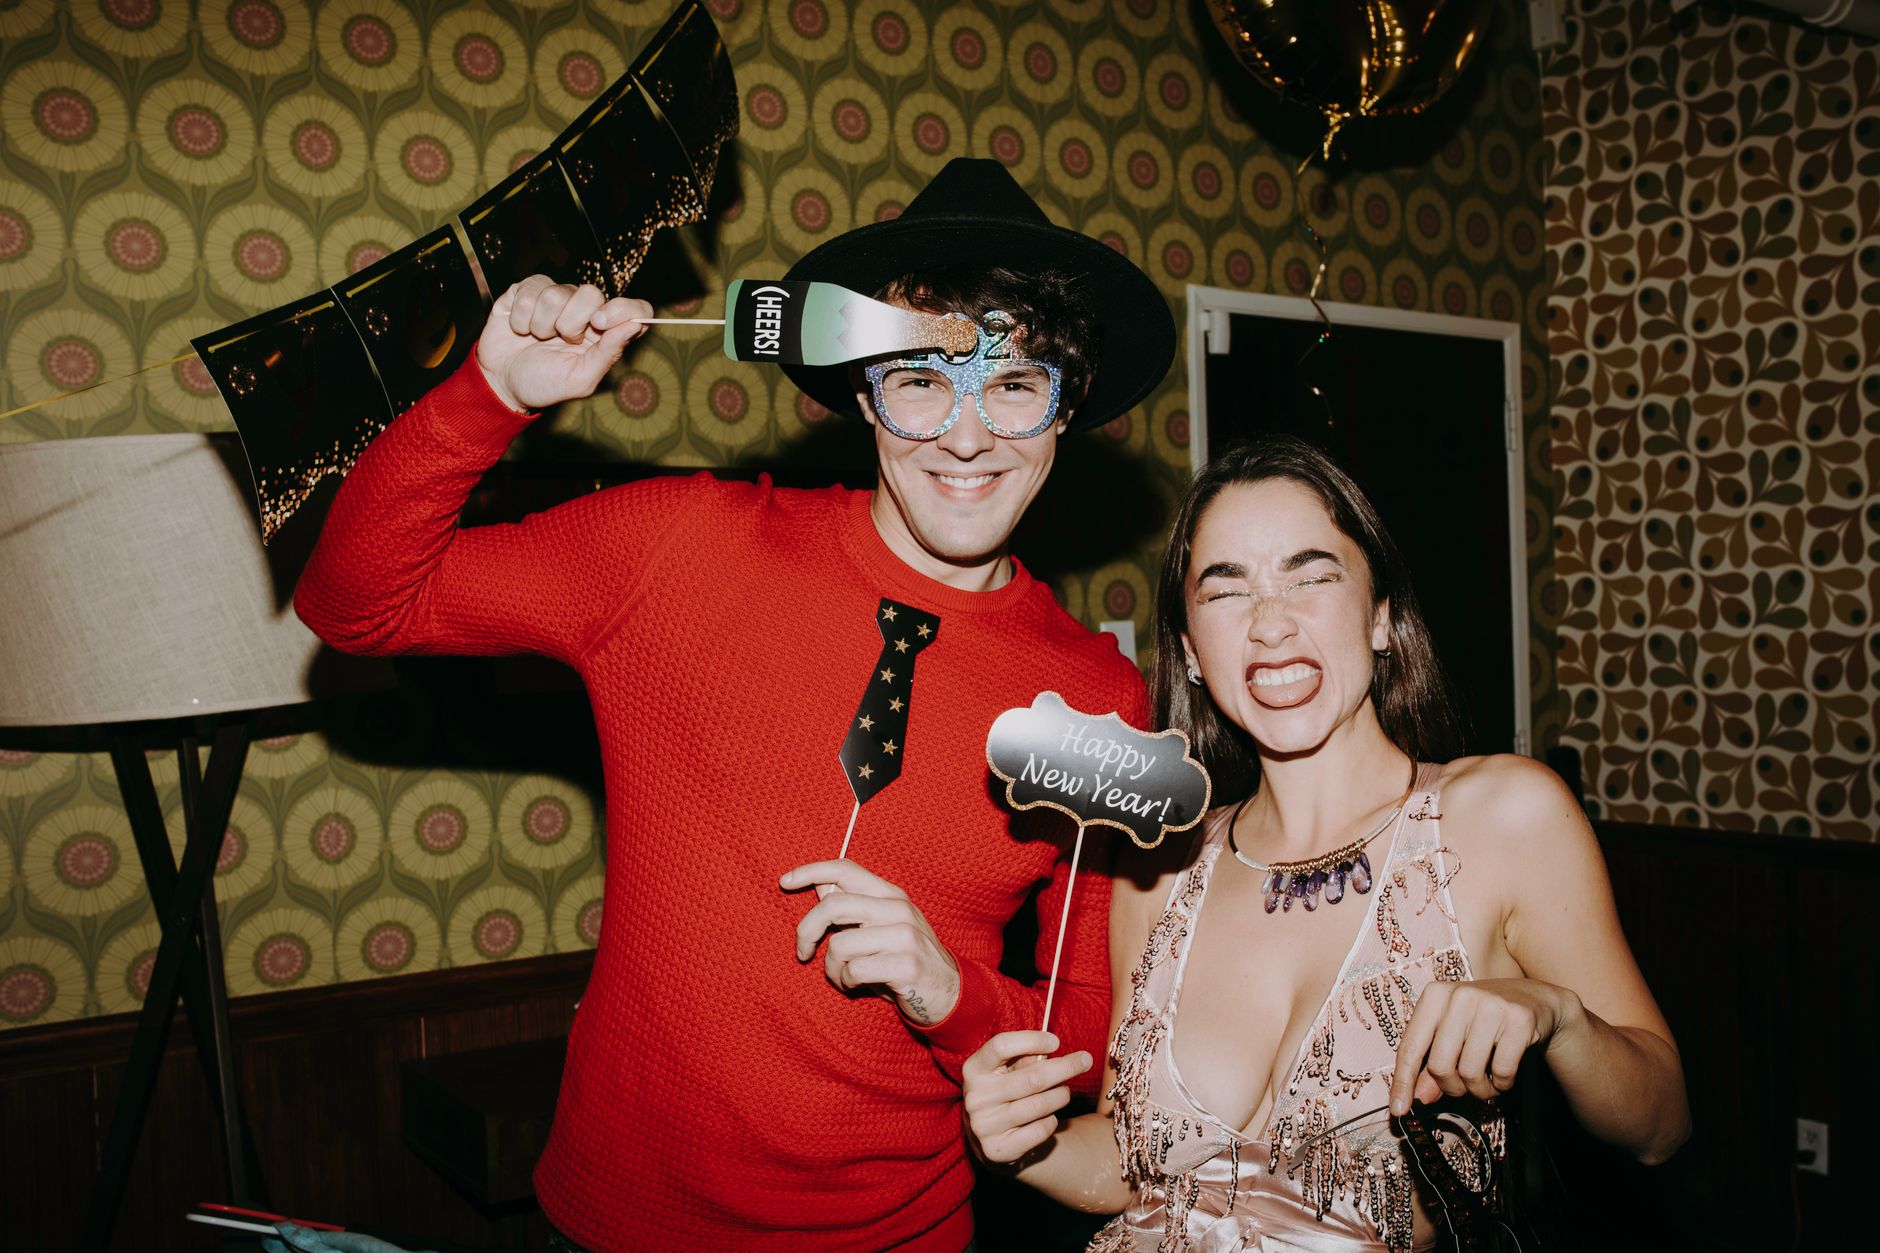
Props are what turn a photo booth from a photography station into a party activity. When people pick up a silly oversized hat or a speech bubble sign, they relax, laugh, and engage with the experience in a way they would not otherwise. DIY photo booth props are easy to make, inexpensive, and completely customizable to match your theme.
The most classic DIY photo booth prop idea is the stick prop. Cut out fun shapes from cardstock or foam board: lips, mustaches, glasses, speech bubbles, hats, and signs with funny sayings. Attach a wooden dowel or craft stick to the back, and you have a ready-to-use prop that costs almost nothing. You can find printable prop templates online and just cut them out yourself.
For a more personalized touch, make props that match your event. A Queen Creek bachelorette party might have props shaped like cacti and sunsets. A corporate event might have branded speech bubbles with the company tagline. A kid’s birthday party could have themed props from the birthday child’s favorite show or characters.
Beyond stick props, consider adding wearable accessories to your prop box. Costume hats, feather boas, oversized sunglasses, fake mustaches on a stick, and letter boards all give guests more to work with. The more variety you offer, the longer guests linger at the booth, and the more photos they take.
One tip worth remembering: keep the prop station organized. Use a small basket, a wooden crate, or a tiered tray to display your props neatly. When props are easy to see and grab, guests use them more. When they are crammed in a bag or thrown in a pile, they get ignored.
If you are looking at a professional setup rather than pure DIY, companies specializing in photo booth rental in Gilbert and across the East Valley often include curated prop collections as part of the rental package, which saves you the time of building everything yourself.
4. Be Creative with Your Photo Booth Lighting Setup
Lighting is the single factor that separates a great-looking photo booth from a mediocre one. You can have a gorgeous backdrop and fun props, but if the lighting is wrong, every photo will come out dark, flat, or washed out. Getting your photo booth lighting setup right is not complicated, but it does require some thought.
The most reliable lighting choice for a photo booth is a ring light. Ring lights create even, flattering illumination that wraps around the subject’s face and eliminates harsh shadows. They are available in several sizes, and for a photo booth, a 18-inch or larger ring light works well. Position it directly facing the backdrop at roughly eye level.
If you want a warmer, more atmospheric look, string lights or fairy lights draped across or behind the backdrop can add a soft glow that complements the setup without overpowering it. This works especially well for evening events and outdoor setups here in Queen Creek, where natural light fades after sunset.
For a more elevated photo booth lighting effect, consider using a softbox or two off-camera flashes positioned at 45-degree angles to the subject. This is the setup professional photographers use, and it makes a noticeable difference in the quality of the final images. You do not need expensive gear to get this right. A pair of affordable LED softbox lights from a camera supply store will do the job.
Avoid mixing color temperatures in your lighting setup. Warm yellow lights and cool white lights in the same frame create an uneven, unflattering look. Stick to one color temperature throughout your setup for consistent results.
Outdoor photo booths in Queen Creek benefit from natural shade during the day, but be careful about direct sunlight, which causes harsh shadows and squinting. A shaded canopy or tent turns midday sun into soft, workable light for your booth.
5. Customize Your Photo Booth for the Day
A generic photo booth setup is fine. A customized photo booth experience is memorable. When you tailor the booth to fit your specific event, guests notice, and they engage more deeply with the whole experience.
Start with the print template. If your setup includes a photo printer, design a custom print layout that includes the event name, date, a logo, or a unique graphic. This turns every photo strip into a keepsake that guests actually keep. A wedding couple might use their initials and wedding date on the template. A corporate sponsor might use the company logo and event hashtag.
Custom overlays for digital photos serve the same purpose. Even if you are not printing on-site, you can apply a digital frame or overlay to every image before it gets shared. This keeps your branding consistent across every photo that leaves the event.
Think about the font, the colors, and the graphic elements on your template. They should match your event’s visual identity. A rustic wedding calls for earthy tones and handwritten-style fonts. A tech company’s product launch might call for clean lines and bold sans-serif type.
For weddings specifically, reviewing wedding photo booth packages and what is typically included can give you a clear picture of how professional setups handle customization, from branded overlays to custom print templates and personalized backdrops.
You should also think about the physical space around the booth. Add signage that directs guests to the booth and explains how to use it. A small chalkboard sign or a printed instruction card keeps the line moving and makes the experience feel intentional rather than improvised.
The photo booth queen creek near me searches are growing fast, and part of what makes a rental company stand out is exactly this level of customization. Whether you build it yourself or rent a fully customized setup, personalization is what makes the experience feel special.
You can also find excellent Queen Creek-specific inspiration in the photo booth rental Queen Creek selection guide, which covers how to match booth style to event type.
6. Choose the Right Camera and Printing Setup
A photo booth is only as good as the images it produces. Your camera choice and printing setup determine whether guests walk away with sharp, vibrant keepsakes or blurry, pixelated printouts they toss in the car and forget about.
For a DIY photo booth with a printer, a DSLR or mirrorless camera on a tripod is the most reliable option. These cameras give you full control over shutter speed, aperture, and ISO, which matters when the lighting conditions are not perfect. Pair the camera with a remote trigger or a timer app so guests can take their own shots without needing an attendant present.
If you are setting up a more casual booth, a modern tablet or smartphone on a sturdy mount can work well, especially for events where image quality is secondary to speed and ease of sharing. Many tablet-based photo booth apps include filters, overlays, and digital delivery built in.
For printing, a dye-sublimation printer is the gold standard for photo booth printing. These printers produce lab-quality prints quickly, usually in under 15 seconds, and the results are waterproof and fade-resistant. Popular models used by event pros include the DNP DS620A and the HiTi P910L, both known for consistent results at high volumes. A DIY photo booth with a printer built around a dye-sub unit gives you results that look every bit as professional as a rented setup.
Think about your paper and layout options as well. Standard 4×6 prints are the most common format. Photo strips, which give you three or four smaller images on a single strip, are also very popular and feel more like a traditional photo booth experience. Some setups offer both options, letting guests choose at the time of printing.
If you want to skip the hardware headache entirely, a GIF photo booth rental gives you a fully managed experience with animated GIFs that guests can share instantly. It is a strong option for Queen Creek events where social sharing is a priority.
7. Help Your Guests Share the Fun
One of the biggest advantages of a modern photo booth setup is instant sharing. When guests can send their photos directly to their phones during the event, the fun spreads beyond the room in real time. Building a seamless sharing option into your photo booth setup is one of the most impactful things you can do for guest engagement.
The simplest way to enable digital photo sharing is through a photo booth app that supports text or email delivery. Guests type in their phone number or email address on a tablet screen, and the image is sent directly to them within seconds. No waiting, no fumbling with cables, no lost prints.
AirDrop works well for Apple device users in a pinch, but it requires guests to have Bluetooth enabled and can be slow in crowded spaces. A Wi-Fi-based sharing solution is more reliable for large events.
QR codes are another elegant sharing option. After each photo session, display a QR code on the screen that links directly to the guest’s image or to a shared gallery. Guests scan it with their phone camera, and the photo downloads instantly. This approach works well for events where you want all images collected in one place for the host to access later.
For events where building an online gallery matters, platforms like Zola offer advice on setting up shareable photo collections for weddings and parties, which can pair nicely with your photo booth’s digital output.
If you want guests to have a printed takeaway and a digital copy, the best photo booth setups do both. Print a strip on the spot and also send a digital version to their phone. Guests get the tactile keepsake and the shareable file in the same session, and that combination is hard to beat.
A modern alternative to the traditional photo strip is the video guest book booth, which lets guests record short video messages instead of just taking still photos. It is a genuinely creative way to collect memories, especially at weddings and milestone events right here in Queen Creek.
8. Consider the 360 Video Booth for an Elevated Experience
If you want to take your photo booth setup beyond traditional still images, a 360 video booth is one of the most exciting options available right now. Instead of standing in front of a backdrop and pressing a button, guests step onto a platform and a camera arm rotates around them, capturing a slow-motion 360-degree video clip that looks cinematic and polished.
The 360 photo booth experience has become one of the most requested options at Queen Creek events over the past few seasons. Guests love the dramatic, movie-like results, and the clips are extremely shareable on mobile devices. A well-produced 360 video of a couple at their wedding reception or a team celebrating at a corporate event creates content that people actually want to watch more than once.
From a DIY perspective, building a true 360 spinning booth from scratch is complex and requires significant investment in equipment and software. The rotating arm mechanism, the camera, the lighting, and the editing software all need to work together seamlessly. For most Queen Creek event hosts, renting a professional 360 video booth experience is a far more practical and cost-effective path.
The glam photo booth is another elevated option that uses high-end lighting and a slow-motion video format to create glamorous, high-fashion-style clips. The glam booth uses flattering ring light technology and a beauty-filter processing style that guests consistently love. It is a particularly strong fit for wedding receptions, quinceañeras, and upscale Queen Creek social events.
For a deep dive into what is trending across the photo booth industry right now, the photo booth rental in Tempe trend guide covers the experiences guests are requesting most, many of which apply directly to Queen Creek events as well.
Event industry publication BizBash regularly covers experiential activations like 360 booths and glam setups, and their coverage confirms what local event hosts are already seeing: interactive photo and video experiences are among the highest-engagement activities you can add to any event.
9. Think Through Your Photo Booth Setup Logistics
Even the most creative photo booth idea can fall flat if the logistics are not handled properly. Setup logistics include power, space, timing, and staffing, and each one deserves attention before event day.
Power is the first thing to sort out. Your camera, lights, printer, and any tablet or display all need power. Map out where your electrical outlets are and whether you need an extension cord or a power strip. For outdoor Queen Creek events, a portable generator or battery pack might be necessary. Running out of power mid-event is one of the most avoidable problems, so plan for it early.
Space planning is equally important. A standard photo booth setup needs at least an 8-foot by 8-foot footprint, and more is better. You need room for the backdrop, the camera, the lighting, the prop station, and a short queue of waiting guests. Crowding a photo booth into a corner where people cannot line up comfortably slows everything down and frustrates guests.
Think about the timing of your setup as well. For a professional event, you want the booth fully assembled and tested at least 30 to 45 minutes before guests arrive. This gives you time to troubleshoot any issues without the pressure of people waiting.
Staffing the booth is also worth considering. An unattended booth can work for small gatherings, but for larger events, having one person dedicated to managing the booth keeps the experience smooth. They can help guests with props, manage the queue, handle any technical issues, and keep the prop station organized throughout the night.
If you are exploring professional vintage photo booth in Queen Creek rental options, most full-service companies include setup, breakdown, and a dedicated attendant as part of the package, which takes the logistics entirely off your plate.
For additional guidance on the Houston event market’s approach to vendor selection, the photo booth rental Houston guide offers a thorough framework for evaluating vendors that applies to any market, including Queen Creek.
According to Special Events, the most common reason photo booth experiences underdeliver at events is not the equipment but the logistics. Poor placement, insufficient lighting, and no dedicated attendant are the three factors event pros cite most often as fixable problems that hosts overlook during planning.
10. Explore Professional Photo Booth Rental as an Alternative
Going the DIY route is genuinely rewarding if you have the time, patience, and creative energy to pull it off. But for many Queen Creek event hosts, the time investment of sourcing equipment, testing software, building props, and managing setup on event day is simply not realistic. That is where professional photo booth rental makes more sense.
Renting a photo booth through a company like Epic Events Booth means you get a polished, fully managed experience without the stress of building one yourself. The equipment is professional-grade. The setup and breakdown are handled by experienced technicians. The print templates, overlays, and branding are customized to your event. And a trained attendant is on-site for the entire event to keep things running smoothly.
Professional rental also gives you access to experiences that are genuinely difficult to replicate on a DIY budget. The 360 video booth, the glam booth, and the GIF booth all require specialized hardware and software that costs thousands of dollars to purchase and set up correctly. Renting gives you the full experience at a fraction of the cost of ownership.
Queen Creek is home to a growing number of events each year, from intimate backyard weddings to large corporate gatherings, and the demand for high-quality photo experiences has grown right along with it. Whether you search for a photo booth rental in Gilbert, AZ or specifically in Queen Creek, Epic Events Booth serves the entire East Valley with the same level of care and customization.
If you want to understand the full scope of what a professional photo booth company brings to the table before making a decision, WeddingWire has a useful breakdown of what to ask vendors, what packages typically include, and what questions to raise before signing a contract.
Closing: Ready to Create an Unforgettable Photo Booth Experience in Queen Creek?
Whether you are planning a wedding, a birthday party, a corporate event, or any other gathering in Queen Creek, a well-executed photo booth is one of the simplest ways to elevate the entire experience. From building a DIY backdrop and gathering fun props to choosing the right lighting and enabling instant digital sharing, every detail adds up to something guests genuinely love. And if you want a fully managed, professionally customized experience without the DIY headache, Candid Glam Photo Booth: Photo Booth Rental in Queen Creek, is exactly what Epic Events Booth delivers. Reach out to us today and get a photo booth rental Queen Creek contact us today for a free quote so you can stop planning and start celebrating.
Frequently Asked Questions
Is owning a photobooth profitable?
Yes, owning a photo booth can be quite profitable. Many operators report earning between $150 and $300 per hour per booking, with minimal ongoing costs once the equipment is paid off. Profitability depends on your local market, how frequently you book events, and the variety of experiences you offer. In active markets like Queen Creek and the surrounding East Valley, a well-marketed booth can reach full-time income territory relatively quickly.
Do I need a business license for a photo booth?
In most cases, yes. If you are operating a photo booth as a business, even part-time, you will typically need a business license from your city or county. In Arizona, you may also need a transaction privilege tax license depending on how your services are structured. It is worth checking with the Arizona Department of Revenue and your local Queen Creek municipal office to confirm the specific requirements for your situation.
How much would it cost to set up a photobooth?
A basic DIY photo booth setup can cost anywhere from $200 to $1,000, covering a camera, tripod, ring light, backdrop, and props. A professional-grade setup with a dye-sublimation printer, DSLR camera, quality lighting, and photo booth software typically runs $3,000 to $8,000 or more. Renting a fully managed professional photo booth in Queen Creek is usually priced between $600 and $1,500 per event depending on the experience type and rental duration.
How do I create my own photo booth?
To create your own photo booth, start with a backdrop, a camera on a tripod, and a good ring light or softbox lighting setup. Add a prop station with DIY stick props and wearable accessories. If you want to print on-site, pair a DSLR or tablet-based system with a dye-sublimation printer. Choose a photo booth app to manage the shooting, printing, and sharing workflow, then customize the print template to match your event’s theme.
