

Setting up a photo booth correctly takes more than plugging in a camera and pressing a button. A solid photo booth equipment setup covers space planning, power access, software configuration, and guest flow, all working together to create a seamless experience. This guide walks you through every step so your Austin event runs without a hitch, from load-in to last click. If you want photo booth services austin has to offer, Epic Events Booth is ready to handle every detail for you.
Photo Booth Equipment Setup Guide for Austin Venues
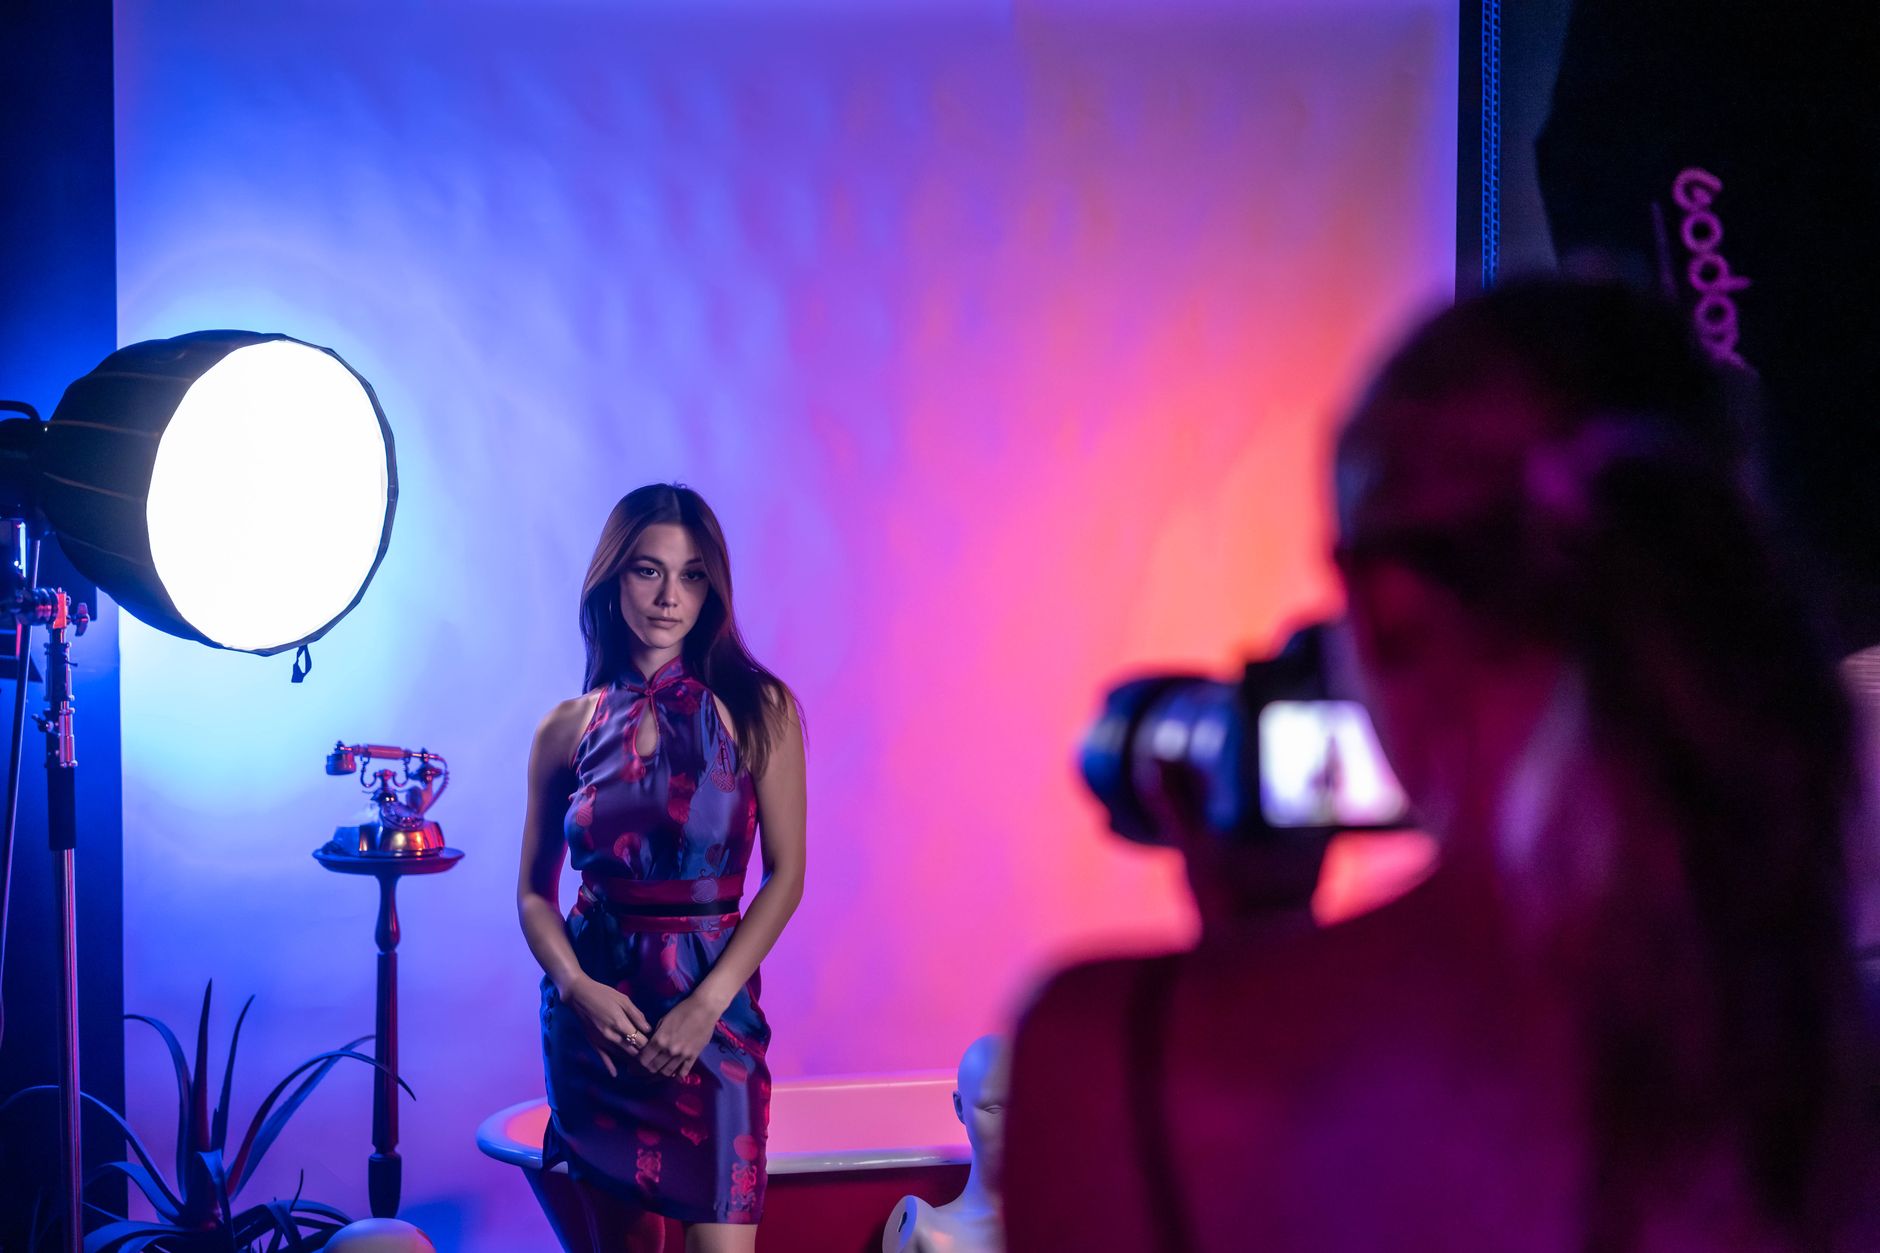
Before any gear touches the floor, you need a clear picture of what a proper photo booth equipment setup actually involves. At its core, the standard photo booth setup includes a camera or video capture unit, a dedicated lighting rig, a touch-screen kiosk or tablet, a dye-sublimation printer, a backdrop or open-air frame, and the software that ties everything together. Getting the booth setup right means thinking about each component as part of a system, not a collection of individual gadgets.
Austin venues vary wildly, from intimate Hill Country barns to downtown hotel ballrooms to sprawling outdoor festival grounds. Each space presents its own challenges for a photo booth equipment setup: floor surfaces, ceiling heights, ambient lighting, and foot traffic patterns all affect how and where you position your booth. The good news is that a well-planned setup works in almost any venue when you know what to look for before you arrive.
For planners who want a deeper checklist resource, our photo booth setup checklist for Scottsdale covers many of the same universally applicable principles and is worth bookmarking alongside this guide.
According to BizBash, interactive entertainment stations like photo booths consistently rank among the top guest engagement tools at corporate and social events, which means getting the setup right directly affects the impression your event leaves on attendees.
Planning Your Event Space and Booth Location in Austin
Location is everything. A photo booth tucked into a dark corner or blocked by a pillar will go unused, no matter how impressive the equipment is. When planning your Austin event, walk the venue with the booth footprint in mind before you commit to a spot.
Here is what to assess during your venue walk-through:
- Floor space: Most open-air photo booth setups require a minimum 10-foot by 10-foot footprint. A 360 video booth may need a 12-foot by 12-foot platform area to allow guests to spin freely without bumping into furniture or other guests.
- Ceiling clearance: Backdrop stands typically extend 7 to 8 feet tall. Check for low beams, chandeliers, or pipe-and-drape systems that could interfere.
- Traffic flow: Place the booth where guests naturally congregate, near the bar or cocktail area, but not so close that the line blocks service staff.
- Lighting environment: Natural light near windows can cause exposure problems mid-afternoon. Our team also recommends reading through tips on handling bad venue lighting for photo booth setups before finalizing your spot.
- Power proximity: Every photo booth setup needs at least one dedicated 20-amp outlet within 15 feet. More on power below.
Austin outdoor events, particularly those at parks along the greenbelt or on private ranches, add a layer of complexity. Wind can topple lightweight backdrop stands, direct sun creates harsh shadows, and heat can affect printer performance. Bring sandbags for stand feet and position the booth in a shaded area whenever possible.
If you are still deciding on a venue, resources like The Knot maintain extensive Austin venue directories that can help you narrow down spaces with the right square footage and indoor options for your event style.
Essential Photo Booth Equipment and Accessories
Knowing which pieces of gear you actually need prevents you from over-packing or showing up short. Below is a breakdown of the essential equipment for a fully functional Austin mobile photo booth setup.
Camera and Capture Unit
A DSLR or mirrorless camera is the standard for high-resolution still images. For video booths and GIF photo booth experiences, you may use a dedicated video camera or a high-frame-rate mirrorless body. The camera mounts on a sturdy adjustable stand positioned roughly 4 to 5 feet from the backdrop to give guests comfortable framing.
Lighting
Consistent, flattering lighting is non-negotiable. A two-point or ring-light setup eliminates unflattering shadows and ensures every guest looks great regardless of skin tone. For the popular glam photo booth experience, soft box lighting with a slightly warm tone mimics studio conditions and gives photos that polished editorial feel. Always bring spare bulbs and a secondary light source as a backup.
Printer
Dye-sublimation printers are the industry standard because they produce water-resistant, smudge-proof prints in seconds. Carry extra ribbon cartridges and paper rolls. For a four-hour event with steady guest traffic, plan for at least 200 print sets.
Backdrop and Frame
The backdrop is often the first thing guests notice. Options range from fabric sequin panels and floral walls to acrylic name signs and custom vinyl prints. Backdrop frames should be weighted or wall-mounted, especially in Austin venues with air conditioning vents that can create unpredictable drafts.
Kiosk, Tablet, and Software
The touch-screen interface is how guests interact with the booth. A ruggedized tablet or a dedicated kiosk stand allows guests to select print templates, add digital props, and trigger the countdown timer. Pair this with reliable booth software that supports social media sharing, GIF creation, and custom branding overlays.
Props and Accessories
A well-stocked prop box keeps energy high throughout the event. Think themed accessories that match your event colors or season, physical frames, hats, glasses, and signs with fun phrases. Rotate props mid-event to keep repeat visitors engaged.
Assembling and Securing Photo Booth Components
Assembly order matters. Starting with the heaviest, most structural elements and working toward the smaller details prevents you from having to disassemble completed sections to fix something underneath.
Follow this sequence for a smooth photo booth setup in Austin:
- Step 1: Lay out all components in the designated floor area before assembling anything. Confirm you have every piece.
- Step 2: Assemble and secure the backdrop frame first. Extend legs fully, lock all joints, and attach sandbags or weights to the base.
- Step 3: Hang or clip the backdrop fabric to the frame, pulling fabric taut to avoid wrinkles in photos.
- Step 4: Position the camera stand at the correct distance from the backdrop, tighten all knobs, and mount the camera head.
- Step 5: Set up the lighting rigs on either side of the camera stand. Connect and test lights before touching the camera settings.
- Step 6: Run all power cables along the floor perimeter, securing them with gaffer tape to prevent trip hazards. Never run cables across the guest walking path.
- Step 7: Position the printer station to the side of the main booth, within cable reach but out of the guest photo frame.
- Step 8: Set up the kiosk or tablet stand within easy guest reach, typically 3 to 4 feet in front of the camera.
For events in multi-level Austin venues or spaces with freight elevators, plan your load-in route in advance. Know the elevator dimensions and whether the loading dock has a time restriction. Most downtown Austin hotels have vendor load-in windows that close by a certain hour, so confirming logistics with the venue coordinator ahead of time is a must.
Questions about what typical Photo booth services austin cost depend on factors like event duration, the type of booth experience, and the number of print sets included. See our photo booth services austin page for current pricing options.
Configuring Software and Customizing the Guest Experience
The software layer is where a generic photo booth transforms into a branded, memorable experience. This step is often rushed, but it deserves dedicated time before guests arrive.
Key software configuration steps include:
- Template design: Upload custom print templates with the event name, date, and logo. For wedding photo booth Austin setups, couples often include their names and a monogram. Corporate clients typically use brand colors and a company logo watermark.
- Countdown and animation settings: Set countdown timers between 3 and 5 seconds. Longer countdowns reduce missed shots; shorter countdowns keep the line moving at high-traffic events.
- Social sharing integration: Connect the software to your event Wi-Fi network and configure the social sharing screen with your preferred platforms. Guests receive a text or email link to download their digital copy.
- Print quantity: Decide whether each session prints one copy, two copies, or none. Many Austin event planners opt for two prints per session so guests can share one and keep one.
- GIF and video settings: If you are running a GIF booth or a video guest book experience, configure clip length, playback speed, and export format. For a creative alternative to the traditional guestbook, a video guest book booth allows guests to record short personal messages that the couple keeps forever.
Always save your configuration file to a USB drive as a backup. Software crashes mid-event are rare, but having a restore point means you are back online in minutes rather than an hour.
For wedding clients wondering what comes standard in a package, our breakdown of wedding photo booth packages and what is typically included is a helpful reference before you finalize your booking.
Event planners looking for broader inspiration on interactive booth experiences can also find useful ideas through Special Events, which regularly covers emerging trends in event technology and guest engagement.
Testing Your Austin Photo Booth Setup Before Guests Arrive
Testing is the step most DIY operators skip, and it is the step that causes the most visible problems during an event. Arrive at least 90 minutes before guests to allow time for a thorough run-through of the entire photo booth system.
Your pre-event testing checklist should include:
- Trigger a full capture cycle, including countdown, photo, and print, at least five times.
- Check that print colors match what appears on screen. Color calibration drift is common when printers warm up.
- Test the social sharing workflow from capture to delivery on a personal phone.
- Verify that all cable connections are secure and that no power strip is overloaded.
- Walk through the guest path from arrival to photo to print pickup, identifying any bottlenecks.
- Confirm that a booth attendant is positioned to assist guests and manage the prop station throughout the event.
For Austin events running a 360 photo booth Austin experience, also test platform stability with a weighted test run before any guests step on. The rotating arm must clear all nearby objects by at least 18 inches on every side.
If your event includes a black and white photo booth Austin experience, double-check that the monochrome filter is applied correctly in software rather than relying on post-processing, since real-time black and white output is what creates that classic, elegant look guests love.
Printer troubleshooting is one of the more common mid-event headaches. If you run into issues during your test run, our guide to troubleshooting photo booth printer issues at an event covers the most common causes and fixes in plain language.
If you are setting up at a multi-event venue or a large festival in Austin, the photo booth setup guide for LA venues offers additional insight into navigating large, complex spaces that applies directly to similar Austin settings.
Power Requirements and Venue Logistics for Austin Photo Booth Rentals
Power is a detail that gets overlooked until it goes wrong mid-event. A complete Austin photobooth rental setup typically draws between 800 and 1,500 watts, depending on the number of lighting units, the printer model, and whether a heating element is being used for the dye-sub process.
Key power guidelines for photo booth rental in Austin TX setups:
- Request a dedicated circuit from the venue rather than sharing an outlet with catering equipment or DJ systems.
- Use a heavy-duty surge protector rated for at least 1,800 joules.
- Bring 25 to 50 feet of 12-gauge extension cord to reach outlets that are farther than expected.
- For outdoor Austin events with no venue power, a quiet inverter generator in the 2,000-watt range is sufficient for most standard photo booth setups.
Venue logistics beyond power include load-in timing, elevator access, parking for the vendor vehicle, and whether the venue requires a certificate of insurance from the photo booth company. Most Austin corporate venues and many wedding venues now require vendor COIs, so confirm this well before event day.
If you are comparing options for your upcoming Austin event, our dedicated photo booth in austin page outlines current packages and add-ons so you can plan your budget with confidence. And for those curious about how the Vintage photo booth austin aesthetic works as a rental option, that warm, retro look is one of our most-requested styles for Austin weddings and anniversary parties.
Planning a wedding in Austin and still ironing out vendor details? Resources like WeddingWire offer vendor checklists and timeline tools that pair well with this setup guide to keep your entire event day on track.
Closing Call to Action
Whether you are planning a wedding, a corporate brand activation, a birthday bash, or any celebration in between, a properly set up photo booth is one of the highest-impact entertainment investments you can make. Epic Events Booth brings luxury photo booth experiences to Austin with full-service setup, dedicated attendants, and customized branding that turns every snapshot into a keepsake. Skip the stress of a DIY setup and let our team handle every detail from load-in to wrap-up. Reach out through our photo booth rental Austin TX contact us today for a free quote page and let us bring your event vision to life.
Frequently Asked Questions
What equipment do I need for a photo booth business?
A professional photo booth business requires a high-resolution camera, adjustable lighting, a touch-screen kiosk or tablet, booth software with template customization, a dye-sublimation printer, a backdrop and frame, and a reliable power setup. Optional add-ons include a 360 spinning platform, a GIF capture system, and a prop kit. Starting with quality core gear reduces technical issues and keeps guests happy throughout the event.
How much does a photobooth setup cost?
A photo booth setup cost in Austin varies based on the booth type, rental duration, and included features. Open-air booths typically start at a few hundred dollars for a few hours, while premium experiences like a 360 video booth or a fully branded corporate activation can range higher. The best way to get an accurate number is to request a detailed quote from a local provider who can account for your specific venue and guest count.
Is owning a photo booth profitable?
Owning a photo booth can be quite profitable when you book consistently. Startup costs for quality equipment generally run between $5,000 and $20,000, and a single weekend booking can generate $500 to $2,000 or more depending on the market. Austin’s active event scene, with weddings, tech conferences, festivals, and private parties year-round, creates strong demand for photo booth rental services throughout every season.
What is the standard photo booth setup?
The standard photo booth setup includes a camera on a stand, a two-point or ring-light arrangement, a backdrop frame with fabric or printed panel, a touch-screen interface for guests, a dye-sublimation printer for instant physical prints, and booth management software. Most professional rental companies also include a dedicated attendant, a custom print template, and a digital gallery link so guests can access their photos after the event.
